- Android Security, Keystore and Fingerprint API. Creating Lock Screen for your app.
- About Android Keystore.
- Encrypt
- Decrypt
- Using fingerprint API to confirm user and decryption.
- Securing API Keys in Android App using NDK (Native Development Kit)
- Requirements
- The Android Native Development Kit (NDK):
- CMake:
- Two ways for using NDK: ndk-build, CMake
- — — CMake:
- — — ndk-build:
- CMake or ndk-build .
- ***Securing Keys using ndk-build…(Item-01)
- ***Securing Keys using CMake…(item-02)
- ***** The easiest and best way*****
- The Ultimate Guide to Mobile API Security
- The Problem with Mobile API Security
- Introducing OAuth2 for Mobile API Security
- Access Tokens
Android Security, Keystore and Fingerprint API. Creating Lock Screen for your app.

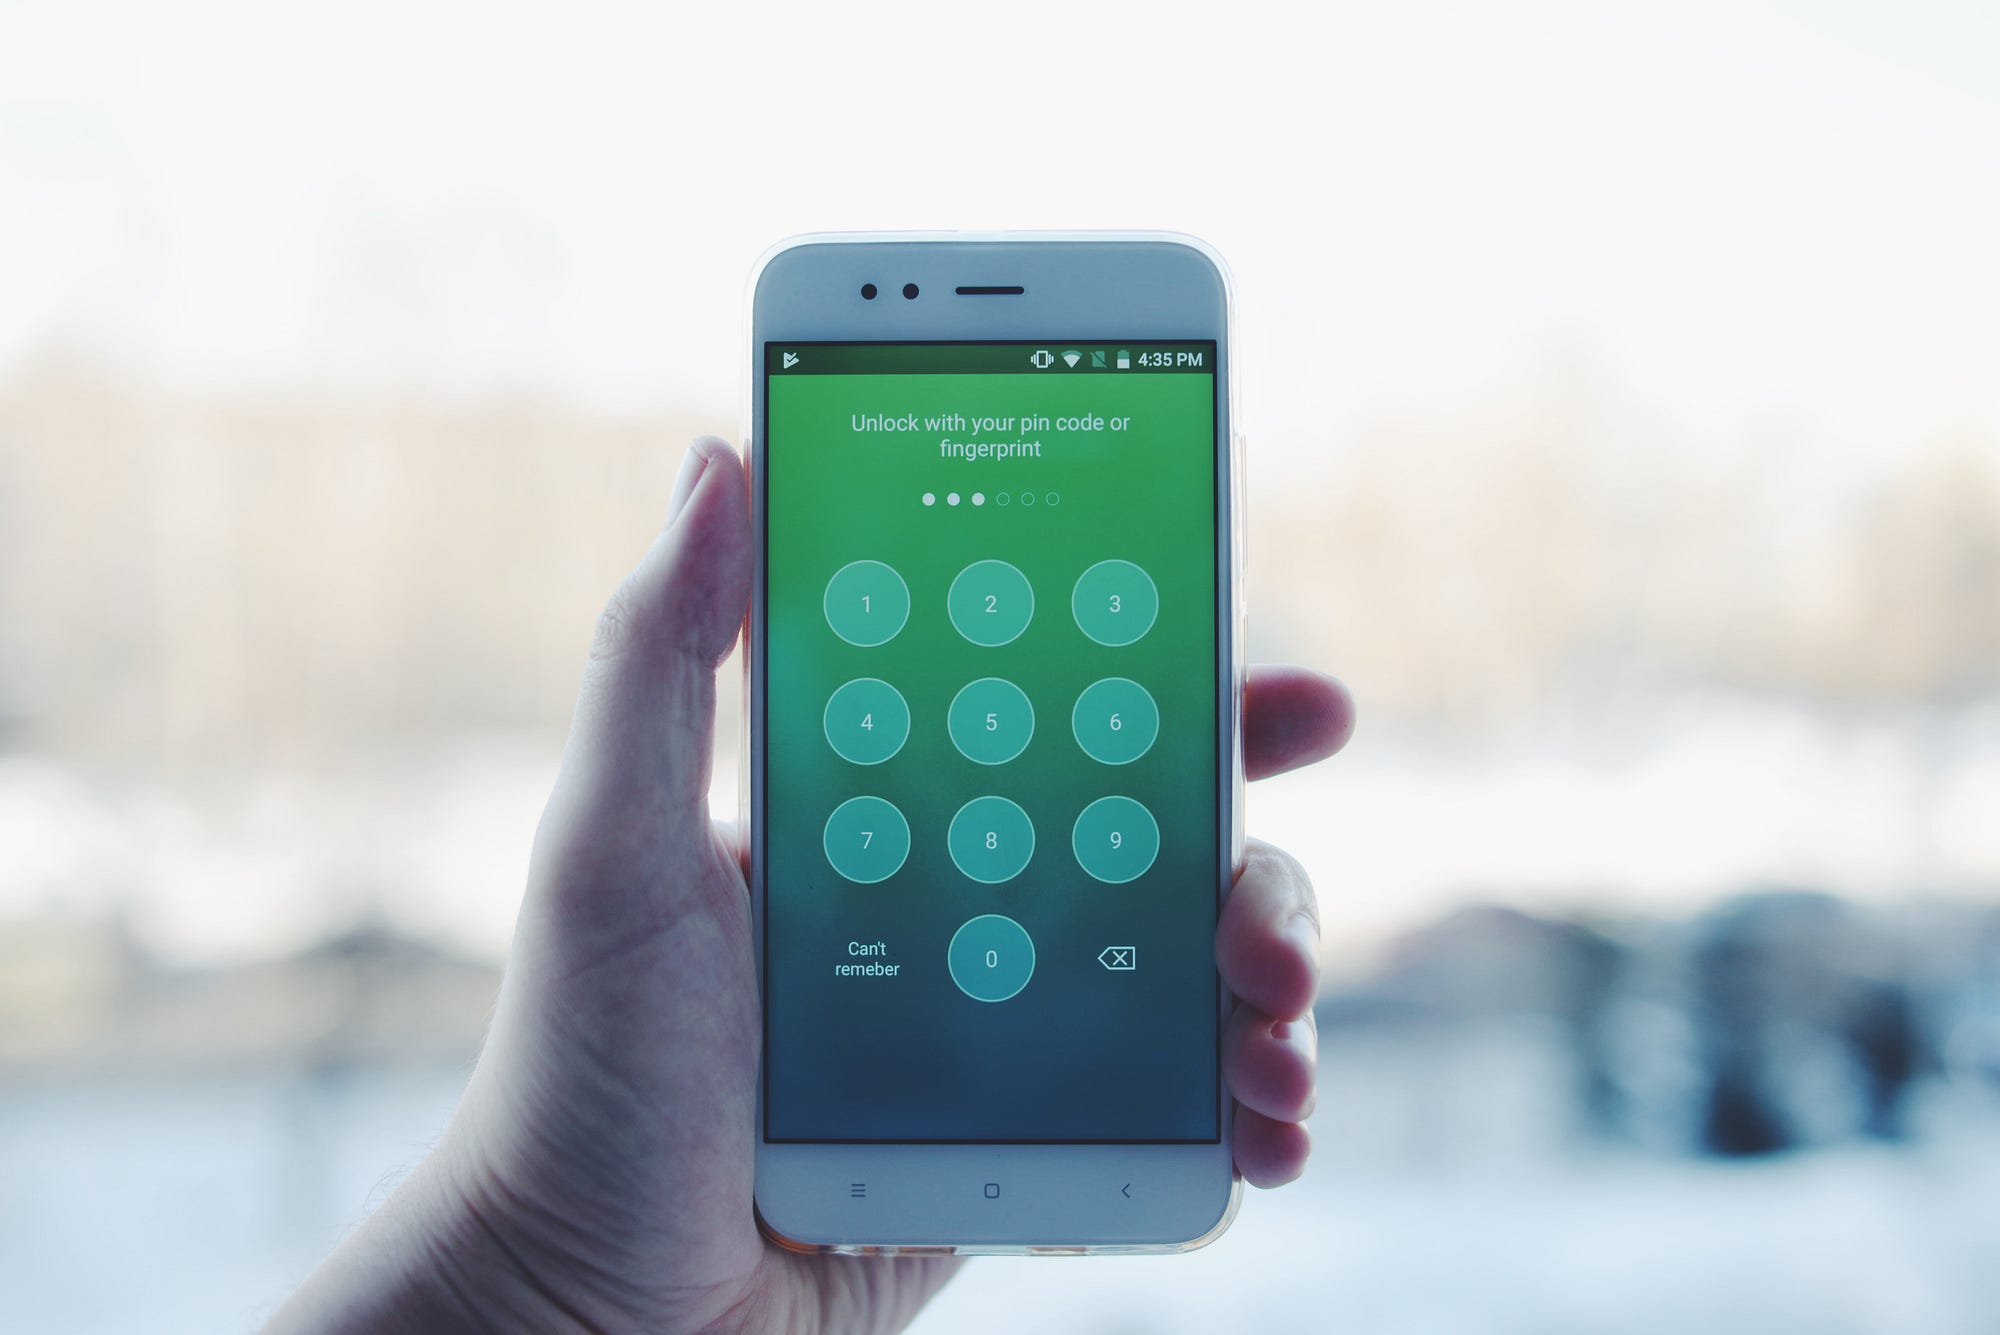
How to protect sensitive data in your Android application. In this article, I’ll tell about AndroidKeystore, Fingerprints and how to use it to protects some of your data such as passwords, tokens, etc.
This article is based on PFLockScreen library I created. You can use it in your application. If you have some issues or ideas fill free to create an issue on GitHub or write me a message.
About Android Keystore.
The Android Keystore system lets you store cryptographic keys in a container to make it more difficult to extract from the device. Once keys are in the keystore, they can be used for cryptographic operations with the key material remaining non-exportable.
You can use Android Keystore to encrypt some sensitive data like passwords. For example, your application required a password to make a purchase and you want the application to remember user’s password for some short amount of time (15 min — 30 min) so a user doesn’t need to input it again. The similar logic you can find, for instance, in Apple AppStore. Within this time input password again is not required. For this situation, you can use keystore to encrypt and save the password.
First, you need to load a keystore.
Next step is to generate an encryption key.
What is going on here? You initialize KeyGenerator, with your alias name and purposes (Encryption and Decryption).
Set encryption algorithm and parameters. You can use different algorithms to create a symmetric or asymmetric key, etc (Use KeyPairGenerator or KeyGenerator).
If you want you can protect this key with device pin code (The one you use to lock your device) or fingerprint with the setUserAuthenticationRequired method.
It’s mean that to get access to the encryption keys from keystore and decrypt your data you will need to use a device authorization.
But don’t worry. Only your application can get its keystore data. But in this case, there is additional security level required user participation.
After you load keystore and generate key next set is creating a Cipher object.
This class provides the functionality of a cryptographic cipher for encryption and decryption.
“RSA/ECB/OAEPWithSHA-256AndMGF1Padding” — “algorithm/mode/padding” or can be just “algorithm” depends on your key generator parameters.
Encrypt
To encrypt out data we need to initialize cipher object.
A known bug in Android 6.0 (API Level 23) causes user authentication-related authorizations to be enforced even for public keys. To work around this issue extract the public key material to use outside of Android Keystore.
After we did all the steps we finally do encoding. byte[] bytes = cipher.doFinal(input.getBytes()); String encoded = Base64.encodeToString(bytes, Base64.NO_WRAP);
This encoded string we got in result we can save somewhere in SharedPreferences or using Accounts API.
Decrypt
To decode string we got before, first, we need to preparing Cipher to decode.
If before we set the “user authentication required” parameter to false before, we can just decode.
Using fingerprint API to confirm user and decryption.
Google added Fingerprint API only in Android 6.0 and even new devices not always have a fingerprint scanner. So you have to check you if a device has fingerprint hardware.
To check if a device has a scanner: FingerprintManagerCompat.from(context).isHardwareDetected();
To check if a user added his fingerprint to the device: FingerprintManagerCompat.from(context).hasEnrolledFingerprints();
If we going to use Fingerprint API for decoding (KeyGenerator’s userAuthenticationRequired is true), then we need to check also if your screen is locked with pin or pattern.
If we are using Fingerprint for decryption we need to pass CryptoObject. Otherwise, CryptoObject can be null.
Next step is letting the system know that we are ready to try to authenticate with fingerprint:
If we want a system to stop listening for fingerprint we can cancel.
To get an event about successful or unsuccessful attempts use
You can find code example in my PFLockScreen library.
If you like the article please press 👏 button.
Источник
Securing API Keys in Android App using NDK (Native Development Kit)


Securing API keys in Android application has become a challenging by traditional methods (storing them in strings.xml or in Gradle etc.), since they can be easily exposed by reverse engineering the app. It may lead to privacy issues and also may affect the billing for third party paid API access.
Though its not possible to fully protect this API keys from reverse engineering but we can make extra laye r for security by using NDK in our app.
The NDK (Native Development Kit) allows to write code in C/C++ in our app. And the good news is that ndk libraries can not be decompiled easily which make the APIs harder to find.
Today, We are going to store API keys in the native C/C++ class and accessing them in our Java classes. Now Let’s started:
Requirements
To compile and debug native code for our app, we need the following components:
The Android Native Development Kit (NDK):
a set of tools that allows to use C and C++ code with Android.
CMake:
an external build tool that works alongside Gradle to build your native library. You do not need this component if you only plan to use ndk-build.
the debugger Android Studio uses to debug native code.
You can install these components using the SDK Manager:
- From an open project, select Tools > Android > SDK Manager from the menu bar.
- Click the SDK Tools tab.
- Check the boxes next to LLDB, CMake, and NDK, as shown in below figure:

Two ways for using NDK: ndk-build, CMake
- NDK is a collection of compilers and libraries that are needed to build C/C++ code for android.
- ndk-build and CMake both use the NDK and solve the same problem.
— — CMake:
- CMake is a new way and the default build tool for using ndk. If we are creating new native library , then we should use CMake.
— — ndk-build:
- Android studio also support this ndk-build(this is a build system included in NDK) due to the large number of existing projects that use the build toolkit to compile their native code.
- It uses android.mk files. in other way we can say android.mk file contains ndk-build.
- If you use CMake then you don’t need Android.mk instead you will need CMakeList.txt
CMake or ndk-build .
- If you’re not familiar with either or your project is cross platform, CMake is probably the better choice. Because CMake’s main advantage is that you can use one set of build files for all your targets (Android, Linux, Windows, iOS, etc).
- ndk-build should be preferred if you’re building a project that already uses Android.mk files for its build system (legacy projects).
***Securing Keys using ndk-build…(Item-01)
step 01: Create a folder “jni” under src/main.
step 02: Create a file ‘Android.mk’ under “jni” folder with following content:
step 03: Create another file ‘Application.mk’ file under “jni” folder with the following content:
Here, This is for setting different Application Binary Interface or ABI. More details can be found at Application.mk.
step 04: Create the C/C++ file “keys.c” under “jni” folder. Add the following content to it:
- “Java_com_shishirstudio_ndktest_MainActivity_getFacebookApiKey”: represents the Java code with package name “com.shishirstudio.ndktest” [ dot(.) must be replaced with underscore(_)]followed by Activity name “MainActivity” where we want to call the native function and the static method “getFacebookApiKey” to fetch the API key from the native function. So the combination is:< Package Name>_
_ - In the above code, I have encoded the actual API key using Base64 encoding (You can store actual API key) for making another security layer.

step 05: Add a static block and load the library ‘keys’ in the activity where you will access the keys. (In our case in MainActivity).
step 06: We also have to add member functions of type “native” to access the keys from the C/C++ file. Since we stored 2 keys, we will declare 2 functions:
step 07: Now access the keys in the code like:
step 08: Oh ! one more things, to compile or make the native build using NDK, don’t forget to add entry into the gradle file:
step 09: Now, sync and build the project. And you will find everything is ok….
***Securing Keys using CMake…(item-02)
step 01: Create a new project or use existing project.
step 02: Create a folder named “cpp” under src/main.
step 03: Create the C/C++ file “native-lib.cpp” under “cpp” folder. And add the following content to it:
- “Java_com_shishirstudio_ndktest_MainActivity_stringFromJNI”: represents the Java code with package name “com.shishirstudio.ndktest” [ dot(.) must be replaced with underscore(_)]followed by Activity name “MainActivity” where we want to call the native function and the static method “stringFromJNI” to fetch the API key from the native function. So the combination is:< Package Name>_
_
Now the directory looks like below…

step 04: Create a CMake build script CMakeLists.txt under app folder ( This is a plain text file that you must name CMakeLists.txt ) and add the following content to it.
Step 05: Now, our C/C++ native files and Java code are ready. But to compile or make the native build using NDK, we need to add entry into the gradle file:
Step 06: To use this API follow the step 05,06 and 07 of item-01.
***** The easiest and best way*****
In the newer updates of Android Studio its very easy because everything will be ready for you automatically. Just follow the below step:-
step 01: Enable “include C++ support” while taking a new project in android studio.
Источник
The Ultimate Guide to Mobile API Security
by Randall Degges | March 23, 2015 |
Heads up… this post is old!
For updated (and expanded) information, check out our API Security ebook on the Okta developer site.
Update 10/23/2016: Interested in securing Android and iOS apps? Be sure to check out our guide to Securing Android Applications as well as our guide to Securing iOS Applications. And… If you want to build a REST API that your mobile apps can talk with, we’ve also got you covered.
Mobile API consumption is a topic that comes up frequently on both Stack Overflow and the Stormpath support channel. It’s a problem that has already been solved, but requires a lot of prerequisite knowledge and sufficient understanding in order to implement properly.
This post will walk you through everything you need to know to properly secure a REST API for consumption on mobile devices, whether you’re building a mobile app that needs to access a REST API, or writing a REST API and planning to have developers write mobile apps that work with your API service.
My goal is to not only explain how to properly secure your REST API for mobile developers, but to also explain how the entire exchange of credentials works from start to finish, how to recover from security breaches, and much more.
The Problem with Mobile API Security
Before we dive into how to properly secure your REST API for mobile developers — let’s first discuss what makes mobile authentication different from traditional API authentication in the first place!
The most basic form of API authentication is typically known as HTTP Basic Authentication.
The way it works is pretty simple for both the people writing API services, and the developers that consume them:
- A developer is given an API key (typically an ID and Secret). This API key usually looks something like this: 3bb743bbd45d4eb8ae31e16b9f83c9ba:ffb7d6369eb84580ad2e52ca3fc06c9d .
- A developer is responsible for storing this API key in a secure place on their server, in a place that nobody else can access it.
- The developer makes API requests to the API service by putting the API key he was given into the HTTP Authorization header along with the word Basic (which is used by the API server to properly decode the authorization credentials). Here’s how a developer might specify his API key when authenticating to an API service via the command line tool cURL :
The cURL tool will take the API credentials, base64 encode them, and create an HTTP Authorization header that looks like this: Basic
M2JiNzQzYmJkNDVkNGViOGFlMzFlMTZiOWY4M2M5YmE6ZmZiN2Q2MzY5ZWI4NDU4MGFkMmU1MmNhM2ZjMDZjOWQ= .
The API server will then reverse this process. When it finds the HTTP Authorization header, it will base64 decode the result, grab the API key ID and Secret, then validate these tokens before allowing the request to continue being processed.
HTTP Basic Authentication is great because it’s simple. A developer can request an API key and easily authenticate to the API service using this key.
What makes HTTP Basic Authentication a bad option for mobile apps is that you need to actually store the API key securely in order for things to work. In addition to this, HTTP Basic Authentication requires that your raw API keys be sent over the wire for every request, thereby increasing the chance of exploitation in the long run (the less you use your credentials, the better).
In most cases, this is impractical as there’s no way to safely embed your API keys into a mobile app that is distributed to many users.
For instance, if you build a mobile app with your API keys embedded inside of it, a savvy user could reverse engineer your app, exposing this API key, and abusing your service.
This is why HTTP Basic Authentication is not optimal in untrusted environments, like web browsers and mobile applications.
NOTE: Like all authentication protocols, HTTP Basic Authentication must be used over SSL at all times.
Which brings us to our next section…
Introducing OAuth2 for Mobile API Security
You’ve probably heard of OAuth before, and the debate about what it is and is not good for. Let’s be clear: OAuth2 is an excellent protocol for securing API services from untrusted devices, and it provides a nice way to authenticate mobile users via what is called token authentication.
Here’s how OAuth2 token authentication works from a user perspective (OAuth2 calls this the password grant flow):
- A user opens up your mobile app and is prompted for their username or email and password.
- You send a POST request from your mobile app to your API service with the user’s username or email and password data included (OVER SSL!).
- You validate the user credentials, and create an access token for the user that expires after a certain amount of time.
- You store this access token on the mobile device, treating it like an API key which lets you access your API service.
- Once the access token expires and no longer works, you re-prompt the user for their username or email and passwordU.
What makes OAuth2 great for securing APIs is that it doesn’t require you to store API keys in an unsafe environment. Instead, it will generate access tokens that can be stored in an untrusted environment temporarily.
This is great because even if an attacker somehow manages to get a hold of your temporary access token, it will expire! This reduces damage potential (we’ll cover this in more depth in our next article).
Now, when your API service generates an Oauth2 access token that your mobile app needs, of course you’ll need to store this in your mobile app somewhere.
BUT WHERE?!
Well, there are different places this token should be stored depending on what platform you’re developing against. If you’re writing an Android app, for instance, you’ll want to store all access tokens in SharedPreferences (here’s the API docs you need to make it work). If you’re an iOS developer, you will want to store your access tokens in the Keychain.
If you still have questions, the following two StackOverflow posts will be very useful — they explain not only how you should store access tokens a specific way, but why as well:
It’s all starting to come together now, right? Great!
You should now have a high level of understanding in regards to how OAuth2 can help you, why you should use it, and roughly how it works.
Which brings us to the next section…
Access Tokens
Let’s talk about access tokens for a little bit. What the heck are they, anyway? Are they randomly generated numbers? Are they uuids? Are they something else? AND WHY?!
Here’s the short answer: an access token can technically be anything you want:
- A random number
- A random string
- A UUID
- etc.
As long as you can:
- Issue it to a client,
- Verify that it was created by you (using a strong signature),
- And assign it an expiration time…
BUT… With that said, there are some conventions you’ll probably want to follow.
Instead of handling all this stuff yourself, you can instead create an access token that’s a JWT (JSON Web Token). It’s a relatively new specification that allows you to generate access tokens that:
- Can be issues to clients.
- Can be verified as being created by you (more on this later).
- Can expire automatically at a specific time.
- Can hold variable JSON information.
- Can reduce the amount of API calls to your service by allowing users to validate / verify their API credentials LOCALLY, without querying your service!
JWTs also look like a randomly generated string: so you can always store them as strings when using them. This makes them really convenient to use in place of a traditional access token as they’re basically the same thing, except with way more benefits.
JWTs are almost always cryptographically signed. The way they work is like so:
- You store a secure random string somewhere on your API server. This should ideally just be a long random string (40 characters or so is fine).
- When you create a new JWT, you’ll pass this random string into your JWT library to sign the token, along with any JSON data you want to store: a user account ID, an email address, what permissions this user has, etc.
- This token will be generated, and it’ll look something like this: header.claims.signature — where header, claims, and signature are just long base64 encoded strings. This isn’t really important to know though.
- You give this token to your user: likely an API client (eg: your mobile app).
Now, from the mobile client, you can view whatever is stored in the JWT. So if I have a JWT, I can easily check to see what JSON data is inside it. Usually it’ll be something like:
Источник


