- Upload File/Image to the server using Volley in Android.
- What is a MultiPart Request?
- Using Restful API
- Example of upload file/image to a server with the multipart request using volley.
- 1. Creating an Android project.
- 2. Add Dependency.
- 3. Sync Project.
- 4. Adding Permission in AndroidMainfest.xml file.
- 5. User Interface
- 6. VolleyMultipartRequest
- 7. Upload file/image to the server.
- 8. Above code explanation.
- 9. Run the Project
- Upload Files to Server using Service in Android
- Step for implementation
- 6. Write a File Provider
- 7. Finally, Open the Activity (MainActivity) add do below operation
- Android Upload File to Server with Progress using Retrofit
- Prerequisites
- Android Upload File to Server with Progress – Video
- Designing Database
- Building Image Upload API
- Android Upload File to Server with Progress
- Creating an Android Project
- Adding Dependencies
- Designing User Interface
- Choosing an Image from Androids Gallery
- Setting Up Retrofit for File Upload
Upload File/Image to the server using Volley in Android.
Upload file/image to the server using volley in Android is a very frequently used thing. In most of the apps, we need user avatar, i.e. user profile image.
In this article, we are going to see an example to Android upload a file/image to the server with a Multipart using volley.
What is a MultiPart Request?
HttpMultipart requests are used to send heavy data or files like audio and video to the server.
Android Volley gives you a very faster and optimized environment to send heavy data or files to the server. Here I post an image file selected from the gallery.
Using Restful API
Here, I am going to use the below API URL to upload the file/image.
ROOT_URL =“http://seoforworld.com/api/v1/file-upload.php”
Example of upload file/image to a server with the multipart request using volley.
1. Creating an Android project.
- Open Android Studio and create a new project (I created UploadFile)
2. Add Dependency.
Add Volley to your project. You can quickly add it using Gradle. Extract Gradle Scripts and open build.gradle (Module: app)
So your dependencies block will look like
3. Sync Project.
Now click on Sync Project With Gradle Icon from the top menu and it will automatically download and add volley library to your project.
4. Adding Permission in AndroidMainfest.xml file.
We also need the Internet and Read and Write Storage permission. So inside AndroidManifest.xml add these permissions.
your AndroidManifest.xml file will look like as below:-
5. User Interface
Now inside activity_main.xml and write the following XML code into your activity_main.xml.
6. VolleyMultipartRequest
Here, we need to perform a multipart request. But the problem is volley doesn’t support multipart requests directly. So that is why we need to create our Custom Volley Request.
Create a java class with VolleyMultipartRequest and write the below code in that file.
7. Upload file/image to the server.
Now, the main thing to upload files/images to the server. We will do it inside the MainActivity.java file.
write the below code to your MainActivity.java file.
8. Above code explanation.
The below code is used to take permission from the device for access gallery on Button click.
In the MainActivity.java file, Function showFileChooser() is used to choose an image from the device gallery.
And, To complete the image choosing process we need to override the onActivityResult() method.
getPath() method is used to get the absolute path of the file/image.
And, uploadBitmap() method is used to upload file/image to the server.
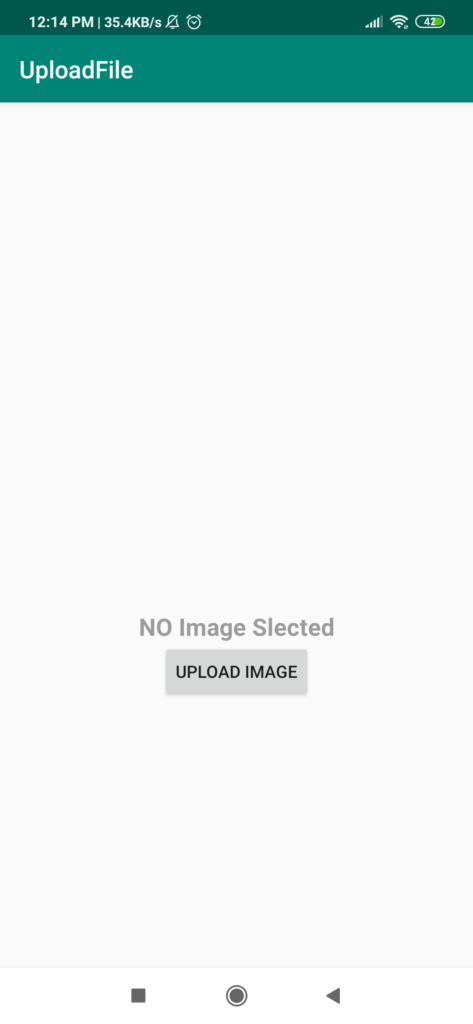
9. Run the Project
On running the project you will get the following output.
 www.maxester.com
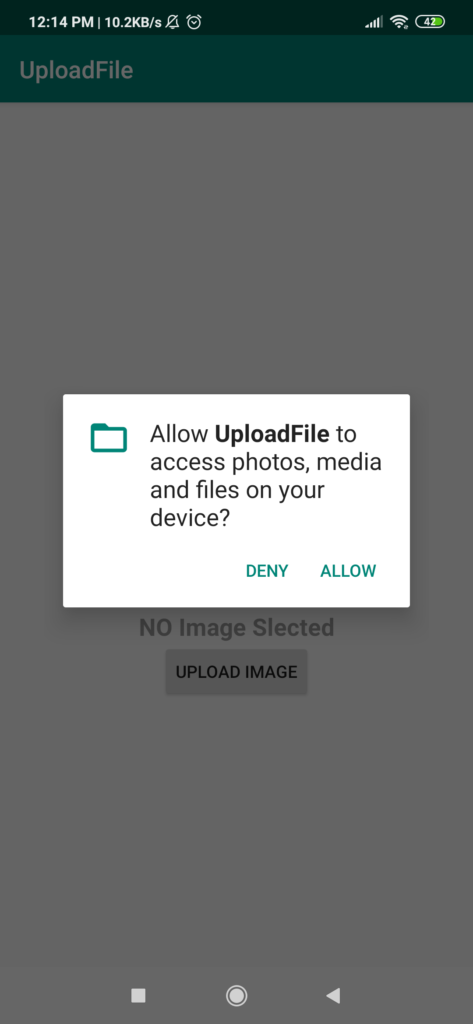
b. Click on the upload image button and give permission.
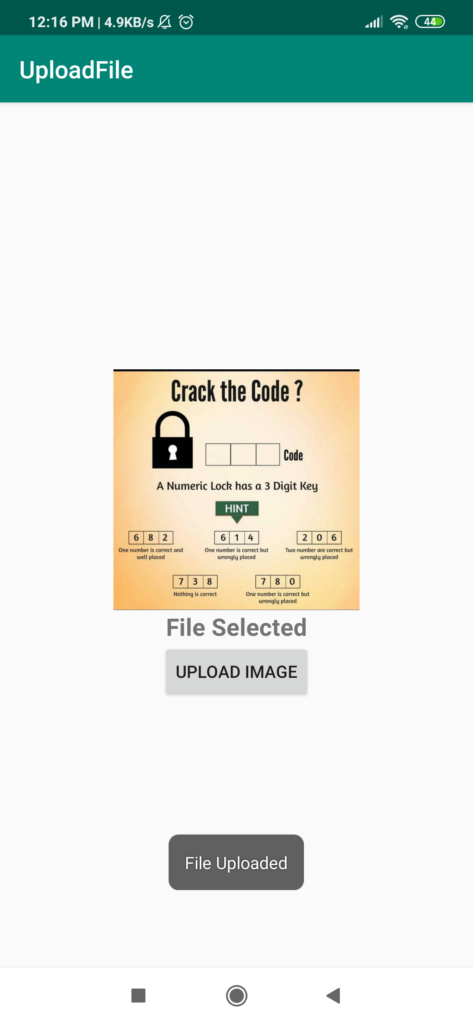
c. Image/File Uploaded
 Download Source Code
Источник
Upload Files to Server using Service in Android
In the previous blog, I have learned, File uploading to the server from an activity. Now In this article, I’m going to explain how to upload file to the server using Android Service.
In earlier, Normally We use IntentService to perform background task, it is an advanced form of background service in android. That creates a separate thread to perform background operation. But Android Oreo imposed some limitation of background execution. I have written a separate article on it you can read here. So IntentService does not work in Oreo devices and onward while app is in background . In Oreo Android introduced JobIntentService for performing background. It is the modern way of using the background service to perform background task(that run in both cases while app is foreground or background). I have written also a separate article on Working with JobIntentService also. Now we will use JobIntentService for file uploading.
Step for implementation
- Create a new class and extends JobIntentService.
- Now override the onHandleWork() methods.
- Setup Retrofit instance and Expose API file upload API
- Place file upload logic in onHandleWork()
- Create a local BroadCastReceiver() that update the result of service in activity
- Now expose enqueueWork() to start this service
- Open MainActivity and starts the JobIntentService
- We have to pass file path with Intent so write a below code for getting file from camera and intent.
- Open AndroidManifest and add followings code
Upload Files to Server using Service (Demo App)
Let’s implements above one by one.
1. Create a new class and extends JobIntentService
Create a new project with Basic Template. open app/build .gradle add the dependency
After that create a new class in named is FileUploadService and extends JobIntentService. Then override the onHandleWork() methods.
2. Setup Retrofit instance and Expose API file upload API
Create a interface named RestApiService and expose file upload API
Now create instances of Retrofit like this
3. Create a utility class named is CountingRequestBody
4.. Open the FileUploadService and do following operation
Furthermore, open the FileUploadService again and call the API likes below
- Place file upload logic in onHandleWork()
- Create a local BroadCastReceiver() that updates the result in activity
- Now expose enqueueWork() to start this service
The complete FileUploadService is looks like this
4.1 Declare service inside the Manifest
- For Pre-Oreo devices => We have to set uses permission – WAKE_LOCK permission
- For Oreo device => you have to declare android.permission.BIND_JOB_SERVICE
5. Open activity_main.xml and add below code
6. Write a File Provider
In this demo, we will capture image from camera and gallery with the help of FileProvider. I have written a separate article on capturing image from camera/gallery using FileProvider. I would like to suggest Read this article more clarity.
6.1 Go to res => xml => create a new xml file named is file_provider_path.xml and paste that code
6.2 Now open the AndroidManifest.xml and declare file provider inside the application tag
6.3 Declare storage and camera permission in manifest
7. Finally, Open the Activity (MainActivity) add do below operation
- We are using Dexter for using permission on run time. So Expose requestStoragePermission() for requesting permission
- Create methods for preparing intent for camera and gallery names is startCamera() and chooseGallery ()
- Handle callback result in onActivityResult()
- Register and UnRegister local BroadcastReceiver
Final code of Activity looks like below
I’m new in Android so If you have any queries or suggestions, feel free to ask them in the comment section below. Happy Coding 🙂
Источник
Android Upload File to Server with Progress using Retrofit
Hi everyone, “Uploading File or Image to Backend Server” this is something that we often need to do in many applications. We already learned this concept in many previous posts. But things keep changing in this tech world and old methods are obsolete now. That is why here I am with this Android Upload File to Server with Progress Tutorial.
The method we will learn in this post is fully updated and will work in all devices, including Android 10.
Prerequisites
- XAMPP Server: We will use it for the backend, and ofcourse we will be using PHP and MySQL here for the backend part. But if you are comfortable with some other tech for handling the backend you can do it. We basically just need the API that will accept a file.
- Retrofit: We will be using this networking library in our Android Project.
If you want to learn building RESTFul API, that you can use in your production application then please subscribe to my YouTube channel and comment to any video that you want a production level RESTFul API Development Tutorial.

You can also learn the basics of RESTFul API Development using SLIM3 PHP Framework from the below given link.
Now let’s move into our post. We will start by designing our database.
What we will do is we will store the uploaded image to an uploads directory in the backend server and we will store the path to that image in our MySQL database. And you should remember this thing, we don’t store files in our MySQL database, we just store path to the file in the database.
Android Upload File to Server with Progress – Video
In case you are more comfortable watching video tutorial, then you can watch the above playlist that explains complete step by step guide about Uploading File to Server with Progress.
But in case you are ok reading a written tutorial, keep reading, we will do the same thing here.
Designing Database
- We will be using a very simple table. So just open PhpMyAdmin (I hope your XAMPP Server is running) and create a database. In my case I have created a table named ImageUploader.
- Now we need to create a table where we will store the uploaded files info. Run the following SQL query to create a table named uploads.
- As you can see we have 3 columns in our table (id, path and description).
Building Image Upload API
- We have the database, now let’s build the Image Upload API. For this I have a directory named ImageUploader inside my root folder that is htdocs for xampp.
- Inside this directory we will create a file named DbConnect.php.
- The above file will make our database connection. Now let’s create the script that will handle the file upload.
- Create a file named Api.php and write the following code.
- The above code handle two cases. The first one is to upload the file and the next is to fetch the uploaded files.
If you need the source code of the PHP Scripts, then you can get it from the below given link.
So we have the APIs ready, now let’s create our Android Project.
Android Upload File to Server with Progress
Creating an Android Project
- I have created a new project named ImageUploader using an EmptyActivity. Once the project is loaded, we will add required dependencies and internet permission.
- First add internet permission in your AndroidManifest.xml, you also need to add the usesCleartextTraffic=”true”.
- Now we will add the required dependencies.
Adding Dependencies
- Open app level build.gradle file and add the following dependencies inside dependencies block.
- After adding these lines, sync the project.
Designing User Interface
- Now let’s design the UI. Open activity_main.xml and write the following xml code.
- The above XML Code will generate the following output.
 Android Upload File to Server with Progress
- As you can see we have a very simple User Interface for our upload operation.
- Now we need an Image to Upload it. And we will let the user choose the image from device. So our first task here is to let the user choose the image to upload.
Choosing an Image from Androids Gallery
- First define a var inside your MainActivity.kt. This var will keep the uri of the selected image file.
- Now we will create two different function inside our MainActivity.kt. One is to choose the image that we will use now and other to upload the image.
- We will also attach the click listeners to our ImageView and Button to call the functions as you can see in the below code.
- The above code snippet you need to put inside your onCreate() function.
- Inside MainActivity.kt we will define a constant that we will use for getting the selected image.
- Now we will define the function openImageChooser() that will open the image picker, and we will also override the function onActivityResult() to get the selected image.
- As you can see inside the function onActivityResult() we are storing the uri of the image to the var that we defined at the beginning. We are also displaying the image selected in our ImageView.
Here we have the tricky part, we have the Uri of the image, but to upload the image we need the real path of it. If you have seen my last tutorial about Uploading Image with Retrofit, then here we have used a function that provides the real path from Uri. But this doesn’t work anymore in Android 10.
Nowadays, android recommends us to use the app directory for file storage. Every app has its own app-specific storage directory for file storage that is not accessible to other apps, and all files stored here are removed when we uninstall the application. And the good thing is too access this area you don’t need any permission.
So what we need to do is, we need to select the file from the gallery and make a copy of it inside the app-specific storage directory.
But before doing the above mentioned thing we will setup the Retrofit.
Setting Up Retrofit for File Upload
If you have used Retrofit earlier, you know what we need to do. First we will create an interface to define the API Calls.
Источник


