- Android Share Intent Example for URL, Text or Image
- Android Share Intent Example Step by Step
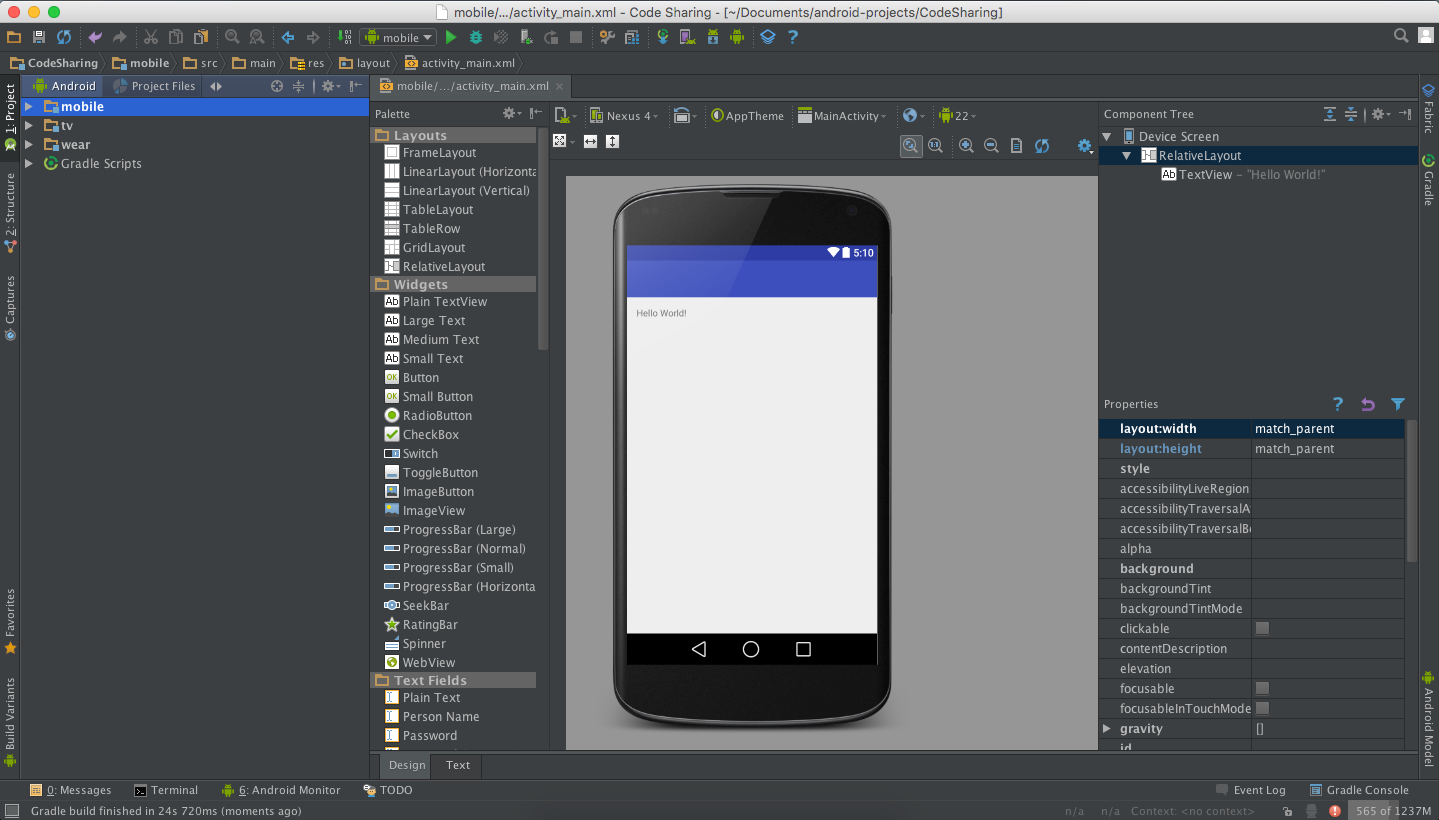
- Step 1: Prepare XML Layout, we’ll have activity_main.xml
- Step 2: Inside the onCreate method of MainActivity.java, put the buttons and OnClickListener handlers.
- Step 3: As you’ve noticed, we have shareTextUrl() method that will be triggered every time the user clicks on the “Share Text or URL” button.
- Step 4: We also have shareImage() method for sharing images. It is triggered when the user clicks on the “Share Image” button.
- Complete MainActivity.java code:
- Today’s code output screenshots
- Sharing code in Android Studio
- Smarter project structure for apps with multiple platforms.
- Публикация контента в Android
- Предварительные требования
- Привязывание Facebook SDK с использованием Maven
- Дальнейшие предварительные требования
- Моделирование контента
- Ссылки
- Видео
- Мультимедийный контент
- Добавление интерфейсов для публикации контента
- Кнопки
- Кнопка «Поделиться»
- Диалог «Поделиться»
- Диалог сообщения
- Дополнительные функции
- Хэштеги
- Публикация цитаты
- Дополнительные материалы
- Встроенные альтернативные диалоги для публикации контента
- App Links
- Sharing Content with Intents
Android Share Intent Example for URL, Text or Image
Today I’m going to give you an android share intent example that you can use to enable your app to share contents such as URL or text and Image to other apps installed in your Android device like Facebook, Twitter, Messaging, Instagram, Evernote, etc.. Example uses of this code include:
You are building an app that browses a certain website or URL.
Your app generates an image that a user can share.

Android Share Intent Example Step by Step
Step 1: Prepare XML Layout, we’ll have activity_main.xml
Step 2: Inside the onCreate method of MainActivity.java, put the buttons and OnClickListener handlers.
Step 3: As you’ve noticed, we have shareTextUrl() method that will be triggered every time the user clicks on the “Share Text or URL” button.
Step 4: We also have shareImage() method for sharing images. It is triggered when the user clicks on the “Share Image” button.
Complete MainActivity.java code:
Please note that when you use the setType() method, you are enabling Android to filter what apps can share your content. For example, you are sharing a text or URL, the appropriate apps to be shown can be Facebook, Messaging or Email. If you are sharing an image, proper apps can be Instagram, Snapseed or Picasa.
Today’s code output screenshots

Share Text or URL button was touched. Take note of the apps on the list.

User chose to share to Facebook

“Share Image” button was touched. Apps was different on the list.

User chose to share with Gmail. Our image was attached.

User chose to share to Snapseed.
If you have any suggestions to improve this post, please drop it in the comments section below! I’ll be glad to update this post for further improvement. Thanks for reading our Android Share Intent Example!
Источник
Sharing code in Android Studio
Smarter project structure for apps with multiple platforms.

Let’s say you’re developing a same Android app for Android Mobile, Android TV, Android Watch, and you start to notice that most of the code is repeating, for example API calls and models, POJO classes for JSON parsing, common constants that are used across all the apps etc… Well there’s a cool way to share those chunks of code!
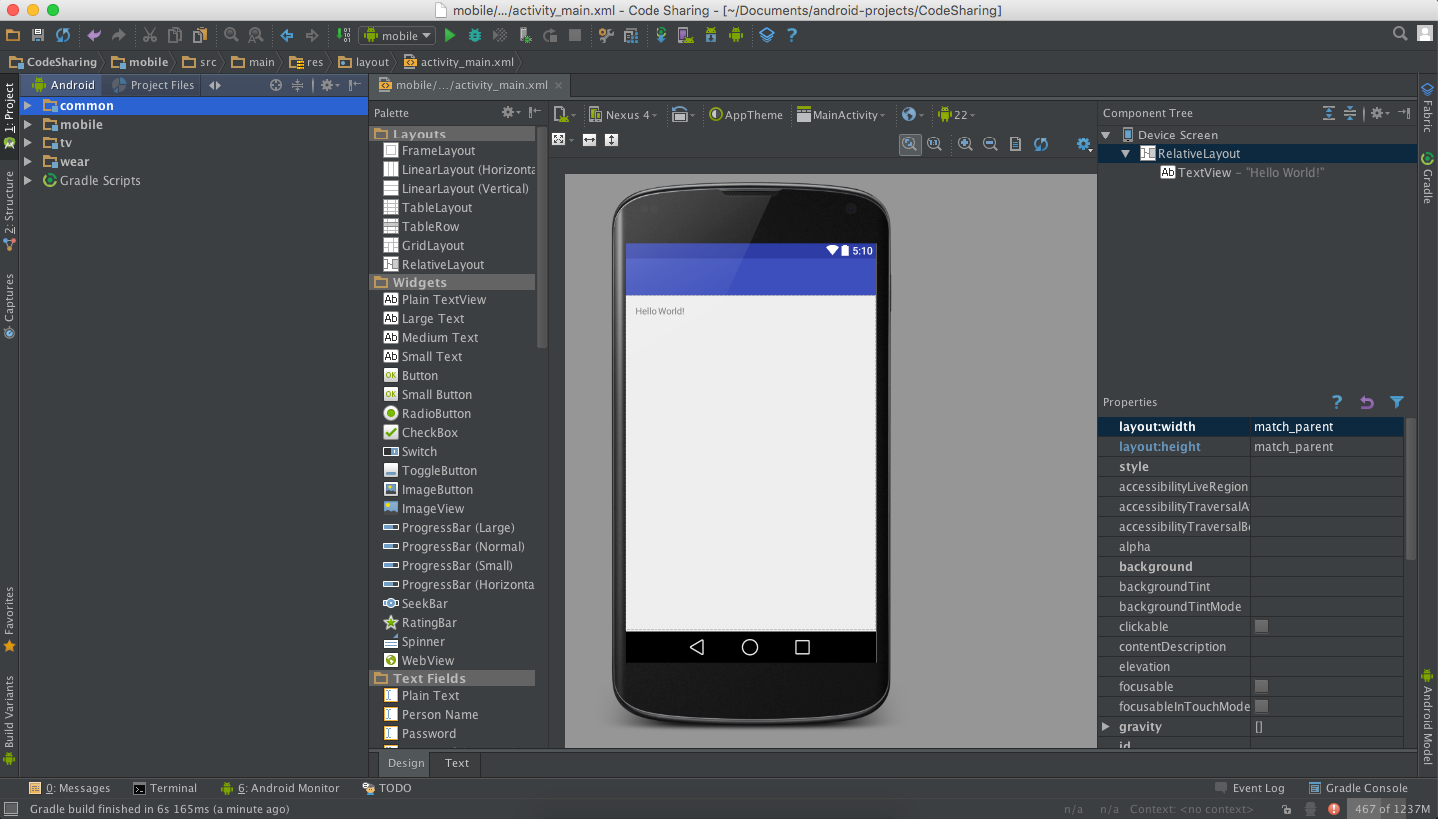
For the sake of simplicity let’s use a blank project with 3 platforms: Mobile, TV and Wear. Now let’s say that we have a string that we would like to display on all of the apps. Instead of copying the string and pasting it in every project, we can make a new Module that we’re gonna call Common for example, and let that string live there.
So let’s do that! File > New > New Module… will open a window with Module options.

Go ahead and select the Android Library and click Next. Name it “Common” and make sure that the package name is the same as your other modules and append common at the end of it, like so: com.example.lazarnikolov.common and click Finish. You can now see the new common module:
Now let’s add a new Java class in the common module! Expand common, expand java and right-click on the first package, New > Java Class. Name it as you wish, in my case Constants. Add a dummy string, for example:
Now in order to use this “sharedText” string, open the build.gradle file of every module you want to share the project, and append this in “dependencies”:
Your dependencies of the build.gradle file should look like this:

After the project syncs with the Gradle files, our shared string is ready to be used! So let’s add a simple TextView with the ID textView:
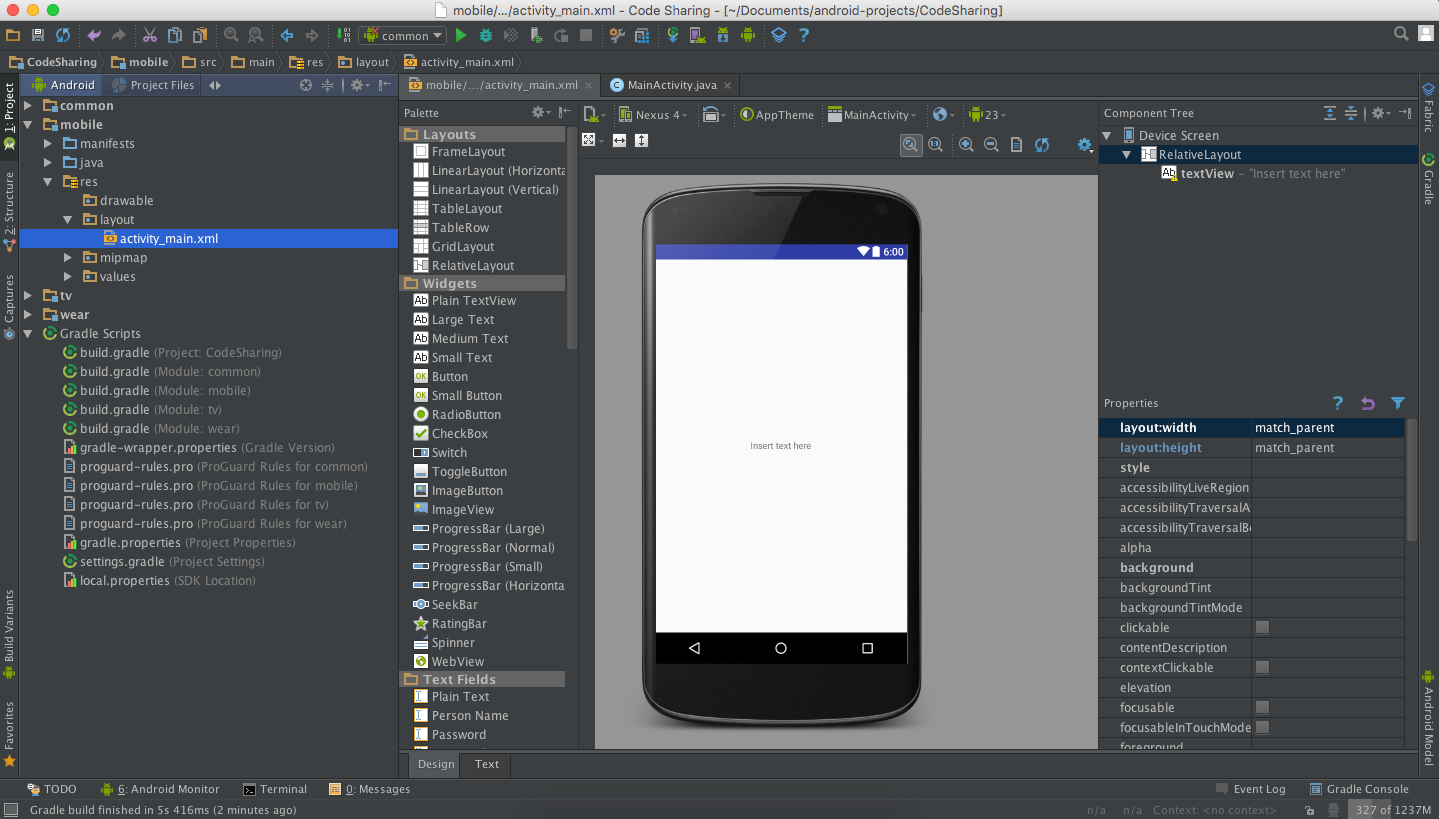
Now let’s go to the Java class assigned with this screen, in my case MainActivity, and initialize the TextView variable with the ID:

Now let’s set the textView’s text to our shared variable “sharedText”. In order to do that, we need to import the common project’s package name. Expand the imports and append this line:
And now we’re ready to use our shared string! Let’s set the textView’s text to Constants.sharedText:
Your whole MainActivity class should look something like this:

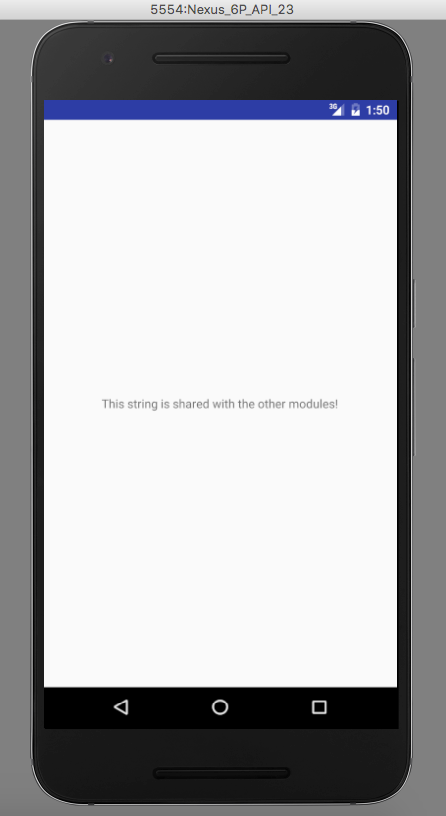
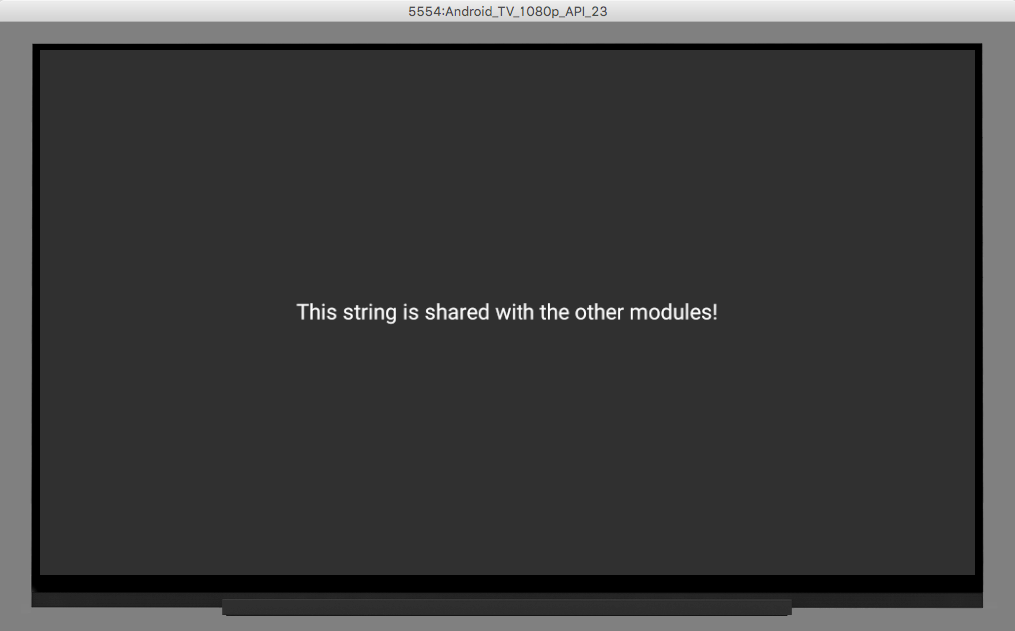
And if we run this now, we’ll see that our sharedText string appears in the mobile app’s main screen:
Let’s do the same for the other modules as well! Add compile project(“:common”) in the other build.gradle files, import the package in the activities where you’d like to use the string, and set it on a text view!

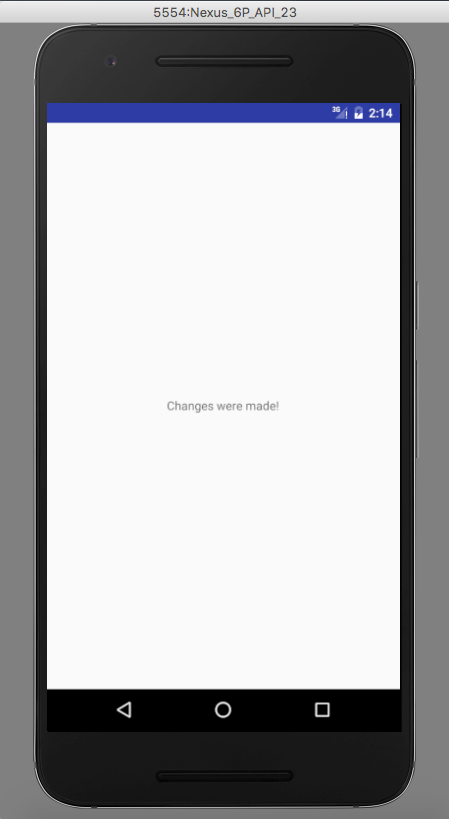
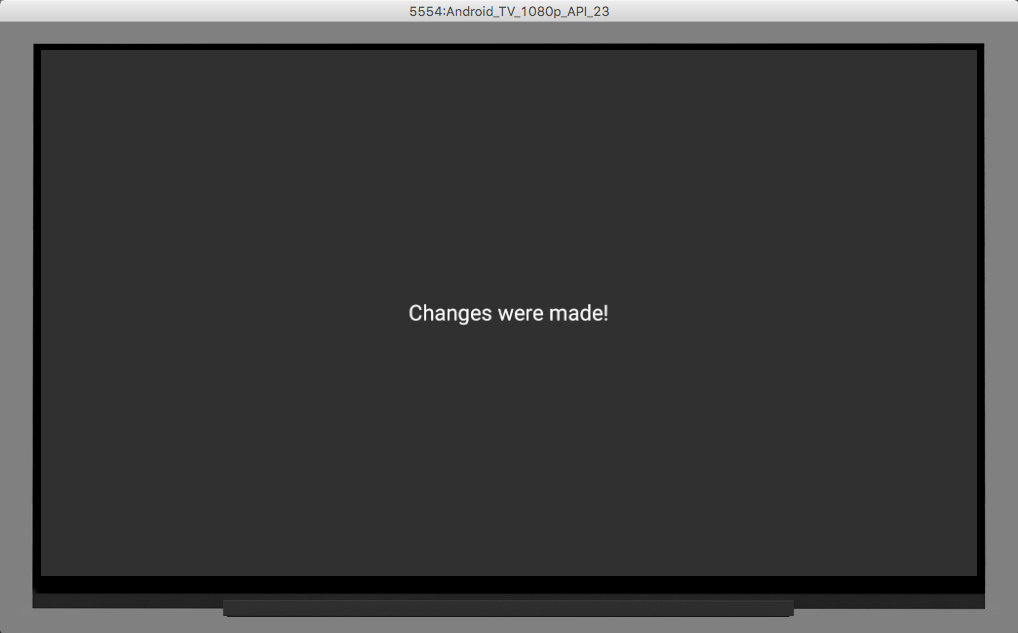
Would you look at that! Now let’s change the string in the common module and run our apps again to see the result:

Sweeeet! Now the possibilities are endless! You can share lots of stuff, for example, if you’re using Retrofit you can share your API calls, endpoints, models, you can share app constants that you use with SharedPreferences as keys for consistency and a lot more! It is a great practice if you’re working on projects that have multiple platforms and modules, it saves time and it prevents future headaches!
You can download the project here.
I hope you liked this article. Don’t forget to like it and share it around if you found it interesting.
Источник
Публикация контента в Android
В этом руководстве поясняется, как интегрировать в приложение Android функцию публикации контента на Facebook. Контент, которым люди делятся через ваше приложение, появляется в их хронике, а также может отображаться в Ленте новостей их друзей.

Кроме того, контентом из приложения можно делиться в Facebook Messenger.
Предварительные требования
Прежде чем дать пользователям возможность делиться на Facebook контентом из приложения, нужно привязать или скачать Facebook Sharing SDK для Android.
Sharing SDK для Android — это компонент Facebook SDK для Android. Чтобы использовать Facebook Sharing SDK в проекте, сделайте его зависимостью в Maven.
Привязывание Facebook SDK с использованием Maven
Откройте в своем проекте your_app | Gradle Scripts | build.gradle (Project) и добавьте в раздел buildscript < repositories <>> следующий репозиторий:
Откройте в своем проекте your_app | Gradle Scripts | build.gradle (Module: app) и добавьте в раздел dependencies<> следующее выражение:
При использовании Facebook SDK некоторые события в приложении регистрируются и собираются автоматически (если не отключить их автоматическую регистрацию). Подробнее о том, какая информация собирается и как отключить автоматическую регистрацию событий, см. в разделе, посвященном автоматической регистрации событий в приложении.
Дальнейшие предварительные требования
Выполните следующие действия:
Подробные сведения об этих требованиях см. в статье Начало работы с SDK для Android.
Также потребуется настроить ContentProvider в файле AndroidManifest.xml , где
Приложение, в котором интегрирована публикация контента, не должно заранее заполнять поля для контента, которым люди хотят поделиться. Это нарушение Политики платформы Facebook (см. правила для разработчиков).
Моделирование контента
В Facebook SDK версий 4.0 и выше предусмотрены новые модели публикации контента. Для каждого типа контента, которым хотят поделиться люди, предусмотрен свой класс. После моделирования контента добавьте в приложение интерфейс публикации.
Ссылки
Когда люди публикуют на Facebook ссылки из вашего приложения, в публикацию добавляется contentURL с соответствующей ссылкой. Подготовьте ссылки для публикации, используя модель ShareLinkContent . Список всех атрибутов см. в справке по ShareLinkContent .

Пример кода для запуска публикации:
Чтобы предварительно просмотреть публикуемую ссылку на App Store или Google Play, введите ее URL в отладчике репостов.
Если ваша публикация содержит ссылку на приложение в Google Play или App Store, описание и изображение в публикации будут игнорироваться. Вместо этого мы загрузим название и изображение приложения из магазина (если изображения в магазине нет, его не будет и в публикации).
Люди могут делиться на Facebook фотографиями из вашего приложения. Для этого используется диалог «Поделиться». Кроме того, на устройстве должно быть установлено нативное приложение Facebook для Android (версии 7.0 или более поздней).

Подготовьте контент фото для публикации, используя модель SharePhotoContent . Список всех атрибутов см. в справке по SharePhotoContent .
Видео
Люди могут делиться на Facebook видео из вашего приложения. Для этого используется диалог «Поделиться».
Подготовьте контент видео для публикации, используя модель ShareVideoContent . Список всех атрибутов см. в справке по ShareVideoContent .
Мультимедийный контент
Люди могут делиться мультимедийным контентом, содержащим фото и видео, из вашего приложения на Facebook с помощью диалога «Поделиться». Обратите внимание на следующие ограничения:
Подготовьте мультимедийный контент для публикации, используя модель ShareMediaContent . Список всех атрибутов см. в справке по ShareMediaContent .
Добавление интерфейсов для публикации контента
После создания модели контента запустите интерфейс Facebook для публикации.
Кнопки
Для запуска публикации контента можно воспользоваться нативными кнопками Facebook для Android.
Кнопка «Поделиться»
Кнопка «Поделиться» служит для вызова диалога «Поделиться». Чтобы добавить кнопку «Поделиться», вставьте в представление следующий фрагмент кода:
Диалог «Поделиться»
Этот диалог служит для переключения в нативное приложение Facebook для Android. После публикации он возвращает управление вашему приложению. В зависимости от используемого вами SDK для возврата в приложение, возможно, потребуется нажать стрелку назад. Если на устройстве не установлено приложение Facebook, диалог «Поделиться» автоматически переключается на веб-диалог.
Например, чтобы показать диалог ShareDialog для ссылки в вашем действии, создайте в методе onCreate экземпляр ShareDialog :
Затем покажите диалог ShareDialog:
Наконец, в onActivityResult вызовите callbackManager из SDK для обработки ответа:
Если вы используете действия или фрагменты AndroidX, не нужно переопределять onActivityResult .
Диалог сообщения
Этот диалог служит для переключения в нативное приложение Messenger для Android. После публикации он возвращает управление вашему приложению. В зависимости от используемого вами SDK для возврата в приложение, возможно, потребуется нажать стрелку назад.
Дополнительные функции
При использовании диалога «Поделиться» Facebook вы можете применять дополнительные функции, которые недоступны, если вы публикуете контент с помощью API.
Хэштеги
Для фото, ссылки или видео, которыми вы делитесь, можно указать один хэштег. Он также будет отображаться в диалоге «Поделиться». При желании люди могут удалить его перед публикацией.
Ниже показано, как добавить хэштег к ссылке.
Публикация цитаты
Вы можете позволить людям самостоятельно выделять текст, который будет отображаться как цитата со ссылкой. Кроме того, вы можете сами выбрать цитату, например врез в статье, который будет отображаться вместе со ссылкой. В любом случае цитата отображается в собственном поле отдельно от комментариев пользователя.
Дополнительные материалы
Встроенные альтернативные диалоги для публикации контента
В предыдущих версиях Facebook SDK для Android, прежде чем открыть диалог «Поделиться», приложению необходимо было проверить, установлено ли на устройстве нативное приложение Facebook, и предусмотреть соответствующий код для вызова альтернативной версии диалога, если оно отсутствует.
Теперь SDK автоматически проверяет наличие на устройстве нативного приложения Facebook. Если оно отсутствует, SDK переключает пользователя в его браузер по умолчанию и открывает диалоговое окно.
App Links
С помощью App Links можно создавать обратные ссылки на ваше приложение из публикаций на Facebook, которыми поделились из него. Когда человек нажимает такую публикацию, открывается ваше приложение. Можно также создать ссылку на определенный контент в приложении.
Источник
Sharing Content with Intents
Intents allow us to communicate data between Android apps and implicit intents can also accept actions. One of those actions is the ACTION_SEND command which indicates we want to send data across apps. To send data, all you need to do is specify the data and its type, and the system will identify compatible receiving activities and display them to the user.
Sending and receiving data between applications with intents is most commonly used for social sharing of content. Intents allow users to share information quickly and easily, using their favorite applications.
You can send content by invoking an implicit intent with ACTION_SEND .
To send images or binary data:
Sending URL links should simply use text/plain type:
In certain cases, we might want to send an image along with text. This can be done with:
Sharing multiple images can be done with:
See this stackoverflow post for more details.
Note: Facebook does not properly recognize multiple shared elements. See this facebook specific bug for more details and share using their SDK.
Facebook doesn’t work well with normal sharing intents when sharing multiple content elements as discussed in this bug. To share posts with facebook, we need to:
- Create a new Facebook app here (follow the instructions)
- Add the Facebook SDK to your Android project
- Share using this code snippet:
You may want to send an image that were loaded from a remote URL. Assuming you are using a third party library like Glide, here is how you might share an image that came from the network and was loaded into an ImageView. There are two ways to accomplish this. The first way, shown below, takes the bitmap from the view and loads it into a file.
and then later assuming after the image has completed loading, this is how you can trigger a share:
Make sure to setup the «SD Card» within the emulator device settings:

Note that if you are using API 24 or above, see the section below on using a FileProvider to work around new file restrictions.
If you are targeting Android API 24 or higher, private File URI resources (file:///) cannot be shared. You must instead wrap the File object as a content provider (content://) using the FileProvider class.
First, you must declare this FileProvider in your AndroidManifest.xml file within the tag:
Next, create a resource directory called xml and create a fileprovider.xml . Assuming you wish to grant access to the application’s specific external storage directory, which requires requesting no additional permissions, you can declare this line as follows:
Finally, you will convert the File object into a content provider using the FileProvider class:
If you see a INSTALL_FAILED_CONFLICTING_PROVIDER error when attempting to run the app, change the string com.codepath.fileprovider in your Java and XML files to something more unique, such as com.codepath.fileprovider.YOUR_APP_NAME_HERE .
Note that there are other XML tags you can use in the fileprovider.xml , which map to the File directory specified. In the example above, we use Context.getExternalFilesDir(Environment.DIRECTORY_PICTURES) , which corresponded to the XML tag in the declaration with the Pictures path explicitly specified. Here are all the options you can use too:
| XML tag | Corresponding storage call | When to use |
|---|---|---|
| Context.getFilesDir() | data can only be viewed by app, deleted when uninstalled ( /data/data/[packagename]/files ) | |
| Context.getExternalFilesDir() | data can be read/write by the app, any apps granted with READ_STORAGE permission can read too, deleted when uninstalled ( /Android/data/[packagename]/files ) | |
| Context.getCacheDir() | temporary file storage | |
| Environment.getExternalStoragePublicDirectory() | data can be read/write by the app, any apps can view, files not deleted when uninstalled | |
| Context.getExternalCacheDir() | temporary file storage with usually larger space |
If you are using API 23 or above, then you’ll need to request runtime permissions for Manifest.permission.READ_EXTERNAL_STORAGE and Manifest.permission.WRITE_EXTERNAL_STORAGE in order to share the image as shown above since newer versions require explicit permisions at runtime for accessing external storage.
Note: There is a common bug on emulators that will cause MediaStore.Images.Media.insertImage to fail with E/MediaStore﹕ Failed to insert image unless the media directory is first initialized as described in the link.

This is how you can easily use an ActionBar share icon to activate a ShareIntent. The below focuses on the support ShareActionProvider for use with AppCompatActivity .
Note: This is an alternative to using a sharing intent as described in the previous section. You either can use a sharing intent or the provider as described below.
First, we need to add an ActionBar menu item in res/menu/ in the XML specifying the ShareActionProvider class.
Next, get access to share provider menu item in the Activity so we can attach the share intent later:
Note: ShareActionProvider does not respond to onOptionsItemSelected() events, so you set the share action provider as soon as it is possible.
Now, once you’ve setup the ShareActionProvider menu item, construct and attach the share intent for the provider but only after image has been loaded as shown below using the RequestListener for Glide .
Note: Be sure to call attachShareIntentAction method both inside onCreateOptionsMenu AND inside the onResourceReady for Glide to ensure that the share attaches properly.
We can use a similar approach if we wish to create a share action for the current URL that is being loaded in a WebView:
Check out the official guide for easy sharing for more information.
Источник


