- Android — Text To Speech
- Example
- Android SDK: Using the Text to Speech Engine
- Step 1: Start or Open an Android Project
- Step 2: Create User Interface Elements
- Step 3: Listen For User Events
- Step 4: Get the Entered Text
- Step 5: Create a Speech Method
- Step 6: Implement TTS Within the Class
- Step 7: Check for TTS Data
- Step 8: Create a TTS Instance
- Step 9: Provide the onInit Method
- Step 10: Speak!
- Conclusion
- Как добавить Text-to-Speech в свое приложение
Android — Text To Speech
Android allows you convert your text into voice. Not only you can convert it but it also allows you to speak text in variety of different languages.
Android provides TextToSpeech class for this purpose. In order to use this class, you need to instantiate an object of this class and also specify the initListener. Its syntax is given below −
In this listener, you have to specify the properties for TextToSpeech object , such as its language ,pitch e.t.c. Language can be set by calling setLanguage() method. Its syntax is given below −
The method setLanguage takes an Locale object as parameter. The list of some of the locales available are given below −
| Sr.No | Locale |
|---|---|
| 1 | US |
| 2 | CANADA_FRENCH |
| 3 | GERMANY |
| 4 | ITALY |
| 5 | JAPAN |
| 6 | CHINA |
Once you have set the language, you can call speak method of the class to speak the text. Its syntax is given below −
Apart from the speak method, there are some other methods available in the TextToSpeech class. They are listed below −
| Sr.No | Method & description | |||||||||
|---|---|---|---|---|---|---|---|---|---|---|
| 1 |
| Steps | Description |
|---|---|
| 1 | You will use Android studio to create an Android application under a package com.example.sairamkrishna.myapplication. |
| 2 | Modify src/MainActivity.java file to add TextToSpeech code. |
| 3 | Modify layout XML file res/layout/activity_main.xml add any GUI component if required. |
| 4 | Run the application and choose a running android device and install the application on it and verify the results. |
Here is the content of src/MainActivity.java.
Here is the content of activity_main.xml
In the following code abcindicates the logo of tutorialspoint.com
Here is the content of Strings.xml.
Here is the content of AndroidManifest.xml
Let’s try to run your application. I assume you have connected your actual Android Mobile device with your computer. To run the app from Android studio, open one of your project’s activity files and click Run  icon from the toolbar. Before starting your application, android studio will display following window to select an option where you want to run your Android application.

Select your mobile device as an option and then check your mobile device which will display following screen.
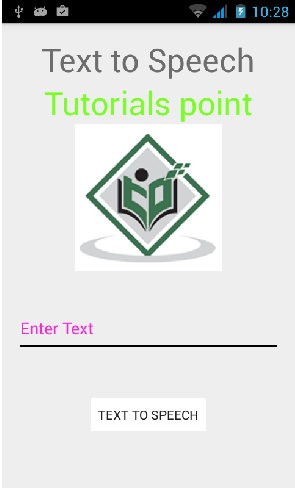
Now just type some text in the field and click on the text to speech button below. A notification would appear and text will be spoken. It is shown in the image below −
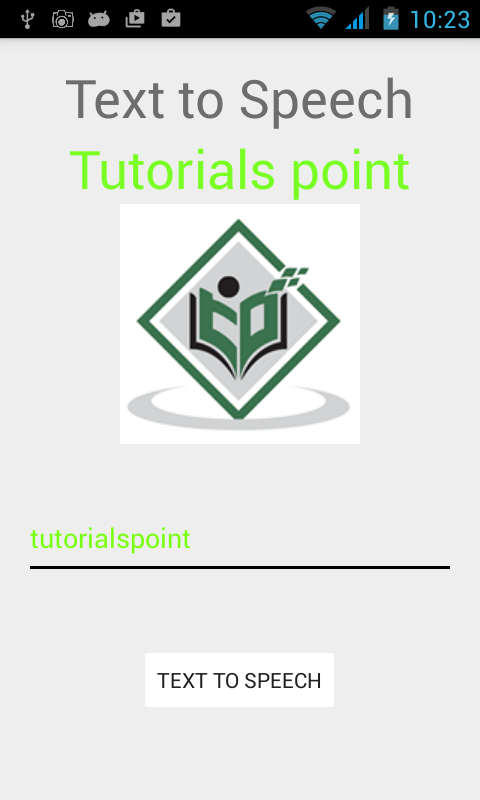
Now type something else and repeat the step again with different locale. You will again hear sound. This is shown below −
Источник
Android SDK: Using the Text to Speech Engine
This tutorial will teach you to give your applications a voice with the Android SDK text to speech engine!
The Android text to speech engine still seems to be a pretty underused resource in Android apps. However, implementing it in your own applications is straightforward. There are a few potential issues and choices you need to consider, but for most purposes, the process is not a complex one. In this tutorial we jump around a bit within one Android Activity, but don’t worry, the complete code is listed at the end. The aim is to give you a clear idea of the what’s going on at each processing stage so that you can successfully use the function in any app.
Step 1: Start or Open an Android Project
If you already have an application you want to implement Text To Speech with, open it in your IDE. Otherwise, create a new Android project. You can use the code in this tutorial with any Activity class. For demonstration, we will first create some user interface elements. Again, if you already have your own UI, you can use it instead.
Step 2: Create User Interface Elements
Add some user interface elements to your application, allowing the user to enter text and initiate speech playback using a button. In the XML layout file for your Activity, which will be «main.xml» if you created a new project, add the following markup:
Your XML layout files should be in the «res/layout» directory within your application package. This code adds three user interface elements: a label with some instructional text in it, an editable text-field, and a button. The user will be able to enter text into the field, then press the button to hear it spoken. If you are using an existing project, you can of course use the interface elements you already have. If you are using these new elements, you can alter them to suit the design of your own app.


Step 3: Listen For User Events
Open the Java file for the Activity you want to implement TTS in. If you created a new app, open the main class file. In Eclipse, your Activity should automatically have the «onCreate» method within it and should extend «Activity» as part of its declaration. At the top of the class file, add the following import statements so that your app can listen for button clicks:
Alter the class declaration to implement the «OnClickListener» interface, as in the following sample line of code:
Alter the class name to suit your own application details. Your IDE may display warnings because your class has not yet implemented «OnClickListener» correctly — just ignore these for now. In the «onCreate» method, add the following code:
If you did not add the button using «speak» as its ID in your XML layout file, alter this code to reflect the correct ID value. This sets your Activity class up to handle user button clicks. Add the following method outline to your class:
Inside this method you will begin the Text To Speech functionality.
Step 4: Get the Entered Text
When the user clicks the button, your app needs to get any text entered so that you can pass it to the TTS method. Add the following import statement at the top of your class declaration so that your code can refer to the editable text-field:
Inside your «onClick» method, add the following code:
This code first acquires a reference to the text-field using its ID value, so alter this if you used a different value in your layout XML. Next, the code gets the text from the field and stores it as a string variable. If the user has not entered any text this will be empty. Depending on the logic within your application you may wish to add a conditional test, checking that the string is not null or zero in length, but this is not generally necessary.


Step 5: Create a Speech Method
To keep your Android classes well-organized, it’s advisable to create dedicated methods for processes you may want to use more than once. Add the following method outline to your Activity:
This is where your TTS processing will go. Back in the «onClick» listener method, call this new method, passing it the string variable your code copied from the text-field:
Using a method for the TTS process means that your code can call on it elsewhere if necessary.
Step 6: Implement TTS Within the Class
To utilize the TTS facility, you need to make a few more changes to your class declaration. Add the following import statements for the TTS classes at the top of your file:
You also need to implement one more interface, so alter your class declaration outline to add «OnInitListener» as in the following example:
Remember to use your own class name. Again, your IDE will alert you to the fact that you haven’t yet implemented this interface but don’t worry, you will soon.
Step 7: Check for TTS Data
Your app needs to check that the user has the data necessary for the TTS function before you call its methods. Declare and instantiate the following instance variable at the top of your Activity class declaration, before the «onCreate» method:
Add the following import statement at the top of the class:
In the «onCreate» method, add the following:
This code creates a new Intent purely for the purposes of checking the user data. When the checking process is complete, the code will call the «onActivityResult» method.
Step 8: Create a TTS Instance
Declare an instance variable for your TTS object at the top of the class declaration, also before the «onCreate» method:
Add the «onActivityResult» to your class as follows:
When the data checking Intent completes, the app calls this method, passing it the «MY_DATA_CHECK_CODE» variable indicating whether or not the user has the TTS data installed. If the data is present, the code goes ahead and creates an instance of the TTS class. If the data is not present, the app will prompt the user to install it.
Step 9: Provide the onInit Method
Your class declaration is implementing «OnInitListener» so you must provide an «onInit» method. In this method, you can carry out any final set-up checks you need, as well as choosing settings for your TTS instance, such as language and locale options. Add the following import statement at the top of your class:
Add the «onInit» method to the class as follows:
This code checks that the TTS resource is successfully instantiated, then sets a US English Locale for the speech operations. You can optionally output an error message for users if the TTS does not successfully instantiate by adding the following after the «if» block:
If you use this code you will also need to import the Toast class by adding the following statement at the top of your file:
Your app can carry out checks on the user device, such as available languages, as in the following extended version of the statement creating the TTS object inside the first conditional statement:
Step 10: Speak!
Finally, your app is ready to speak. Inside the «speakWords» method, add the following code:
There are lots of options here in terms of how your app handles speech. This code instructs the app to speak the text string immediately. If you want to add consecutive speech operations, you can instruct the app to wait until any current speech operations finish by adding your new speech item to a queue, as follows:
Once your class is finished with the TTS, you can optionally shut it down as follows:
Don’t include this line if you want your users to be able to make the app speak more than once.
Conclusion
To see how all of these elements fit together, here is the complete class declaration:
Remember to use your own class name and to indicate your application package at the top of the file. If you are using Eclipse, you should not need to add all of the import statements manually, as the IDE will insert some of them automatically. Run your app in the Android emulator and hear it in action.
This is a basic overview of implementing Text To Speech in your Android apps. The TTS resource provides a wide range of additional options you may want to explore depending on the nature of your apps. When calling the TextToSpeech object «speak» method for example, you can pass a HashMap object indicating the details of more complex playback options.
Источник
Как добавить Text-to-Speech в свое приложение
Android предоставляет действительно огромные возможности для работы с устройствами. Например, он позволяет конвертировать текст в речь, о чём и будет говориться в этой статье. Это достигается благодаря использованию Синтеза речи (Text-to-Speech), который не только умеет конвертировать текст в речь, но также может говорить на разных языках.
Синтез речи может использоваться в самых разных областях, например, одно из наиболее частых применений это озвучивание текста для пользователей с нарушением зрения. Синтез речи также применяется для того, чтобы читать вслух книги или изучать языки.
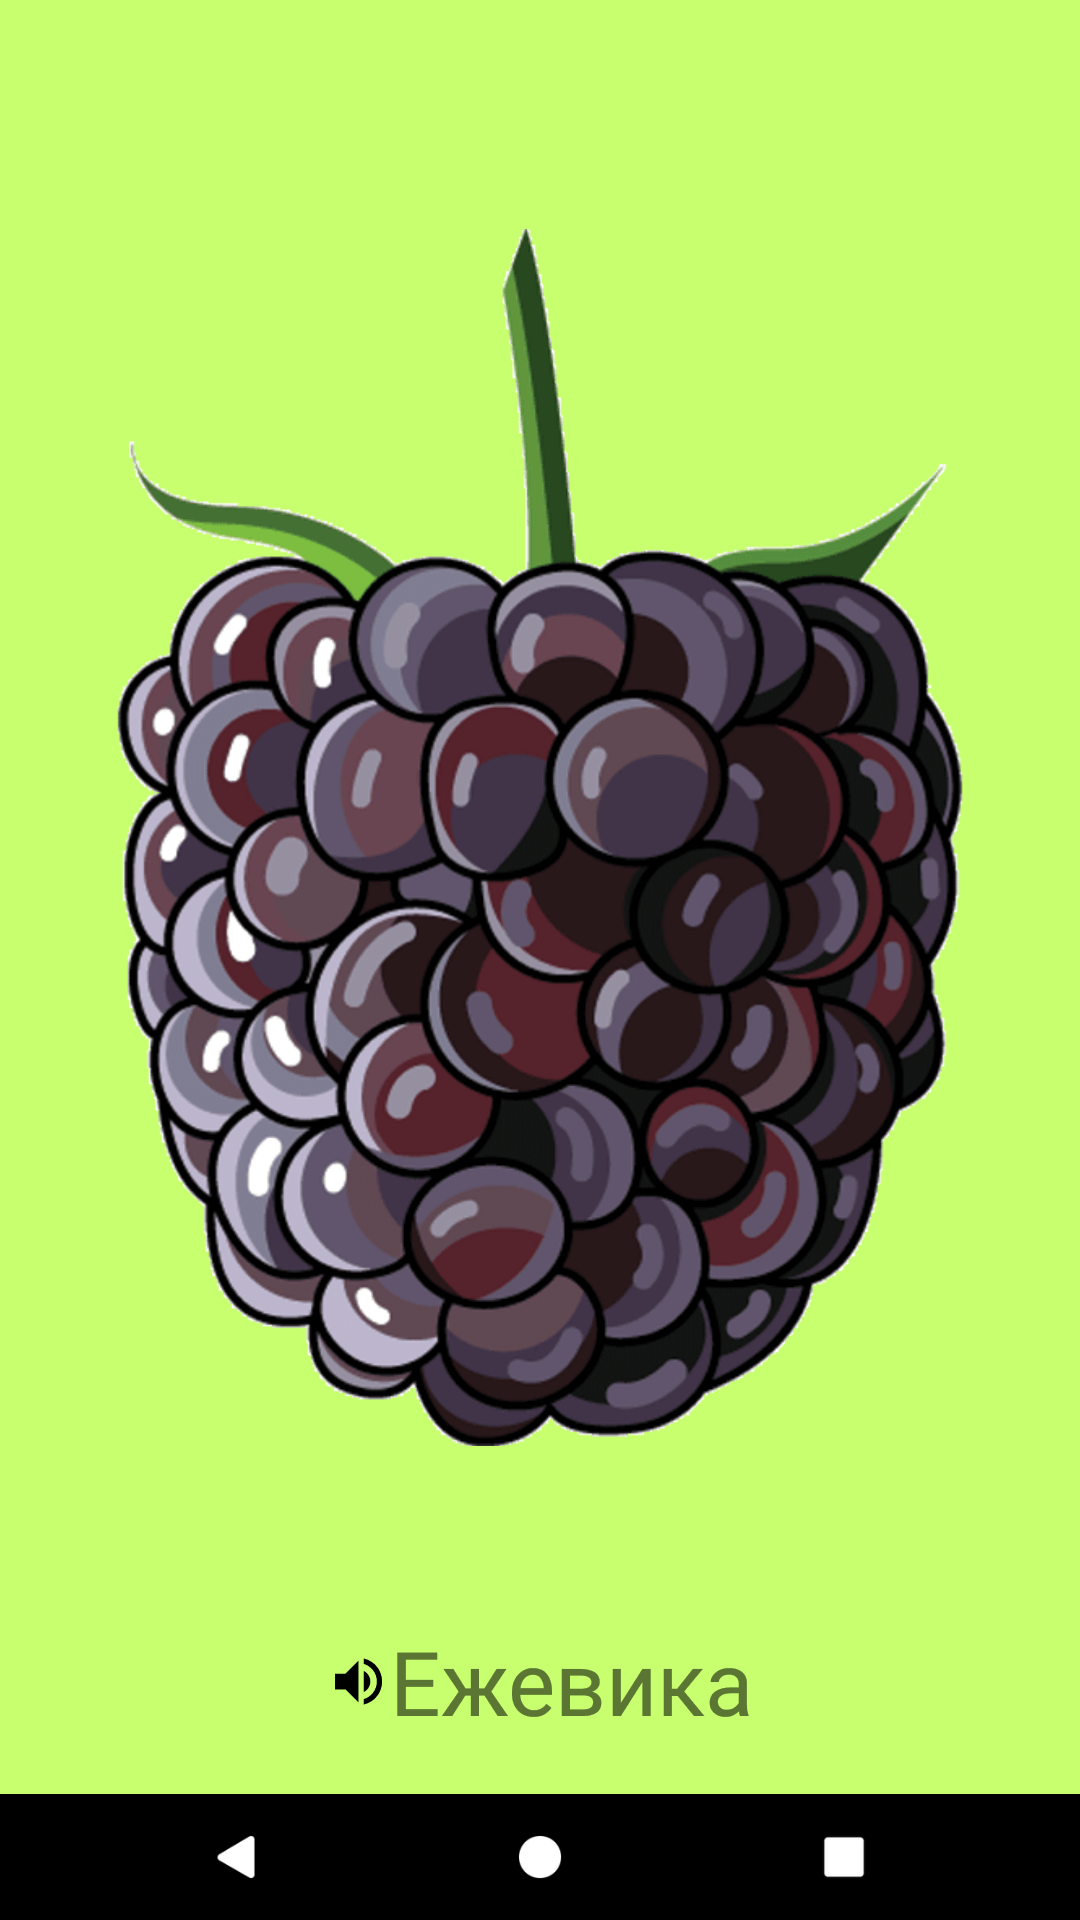
В нашем приложении «Карточки для детей» с помощью Text-to-Speech, если активировать эту опцию в настройках, озвучивается содержимое выбранной карточки при нажатии на неё. В этой статье мы рассмотрим, как добавляется синтез речи в приложение.
Для того, чтобы использовать в своём приложении синтез речи, Android SDK предоставляет класс TextToSpeech, который и синтезирует речь из текста. Его реализация достаточно проста, для начала нужно инициализировать экземпляр TextToSpeech и слушатель onInitListener.
В этом слушателе мы должны определить свойства экземпляра TextToSpeech после его инициализации, такие как язык, тембр и так далее. Для этого добавим в onItit() следующий код.
Если инициализация завершена успешно, то с помощью метода isLanguageAvailable() проверяем доступность русского языка. В зависимости от того, доступен ли русский язык, методом setLanguage() устанавливаем экземпляру TextToSpeech или русский язык, или английский.
setLanguage() в качестве параметра принимает объект Locale, однако здесь есть один момент: TextToSpeech не знает локаль ru_RU, которая возвращается при вызове метода Locale.getDefault(). Поэтому при установке русского языка лучше явно задать локаль ru для корректной работы. Получить её можно, вызвав метод Locale.getDefault().getLanguage().

Метод setPitch() выставляет тембр голоса, который будет озвучивать текст.
Метод setSpeechRate() устанавливает скорость речи.
Теперь, когда объект инициализирован, нужно заставить его читать текст. Для этого при нажатии на карточку вызывается callback, передающий слушателю на активности с экземпляром TextToSpeech данные, которые нужно озвучить. Ключевым в процессе синтеза речи будет являться метод speak() класса TextToSpeech.
В метод speak() необходимо передать следующие параметры:
- text — текст, который нужно воспроизвести;
- TextToSpeech.QUEUE_FLUSH — флаг, обозначающий, что при добавлении новой фразы текущую необходимо прервать и начать воспроизведение добавленной. Если вы хотите составить очередь из фраз, следует использовать вместо этого флаг TextToSpeech.QUEUE_ADD;
- Дополнительные параметры.
Главным отличием здесь является то, как формируются дополнительные параметры, в частности идентификатор фразы.
Для версий ниже Lolipop 5.0 (API 21) нужно создать объект HashMap , в который необходимо добавить пару ключ-значение, где ключ TextToSpeech.Engine.KEY_PARAM_UTTERANCE_ID обозначает, что мы хотим добавить в параметры идентификатор фразы, а значение — собственно идентификатор, например «MessageId».
В новых же версиях Android это можно сделать проще, без использования HashMap.
В результате мы добавили TextToSpeech в наше приложение и получили возможность воспроизводить название каждой карточки средствами устройства.
Источник


