- How to Transfer Files from Android Storage to an Internal SD Card
- How To Transfer Files To An SD Card On Your Android Phone
- Transfer Files From Android Internal Storage To SD Card
- Using File Manager
- Transfer Images From Android Internal Storage To An SD Card
- Change The Default Camera Storage To SD Card
- Transfer Apps From Android Internal Storage To The SD Card
- Storage Alternatives
- How to move apps to an SD card on Android
- How to move apps to an SD card on Android
- Use SD card as internal storage
How to Transfer Files from Android Storage to an Internal SD Card
Quickly free up precious storage space
When you get a brand new phone out of the box, it always gives you peak performance. But this may be short-lived once photos, apps, files, and updates accumulate and hog system resources.
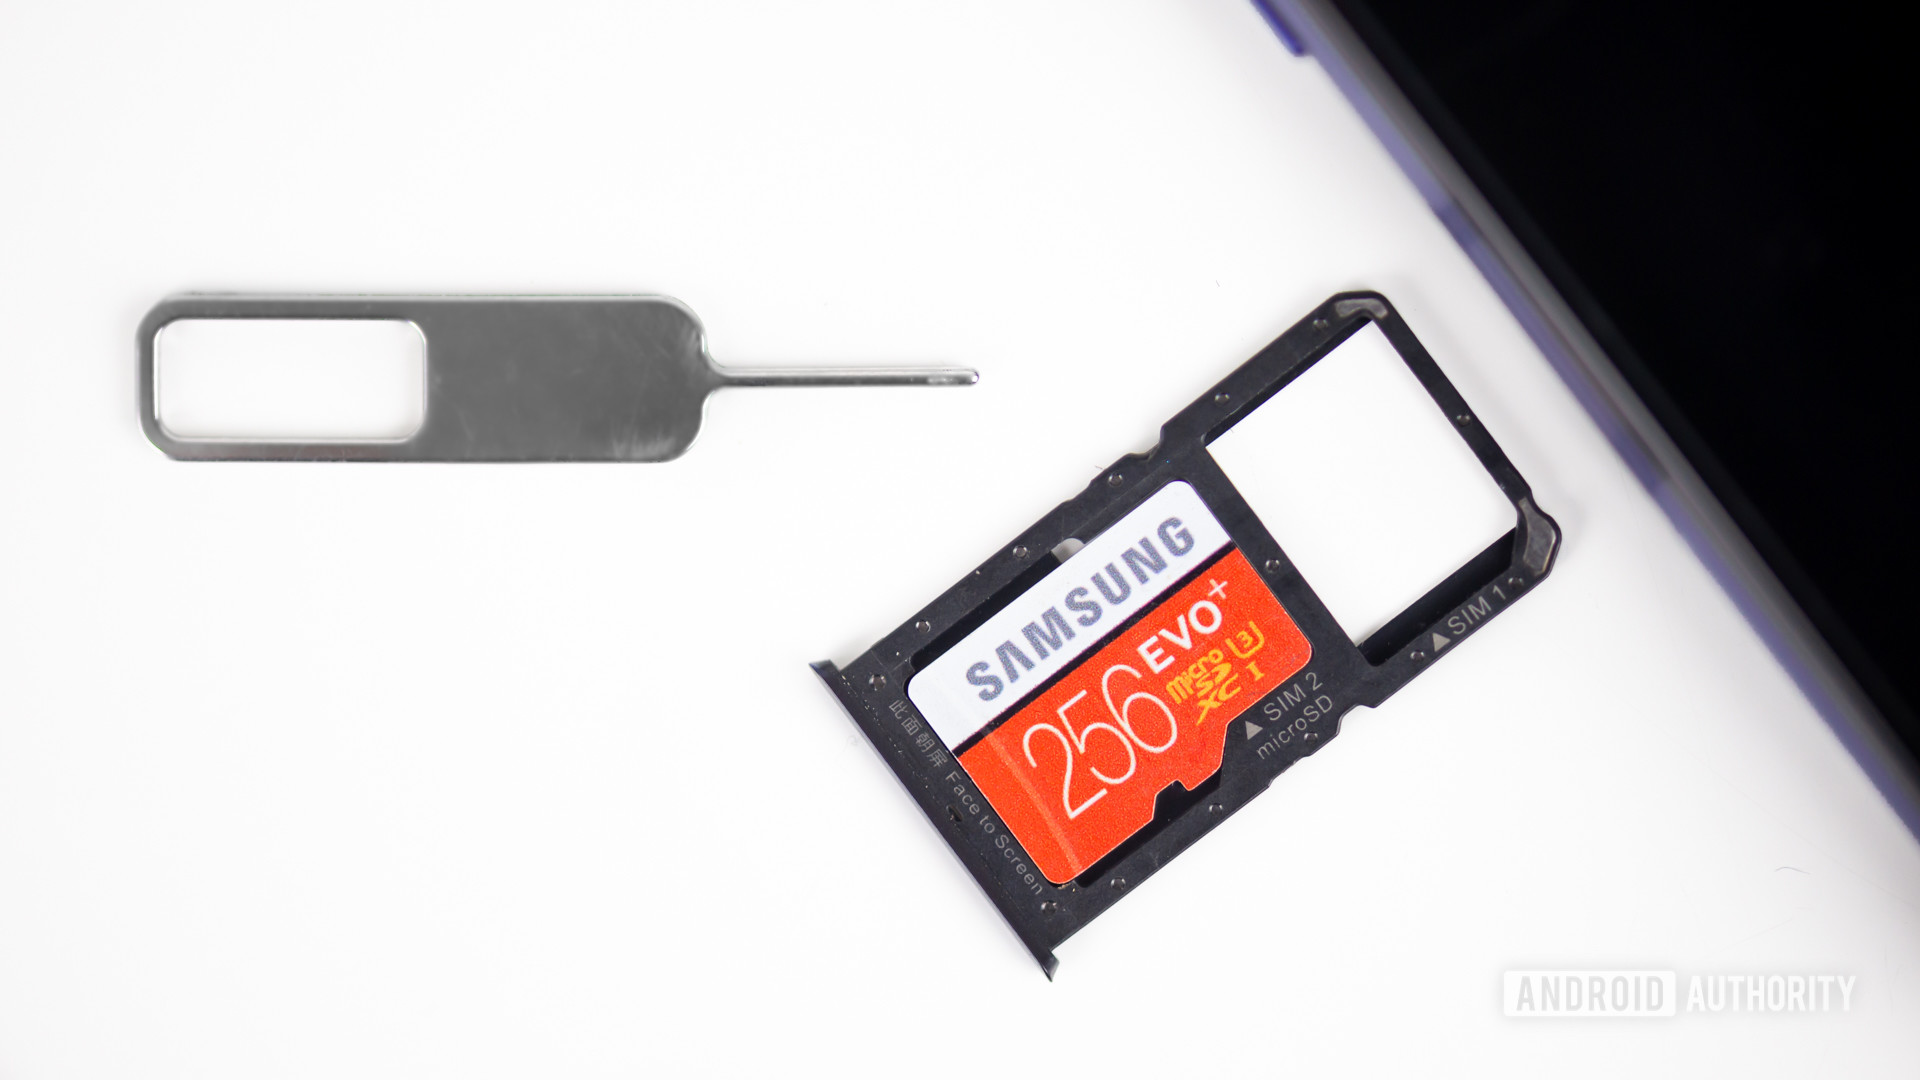
One of the best ways to deal with an Android phone that tends to feel sluggish over time is by expanding its storage using an SD card. This little device, the size of your thumbnail, has been around for more than two decades and can hold large amounts of data depending on its capacity.
![]()
Their capacities range from 128MB up to 1TB depending on the type of SD card. Be sure to check the maximum microSD card capacity your device supports before you get one.
While we’d like all phones to come with unlimited storage, that’s probably not in the offing any time soon. Plus, your phone won’t magically move all your files and images to the SD card once you insert it. You need to set it up to hold your files, apps and media. This way, you’ll free up precious storage space on your phone’s internal memory.
Not all Android phones support microSD cards though. Some also require you to set up the SD card as internal storage before migrating data.
How To Transfer Files To An SD Card On Your Android Phone
- Transfer files from Android internal storage to SD card
- Transfer images from Android internal storage to SD card
- Change default camera storage to SD card
- Transfer apps from Android internal storage to SD card
- Storage alternatives
Note: We’ve used the Samsung My Files app for the instructions below on a Samsung Galaxy S8+ (running Android Pie), but they should be similar for most Android phones.
Transfer Files From Android Internal Storage To SD Card
The benefit of saving your files to your SD card or other external storage for that matter, is that you can swap them to a different device. This is particularly helpful when you want to share data with another device, upgrade your own device efficiently, or move files to long-term backup or storage.
To move your files from your phone’s internal memory to an SD card, use your phone’s File Manager app (in our case, it’s My Files).
Using File Manager
- Open File Manager or My Files from its location on your phone.
![]()
- You’ll see a list of the different file categories and the storage options available on your phone. Tap the Documents folder.
![]()
- At the upper right side of the screen, tap Menu (three vertical dots) to show a drop-down list of actions.
![]()
- Tap Edit and select All the files, or choose individual files you want to move.
![]()
![]()
- Go back to My Files using the Home icon, and tap SD Card. Tap the desired location on the SD card and select Move Here. If you’re unsure, you can always tap Cancel to start over.
![]()
- Your phone will start moving the files to the SD card. Do this for any other files you’d like to move to the SD card.
Note: If your phone doesn’t have a pre-installed file manager app, like Samsung’s My Files app, you can download and install a third-party app to help you with this.
Transfer Images From Android Internal Storage To An SD Card
Do you need to make room for your precious memories? You can move all your images from your phone’s internal memory to the SD card.
- Open My Files (or your File Manager app) and tap Internal Storage.
![]()
- Tap DCIM to open it.
![]()
- Find Camera and long-press on it.
![]()
- Tap the Menu (three vertical dots) icon at the top and tap Edit.
![]()
- Tap Move on the lower left side of the screen (the position of this menu depends on your device). Go back to My Files using the Home icon, and tap SD Card.
![]()
- Tap DCIM. If you don’t have a folder labeled DCIM on the SD card, tap Create folder and label it DCIM, and then tap Done to set off the transfer.
![]()
Note: While you can assign your images to be transferred to the SD card, not all phones let you assign screenshots to capture and save on SD. In this case, you’ll have to keep copying and moving your screenshots to the SD card so they don’t fill up your phone.
Change The Default Camera Storage To SD Card
Instead of having to move your images and videos to your SD card every time, you can change the directories on the Camera app so that the SD card becomes the default storage location.
It’ll save the media files to the DCIM folder, but you need to confirm that your camera app offers this option first. If not, you can always download a different camera app from the Google Play Store.
- Open the Camera app on your phone. Tap the gear menu icon at the upper-left side to open Settings.
![]()
- Tap Storage Location.
![]()
- Tap SD card (it can be labeled as External Storage or Memory card depending on your device)
![]()
From now on, all photos or videos you take will be saved directly to the SD card.
Transfer Apps From Android Internal Storage To The SD Card
- Open Settings on your phone and go to Apps>App Info.
![]()
- Tap Storage and then tap Change next to the default storage. Select your SD card.
![]()
Note: If the Move to SD card option is greyed out, it means the particular app you’re trying to move cannot be transferred, because not all apps can be moved.
![]()
Plus, not all phones allow you to transfer apps. Some won’t let you move any apps to the SD card at all. This is entirely at the discretion of the app’s developer or the device manufacturer.
If your phone allows you to move apps, you should note that the apps won’t be available on the phone if you remove the SD card.
Storage Alternatives
If your SD card fills up and you run out of space, you can use a memory card reader to move the files or images to your computer. From there, you can back up the files or images to an external drive with higher capacity, or upload to online cloud storage like Google Drive, OneDrive or Dropbox for the long-term.
Elsie is a technology writer and editor with a special focus on Windows, Android and iOS. She writes about software, electronics and other tech subjects, her ultimate goal being to help people out with useful solutions to their daily tech issues in a simple, straightforward and unbiased style. She has a BCom degree in Marketing and currently pursuing her Masters in Communications and New Media. Read Elsie’s Full Bio
Источник
How to move apps to an SD card on Android
Are you running out of memory? In this guide, you’ll learn how to move apps to your SD card, so that you can free up storage and get the most from your storage space.
Managing storage space has become easier with the help of cloud services, streaming, and smartphones getting more internal memory. Regardless, it’s often a matter of time before you find yourself looking around for apps to delete so that you can make space for more files and apps. Many of you may own budget devices, which usually make sacrifices in the storage department. You might also enjoy games, and these apps are known to use up a significant amount of storage.
The good news is that if your device comes with expandable storage, you’ll be able to move apps to an SD card. Additionally, you can turn your microSD card into internal storage. This will effectively make it possible to move apps to your SD card, as well as all other data you may have on your phone. We’ll show you how to do both, so let’s get to it.
How to move apps to an SD card on Android

The good news is that it’s effortless to move apps to SD card on Android. Just keep in mind some apps don’t allow this feature. Manufacturers might also remove this capability.
How to move apps to SD card:
-
- Open the Settings app.
- Go into Apps.
- Access the app you want to move to the SD card.
- Select Storage.
- If the app supports the feature, you will see an option called Storage used. To change where the app is stored, tap the Change button right under.
- Select the SD card.
- Tap on Move.
- The phone will transfer the files.
This process is reversible, so if you should decide you want the app back on your internal storage, you can move it again using the same process.
Note: These instructions were put together using a Samsung Galaxy S10 Plus running Android 11. Keep in mind steps might be slightly different depending on your device and Android version.
Use SD card as internal storage
If the previous method isn’t good enough or isn’t supported by your apps/manufacturer, then there’s still another way to move apps to microSD on Android. It might actually be a more convenient option. You can make Android treat your SD card as internal storage. This will make everything much more convenient, as you no longer have to worry about where to put apps and files. Your internal storage and SD card will turn into one conglomerate.
Turning your microSD card into internal storage has its downsides. Once you turn an SD card into a phone’s internal storage, you will only be able to use that storage unit with that specific phone (unless you format it again). Furthermore, the phone will also only work when said microSD card is inserted. Removing it will trigger a factory data reset.
Aside from turning your phone and SD card into slaves to each other, you might also have to worry about performance. SD cards can be slow. Make sure you get one that’s fast enough to keep performance healthy on your Android device. Lastly, not every phone out there supports this feature, even if it has expandable storage.
Adopt SD card the easy way:
- Insert the microSD card into the phone.
- If the device supports it, a notification will ask you how you want to use it.
- Choose to adopt external storage. This will format and encrypt the microSD card.
How to adopt SD card from the settings:
- Put the microSD card in your Android phone.
- Open the Settings app.
- Select Storage.
- Tap on the SD card you inserted.
- Hit the menu button and select Storage settings.
- Choose Format as internal.
- Hit Erase and format.
- Hit OK.
- Migrate your data (or choose to do so later).
Источник


