- XDA Basics: How to transfer files from Android to Mac in two ways
- Transfer from Mac to Android using cloud services
- Transfer from Mac to Android using Android File Transfer
- Как передать файлы с Android-устройства на Mac. Все способы
- Android File Transfer — Быстро и просто
- SHAREit — Делись со всеми
- Send Anywhere — Передача файлов куда угодно
- Google Диск — Универсальный метод
- How to transfer files from Android to Mac
- How to transfer files from Android to Mac
- Use Android File Transfer
- Use a cloud storage solution
- How to transfer files from Android to Mac: A full solution
- Dual-panel mode
- iOS mounting too
- Cloud services and remote servers all in one place
- Comprehensive search tools
- Finder, but better
XDA Basics: How to transfer files from Android to Mac in two ways
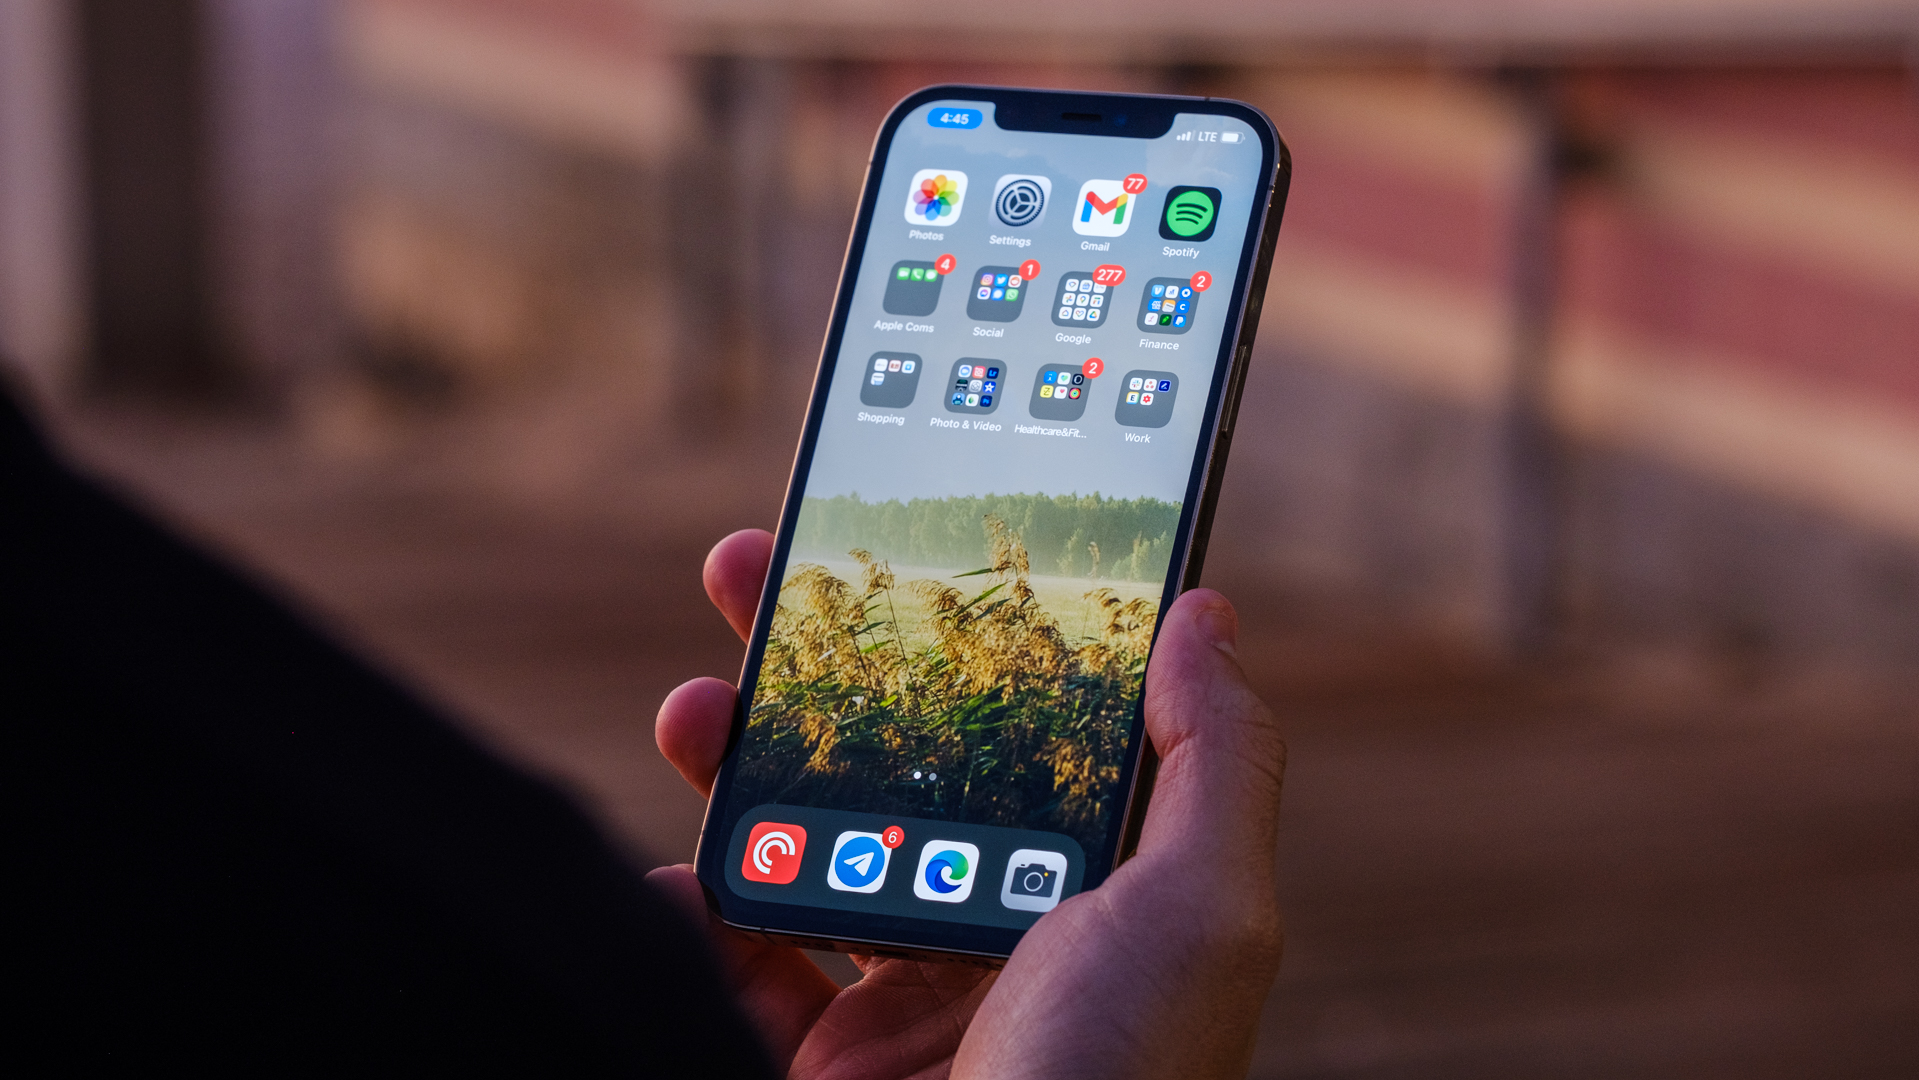
It’s a popular myth that every Mac user also has an iPhone. Of course, the vast majority of Mac users likely do have an iPhone for ease of integration, but some do prefer the customization of Android. Personally, I like the Mac for it’s Unix-based operating system, but prefer Android phones that are not as locked down as the iPhone. In fact, I just pre-ordered the exciting new 2021 Macbook Pro with M1 Pro chip. The good news is that you can transfer files from your Mac to an Android phone. The actual process to do this really depends on your goals and how large the files are. In the tutorial we look at the simplest methods for transferring files from a Mac to Android. To start, we look at cloud-based solutions for syncing, then move on to a more manual approach.
Transfer from Mac to Android using cloud services
The simplest method for transferring files from your Android phone to a Mac is to use a cloud service like Google Drive, Dropbox, Box, or OneDrive. All of these services are cross-platform compatible and you can use them on both your Mac and Android phone.
I personally prefer Dropbox, but the other options are also solid and it really comes down to preference and the feature set you need. Also, pricing can vary for plans if you need an extremely large amount of storage. If you’re using an Android phone, you likely already have Google Drive installed, so this can be a good place to start for those without an initial preference.
With this method you can simply back up all of the files on your Android phone to your cloud service (including photos), then sync that same cloud service on your Mac to access your files with ease. This method is by far the simplest solution, but it can have associated costs if you need to sync a very large amount of data from your Android phone to your Mac.
Transfer from Mac to Android using Android File Transfer

Interested in a more direct method that uses local storage? That’s also possible. Using the official Android File Transfer app from Google, you can transfer files from your Android phone to your Mac. Here’s how to download and use Android File Transfer:
- Download Android File Transfer for Mac from the Android website here.
- Open AndroidFileTransfer.dmg.
- Drag and drop the Android File Transfer app into the Applications folder in the FinderВ pop-up.
- Double click Android File Transfer. You’ll likely be prompted that the app was downloaded from the internet as a quick security check. Click Open to continue.
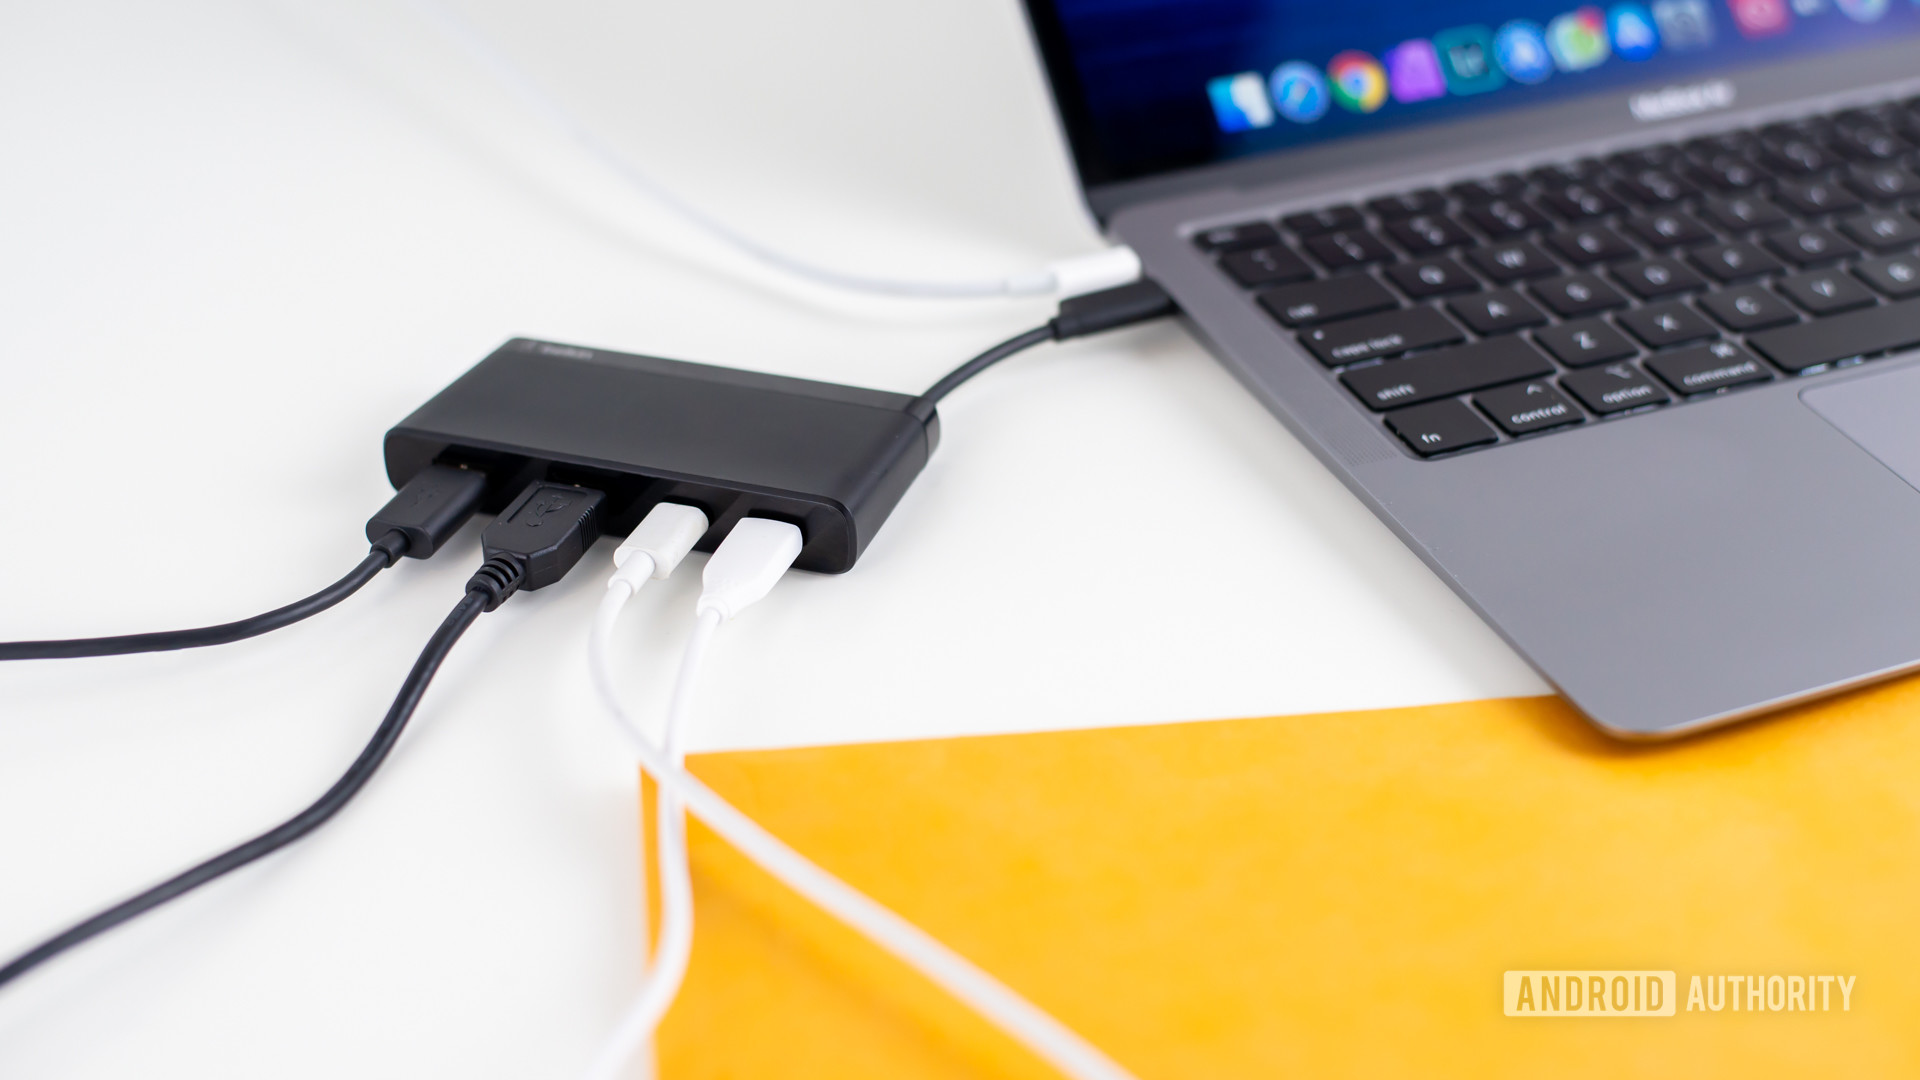
- Connect your phone to your Mac via a USB cable, and Android File Transfer should open automatically. Check your notifications bar and change the USB settings to File transfer/MTP mode if it doesn’t.
- In Android File Transfer, find the folder and/or file(s) you want to transfer. Drag and drop it to your desktop.
While the steps themselves aren’t that hard to understand or follow, Android File Transfer has a nasty history of annoying bugs. For one thing, it can be quite difficult to get the app to recognize your phone, depending on what model you have. I’ve always had good luck with Pixel devices, but less luck with phones from Samsung, LG, and Xiaomi. It’s really quite hit or miss, which is annoying considering this is the official solution from Google.
It’s also awkward to have to browse through your phone’s files in the app’s custom explorer with no previews and no quick access to your desktop folders. This is much easier on a Windows machine where you can use the native file explorer complete with shortcuts and the like.
Those are our suggestions for the two easiest ways to transfer files from your Android phone to a Mac. The cloud solution is definitely the easiest for everyone, but can have some costs associated with it. The manual approach using Android File Transfer is free and uses local storage, but it also has some annoying legacy bugs that have been around for years. There are also some paid services out there, but those can vary in price and probably aren’t worth the monthly subscription fees unless you transfer files literally each day. Let us know which method you use to transfer files from your Android device to your Mac. Now that you’ve got your file transfer situation sorted, check out some of the best Macbook pro cases to keep your hardware protected too.
Источник
Как передать файлы с Android-устройства на Mac. Все способы
На сегодняшний день люди пользуются самыми разными платформами в различных их сочетаниях — iOS, Windows, Android, MacOS. У большинства из нас есть практически все гаджеты, работающие на перечисленных операционных системах. И не всегда «подружить» их между собой бывает просто. Например, просто подключив Android-смартфон или планшет к MacBook почти никакого эффекта вы не получите. Но что делать, если нужно передать файлы с Android-устройства на Mac? Способ есть. И даже не один!
![]()
Передаем файлы с Android на Mac
Для передачи небольших файлов или документов можно без проблем использовать Bluetooth-соединение. Но данный способ работает не со всеми моделями Android-смартфонов и вообще не удобен для перебрасывания больших файлов. Поэтому перейдем к другим вариантам. Но сначала подпишитесь на нас в Телеграм, чтобы узнавать подобные интересные лайфхаки и новости из мира мобильных технологий.
Android File Transfer — Быстро и просто
![]()
Устанавливаем Android File Transfer
Одним из самых популярных и простых способов передачи файлов между Android и Mac является использование приложения от Google под названием Android File Transfer. В то время как поисковый гигант первоначально разработал это приложение для передачи файлов между Android и Chrome OS, программное обеспечение было оптимизировано и для пользователей MacOS.
Вот как использовать Android File Transfer. Для начала загрузите приложение и на своем Mac дважды щелкните загруженный файл, чтобы установить программу. После распаковки, перетащите ярлык Android File Transfer в папку «Приложения». Подключите устройство Android к компьютеру Mac с помощью кабеля USB, открывайте программу и после завершения процесса синхронизации устройств, ваш смартфон или планшет будет отображаться как обычный каталог. Просто скопируйте файл в нужное место на вашем устройстве Mac. При этом, используя Android File Transfer, вы можете легко переносить файлы и папки как с Android на Mac, так и в обратном порядке.
Важно отметить, что Android File Transfer для Mac не будет работать с новыми MacBook, оснащенными портами USB-Type C. Только если у вас нет Google Pixel портом USB-type C. В противном случае вам нужно будет использовать переходник. Но не беспокойтесь! Мы также рассмотрим и беспроводные методы для передачи файлов с Android на Mac.
SHAREit — Делись со всеми
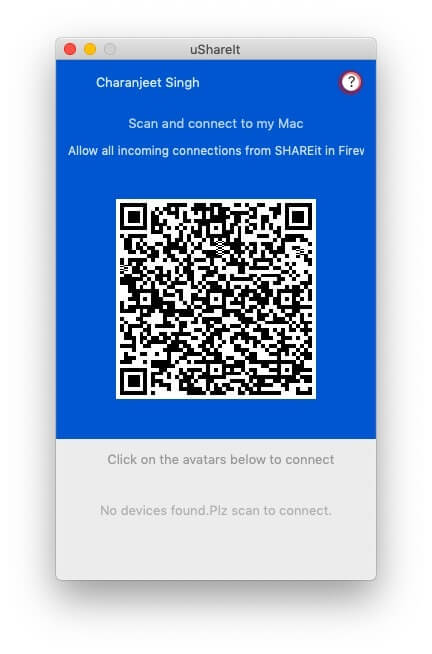
Программа использует QR-коды. И это довольно удобно
SHAREit — одно из самых популярных приложений для обмена файлами в экосистеме Android. Однако многие не знают, что можно передавать также файлы с Android на Mac с помощью этой программы. Просто загрузите и откройте SHAREit на Android и Mac. А на устройстве Android нажмите на значок синхронизации в правом верхнем углу и выберите «Подключить ПК». На Mac же в окне SHAREit нажмите «Сканировать для подключения» и отсканируйте штрих-код камерой смартфона. Далее в специальном окне вы сможете передавать файлы.
Кроме того, вы можете использовать онлайн-сервис SHAREit WebShare, который не требует установки программы на Mac. На Android поставить приложение, все-таки придется.
Send Anywhere — Передача файлов куда угодно
![]()
Вы можете отправить файлы в два клика
Использовать Send Anywhere очень полезно, когда вам нужно передать файлы с Android на Mac по беспроводной сети или интернету. Вы можете либо использовать передачу в реальном времени, либо создать ссылку на общий ресурс и переслать ее на разные платформы. Просто загрузите и откройте приложение на обеих платформах (Android и Mac). Выберите файлы в приложении для Android и нажмите на кнопку «Отправить» Далее программа сгенерирует специальный код. Перейдите в приложение на macOS и введите полученный код в разделе «Получение». Имейте в виду, что код действителен только в течение десяти минут.
Google Диск — Универсальный метод
![]()
Google Диск способен на многое
Еще один эффективный способ передачи файлов с Mac на Android по беспроводной сети — это использовать облачное хранилище. Передача файлов с Android на Mac чрезвычайно проста с помощью учетной записи облачного хранилища Google Drive. Выберите файл на вашем устройстве Android и отправьте его на ваш Google Диск. А затем на Mac переходите в веб-версию Google Drive и скачивайте файлы оттуда. Как вы понимаете, данный способ не просто работает в обе стороны, но и подойдет для устройств, работающих под любой операционной системой.

Новости, статьи и анонсы публикаций
Свободное общение и обсуждение материалов

Все пользуются стикерами. Они такие интересные, разнообразные и зачастую даже многословные. С их помощью можно не просто обозначить настроение сообщений, но и заменить ими отдельные слова и даже целые предложения, выразив своё отношение к сказанному собеседником. Другое дело, что не всегда понятно, что означает тот или иной стикер. Ведь если с эмодзи или смайликами всё понятно, то зачастую создатели стикеров вкладывают в них далеко не тот смысл, который распознаём мы. К счастью, ВКонтакте появились необходимые пояснения. Рассказываю, где их найти.

Смартфоны уже стали мощнее ПК — это не домыслы, а факты. А еще они компактнее и удобнее в использовании, дольше не разряжаются и в них проще разобраться. Кто бы мог подумать, например, 10 лет назад, что смартфоны заменят нам компьютеры? Уже сейчас многие мои знакомые даже не используют ПК в работе, ограничиваясь смартфоном. Возможно, какие-то задачи не так удобно выполнять на экране телефона, но в большинстве случаев он отлично справляется, выручая в самых непростых ситуациях. В 2021 году выполнять задачи с помощью смартфона намного удобнее, чем с помощью того же ноутбука. Сегодня поговорим о тех вещах, которые проще делать с помощью телефона, чем на ПК.
Говорим Harmony OS – подразумеваем Android, говорим Android – подразумеваем… Впрочем, нет. Несмотря на то что собственная операционка Huawei целиком и полностью построена на платформе Google, китайцы всячески пытаются это скрыть. Ради этого они вытравили все дизайнерские отсылки к Android, изменили названия системных библиотек и даже переиначили установочные файлы приложений. Тем не менее, есть в Harmony OS и куда более заметные с практически точки зрения изменения.
Источник
How to transfer files from Android to Mac

One of the many great things about Android is that you can easily copy and paste files to and from a Windows PC just by connecting your phone via USB. Unfortunately, things aren’t quite as simple if you have an Android phone and a Mac computer.
The official solution is Android File Transfer — a Google-made app for macOS that lets you browse and transfer files between your Android device and a MacBook or iMac. The problem? It’s buggy, inconsistent, and generally a bit awful.
Below, we’ll walk you through how to use Android File Transfer. But stick around and we’ll also show you a couple of options that will make moving and copying stuff from Android to Mac much easier!
How to transfer files from Android to Mac
Use Android File Transfer
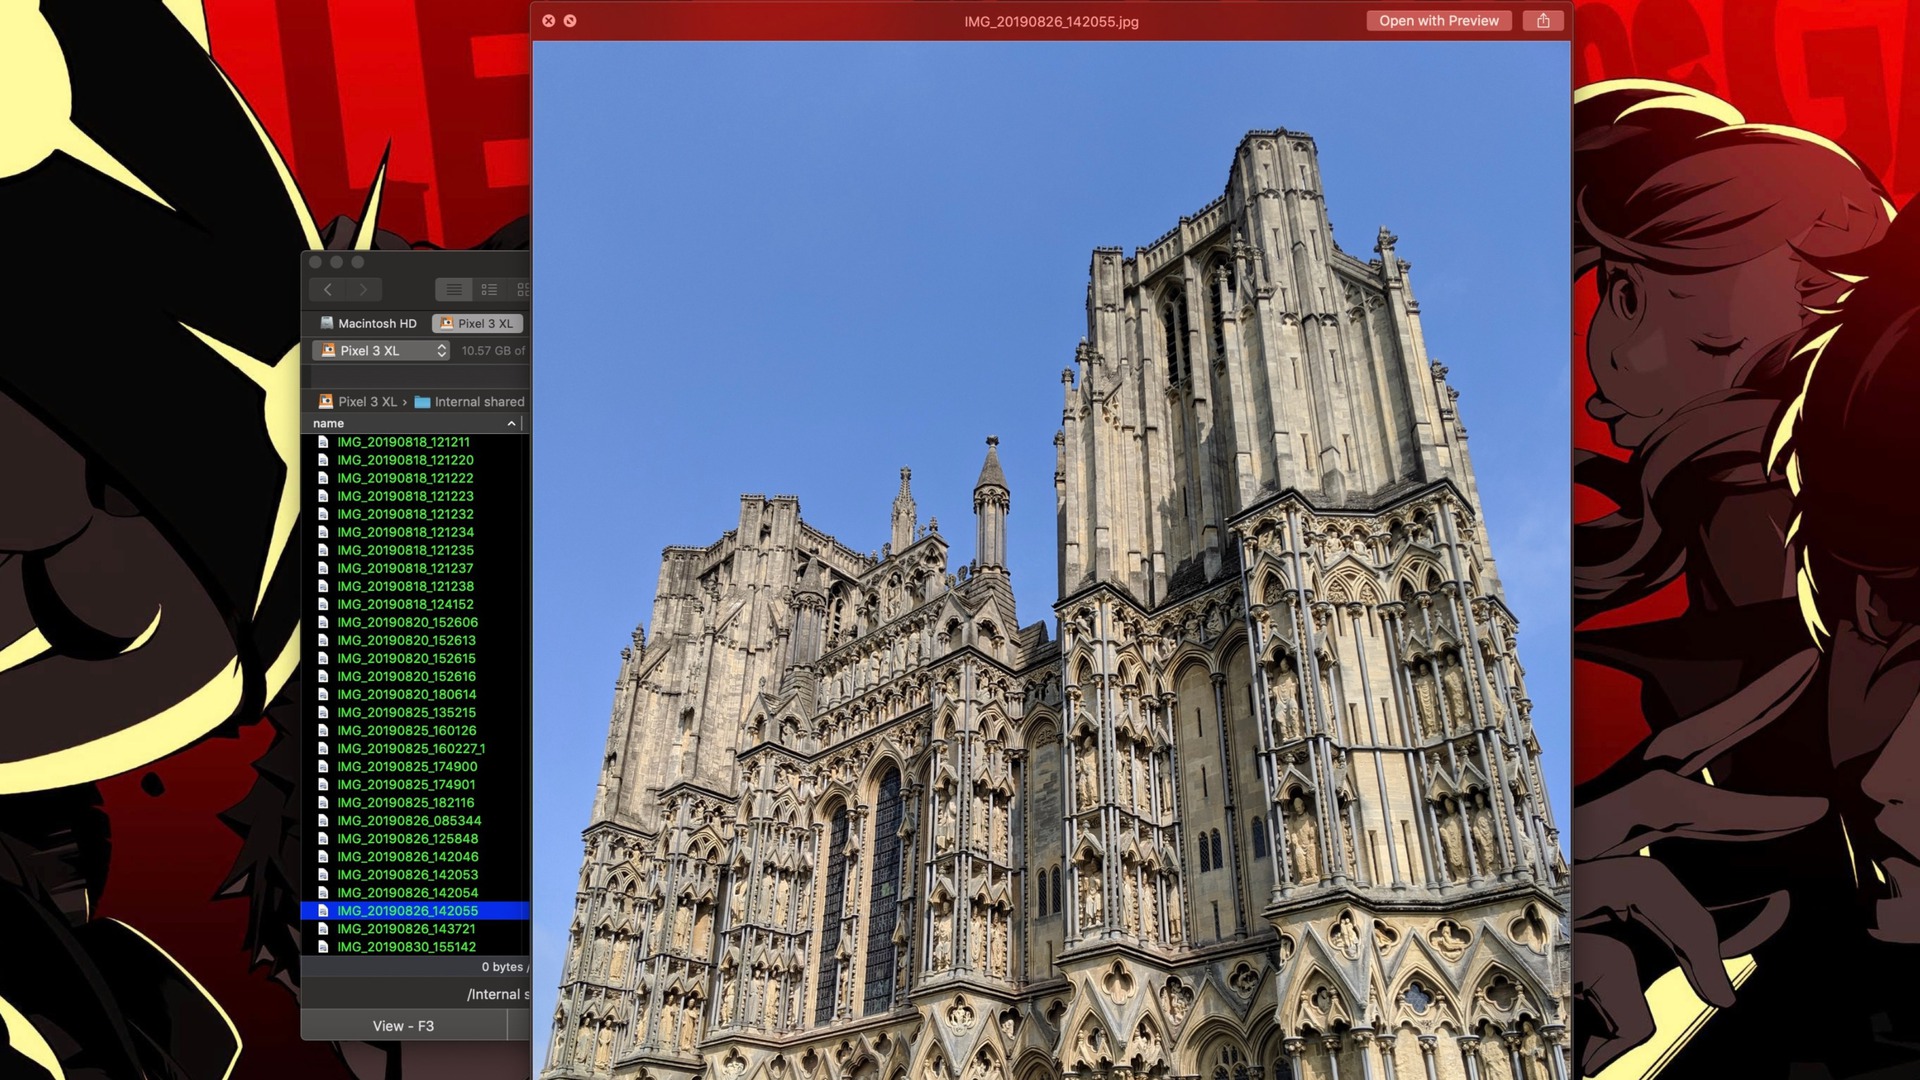
![]()
Want to stick with the official method? That’s not a problem! Here’s how to download and use Android File Transfer:
- Download Android File Transfer for Mac from the Android website here. Note that you’ll need to be running macOS 10.7 or higher to use the app.
- Open AndroidFileTransfer.dmg.
- Drag and drop the Android File Transfer app into the Applications folder in the Finder pop-up.
- Double click Android File Transfer. You’ll likely be prompted that the app was downloaded from the internet as a quick security check. Click Open to continue.
- Connect your phone to your Mac via a USB cable, and Android File Transfer should open automatically. Check your notifications bar and change the USB settings to File transfer/MTP mode if it doesn’t.
- In Android File Transfer, find the folder and/or file(s) you want to transfer. Drag and drop it to your desktop. That’s it!
Those six steps listed above make Android File Transfer sound nice and easy to use, but anyone who has attempted this ostensibly simple process will know that it usually takes several attempts and many error messages to get the app to recognize your phone. It’s been well overdue for a full overhaul for years, but as it stands, there are legacy bugs that keep popping back up.
It’s also awkward to have to browse through your phone’s files in the app’s custom explorer with no previews and no quick access to your desktop folders. This is much easier on a Windows machine where you can use the native file explorer complete with shortcuts and the like.
Use a cloud storage solution
The easiest way to transfer files from an Android phone to a Mac computer is likely simply using a cloud storage solution. You probably already have a favorite and use it daily, anyways. The most popular ones are Google Drive, Google Photos, Amazon Photos, Dropbox, OneDrive, etc.
Doing this is as easy as uploading any file from your Android phone to your favorite cloud storage service, then downloading it on your Mac. You can either use the app or your web browser. Piece of cake!
How to transfer files from Android to Mac: A full solution
If you’re only a casual user, then Handshaker is a great option with a simple, user-friendly interface, and it’s completely free. However, if you’re planning to regularly transfer files to and from your phone, you’ll want something a little more comprehensive. If that’s the case, your best bet is Commander One by Eltima, which has an Android mounting feature inside the $29.99 Pro pack.
We got to try Commander One, and it’s, without a doubt, the simplest and most intuitive tool for shifting files between your Android devices and a Mac computer. Here are a few reasons why!
Dual-panel mode

Commander One’s signature feature is its default dual-panel layout, which gives you immediate access to two folders or drives. With the Pro version, one of those panes can be used for mounting your Android devices. That means you can drag and drop files between your phone and Mac all in a single window.
You can actually add further tabs in each panel too. If you want to fling various files into different folders, or another storage device, that’s quick and easy too.
In addition, there are myriad minor bonuses you get within the two panels that blow Android File Transfer out of the water. For starters, you can actually preview your files in Commander One. You’ll know which precious photos you want to save to your desktop without checking file names. While you, unfortunately, don’t get mini previews, you can see a quick preview by double-clicking and using Quick Look.

Commander One also shows you more info about each file, including the size, extension, permissions, date created, and more. You can also turn on/off viewing hidden folders to avoid clutter or delve deeper into your phone or Mac’s innards.
iOS mounting too
If you’ve got a Mac already, you’re probably not averse to the idea of owning iOS devices (I’ve got an iPad and an iMac, but try prying my Pixel away from me!). Usefully, Commander One supports mounting iOS devices, too. However, it should be noted that the function only works with the version from Eltima’s official website, not the Mac App Store version.
Cloud services and remote servers all in one place

Commander One’s remit doesn’t stop at your phone or Mac’s drives. You can fill a panel or tab with cloud services like Google Drive, Dropbox, and others with the Pro version. Not only that, but it also supports connections with remote servers via FTP, SFTP, or FTPS, Amazon S3 storage, WebDAV clients, OpenStack, and more.
Comprehensive search tools
Android File Transfer doesn’t have a search bar. That means you’ll be arduously locating files manually. Meanwhile, Commander One has a search function that puts the Finder search tool to shame. It has support for Regular Expressions, Spotlight, and the ability to search for keywords within files.
Finder, but better

All of these things make Commander One a superior alternative to Android File Transfer. But in all honesty, if you want to transfer casually, the $29.99 Pro upgrade is a little steep.
What Commander One really shines at, though, is being a full replacement for Apple’s Finder file manager. Finder has improved a lot over the years with macOS upgrades, but it’s still not great for power users.
On top of dual-panel mode, there’s a litany of other upgrades that give Commander One the edge over Finder if you’re willing to pay the asking price. These include hotkeys, root access, in-app access to Terminal commands and process management, a built-in archiving tool, and much more that you can find listed here.
Thankfully, you can try out most of these features in the free version, which you can download via the button below. For more on the difference between the free and Pro pack version, there’s a feature checklist right here.
Источник


