- How to Turn on Developer Options and USB Debugging on Android
- What are Android Developer options?
- Steps to Enable Developer Options on Android
- Developer Options on Xiaomi or MIUI Devices
- Developer options on Realme phones
- Developer options on Vivo phones
- Enable USB debugging and OEM unlocking
- USB debugging and OEM Unlocking on Xiaomi Devices
- How to Turn OFF Developer Options on Android
- Method 1: Disabling the Toggle
- Method 2: Clearing cache data of the Settings app
- Method 3: Performing a Factory Reset
How to Turn on Developer Options and USB Debugging on Android
Being open-source, Android is a developer-friendly operating system. Its open nature attracts a lot of development activities that are not limited to apps only. You can find lots of mods, ports, and custom ROMs for Android devices that add more value. Thanks to the Developer options on Android that facilitate customization via custom recovery, root privilege, and ADB. By enabling USB debugging and OEM unlocking on your device, you can more on your Android.
What are Android Developer options?
As the very name suggests, the Developer options are not meant for new or average Android users as it contains some really sensitive device settings. If you tinker with these settings without any understanding, you might end with a misbehaving phone.
On the Developer options screen, you’ll find a bunch of options to configure your device’s behavior, debug its performance, get bug reports, control hardware acceleration configuration, and GPU settings. Moreover, you can also enable USB debugging and OEM unlocking from there.
Whether you want to execute ADB and Fastboot commands, flash firmware or install TWRP recovery, you will need to enable USB Debugging from Developer options on your Android device.
Steps to Enable Developer Options on Android
On Android 4.1 and lower, it was easier to access the Developer options from the Settings menu. However, on Android 4.2 and higher, Google made the Developer options hidden by default and turning it on became a bit tricky.
Now, to enable the Developer options, you need to tap the Build number 7 times. Please, keep in mind that the location of the Build number option on different Android versions may differ. Not just that, the location may vary depending on your Android device’s manufacturer.
- Android 5/6 /7: Settings > About phone > Build number.
- Android 8+: Settings > System > About phone > Build number.
- Android 9 & Android 10: Settings > About phone > Build number.
- Xiaomi MIUI: Settings > About phone > MIUI version.
- Realme: Settings > About phone > Baseband & Kernel > Build number.
- Vivo: Settings > System management > About phone > Software version.
When you tap the Build number for 7 times, you’ll see a toast message saying, “You are now a developer!“, or “Developer mode has been enabled.”
Now, here are the detailed steps to turn on the Developer options on Android with screenshots.
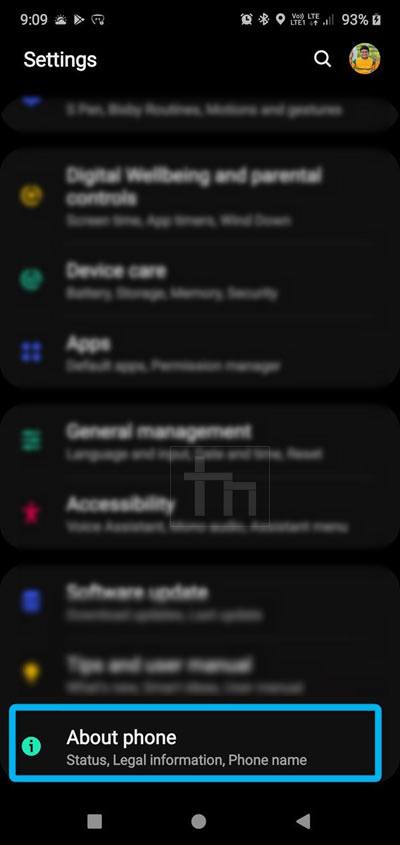
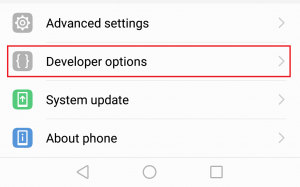
- Open your device Settings and tap the About phone, or About tablet, or About device option.

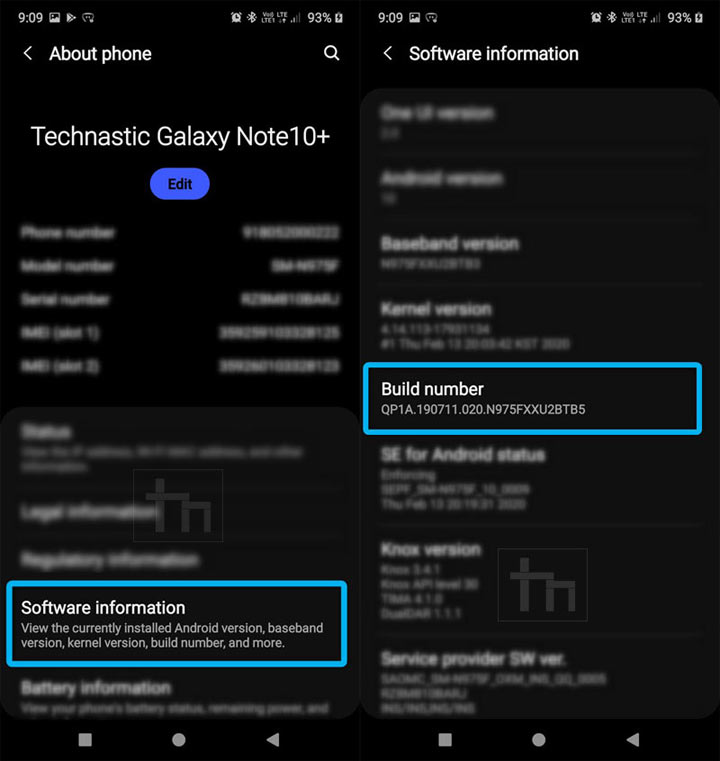
- Now go to Software Information> Build number (on Samsung devices), or just Build Number and tap it for seven times.
- You’ll then get a toast message telling that the Developer options have been enabled.

Developer Options on Xiaomi or MIUI Devices
In case you use a Xiaomi smartphone running MIUI ROM, the steps to enable the Developer options are a bit different.
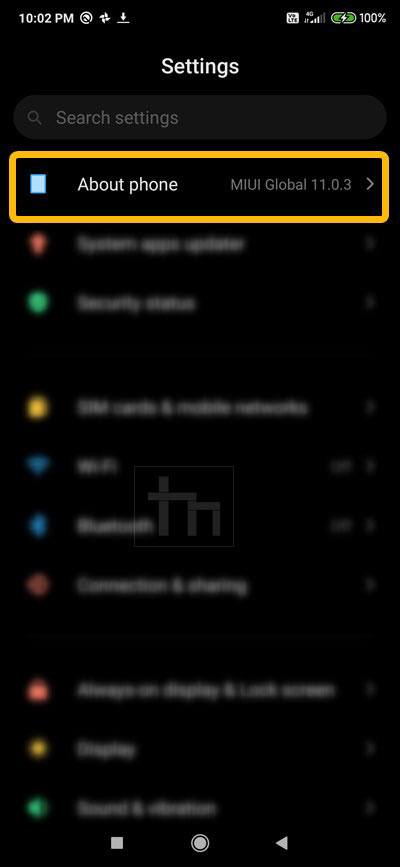
- Open the phone Settings and tap About phone.
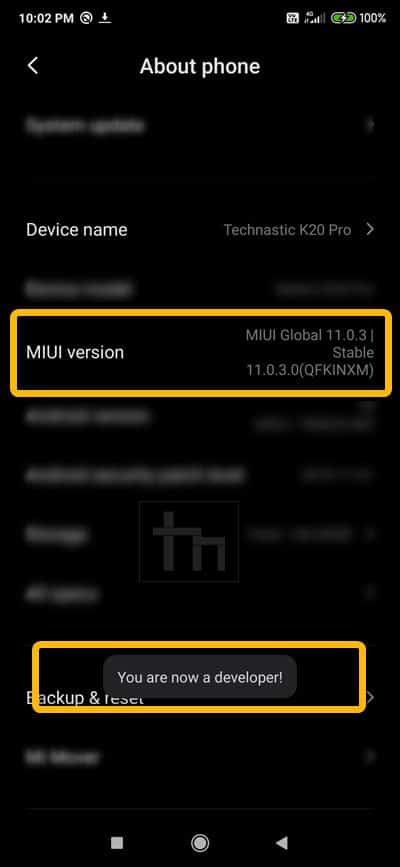
- Then go to MIUI version and tap it 7 times to turn on the Developer mode.
Developer options on Realme phones
If you own a Realme smartphone running ColorOS or Realme UI follow these steps.
- Open device Settings > About phone.
- Tap on Baseband & Kernel and then tap Build number for 7 times in a row.
- Enter your phone’s PIN when prompted,
- You’ll see a toast message saying “You are now in Developer Mode!“
- Now go back to Settings > Additional settings > Developer options and enable USB debugging.

Developer options on Vivo phones
If you own a phone from Vivo running Fun Touch OS, follow these steps to enable USB debugging.
- Open device Settings > System management > About phone.
- Tap on the Software version and then tap Build number for 7 times in a row.
- Enter your phone’s PIN when prompted,
- You’ll see a toast message saying “You are now in Developer Mode!“
- Now go back to Settings > System management > Developer options and enable USB debugging.

Enable USB debugging and OEM unlocking
Once you have enabled the Developer options on your Android device, you can access the developer mode menu easily from your device’s Settings screen. You can now enable USB debugging and OEM unlocking on your device. Below is a list of the locations where you can find the USB debugging on different Android versions.
- Android 5/6 /7: Settings > Developer Options > USB debugging
- Android 8+: Settings > System > Developer Options > USB debugging
- Android 9 & Android 10: Settings > System > Advanced > Developer Options > USB debugging
- Xiaomi MIUI: Settings > Settings > Additional settings > Developer Options > USB debugging
If you want a more detailed description of the steps to enable USB debugging and OEM unlocking on your Android phone or tablet device, see below.
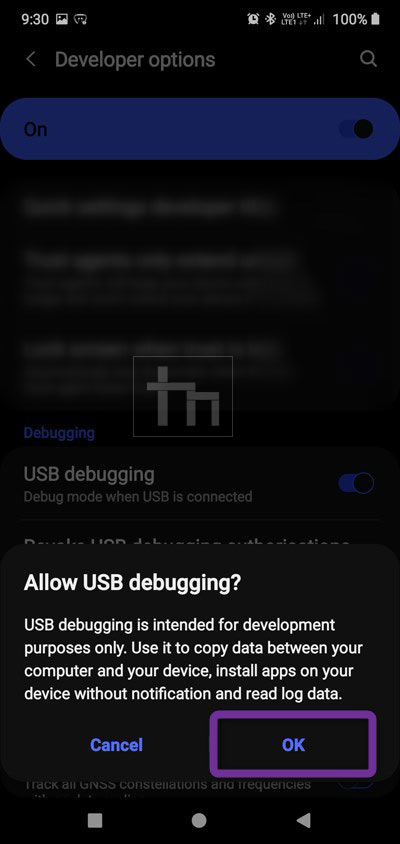
- Having enabled the Developer options, go back to the Settings page and tap Developer options.
- Now go to USB debugging and OEM unlocking option and tap the toggle to enable them.
- When you see the confirmation pop-up, tap on OK.

That’s it! You’ve successfully enabled USB debugging and OEM unlocking options on your Android device.
USB debugging and OEM Unlocking on Xiaomi Devices
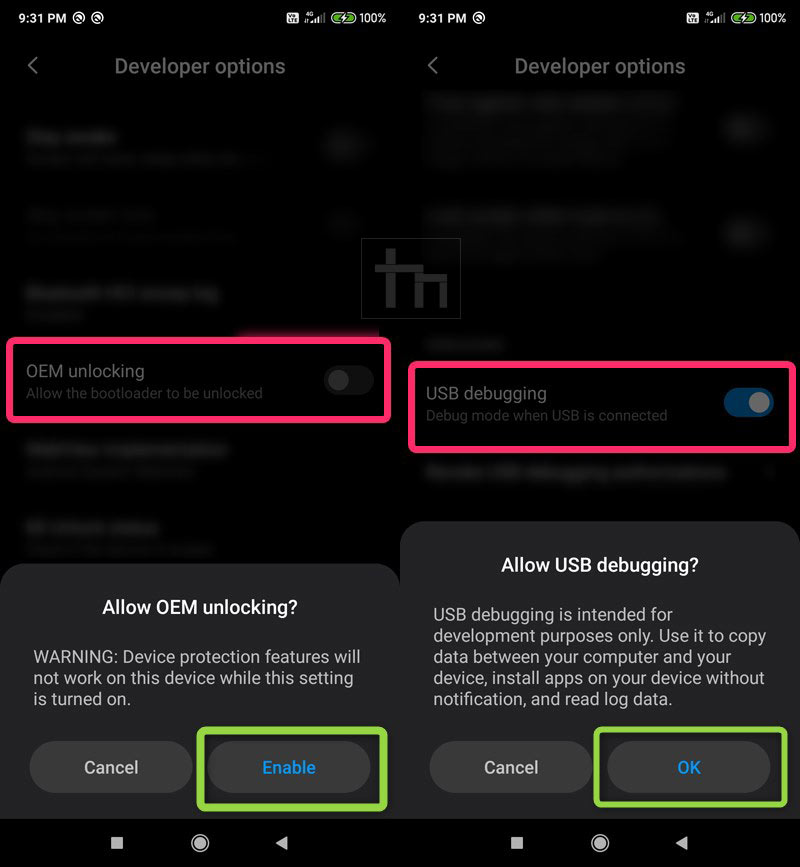
On Xiaomi smartphones, follow the steps given below:
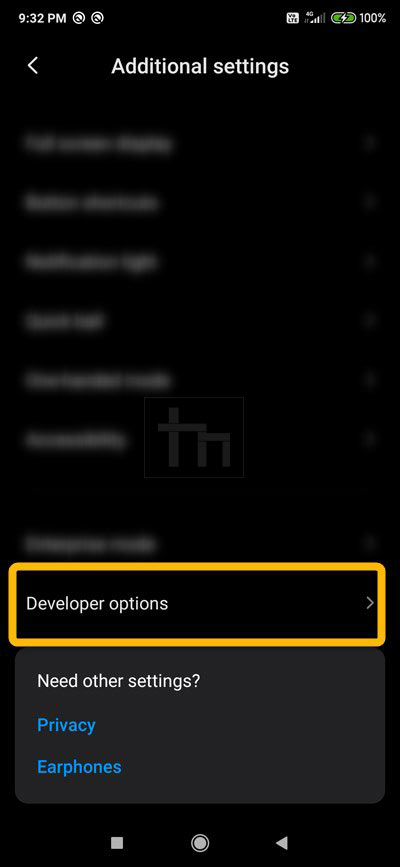
- Open Settings and go to More Settings.
- Tap the Developer options.
- You can enable the USB debugging and OEM unlocking options from that screen.
Now, you are all set to execute the ADB commands and Fastboot commands to flash stock firmware, install zips and customize your Android device using the ADB Shell commands.
Источник
How to Turn OFF Developer Options on Android
The internet is filled with how-to articles on how to enable Developer Options. But very few of them will tell you how to disable the hidden menu when you’re done using it. 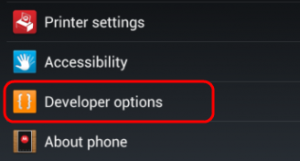
Android got most of its fame after the public realized it’s built in such a way that it accommodates both developers and common users. Even before it was acquired by Google, Android shipped with a dedicated SDK that contained a plethora of tool-kits specifically designed to help developers in their creation quest. ADB and Fastboot are just two examples of in-house tools that Android modders around the world couldn’t live without.
In an effort to avoid the hassle of releasing a separate Android OS version targeted towards the app creators, the team behind Android decided to include a bundle of settings specifically for developers called Developer Options. To prevent regular users from messing with settings that can alter the phone’s functionality, the Developer Options tab is hidden by default.
Developer Options is an invaluable tool for every respectable modder and app maker. Here’s are a few of the things it’s used for:
- Disabling or speeding up animations
- Forcing FXAA on OpenGL applications and Games
- Faking the GPS location
- Forcing the device to stay awake during charging
- Monitoring the CPU Usage
- Extracting debugging information
- Creating app stress tests
- Identifying bug reports
- Enabling Debugging mode
But from all the potential usages of Developer Options, USB Debugging Mode is by far the most used option. Enabling this option will let your device communicate with a computer. Whether you want to root a device, unlock the bootloader or flash to a stock firmware, it’s all done through USB Debugging. If you’re searching for a way to disable Developer Options, chances are you used USB Debugging too.
If you’re interested in hiding or disabling Developer Options, you should know there are several different methods to go about it. Follow one of the methods down below to hide Developer Options on Android.
Method 1: Disabling the Toggle
Keep in mind that the following method won’t be applicable across all the Android realm. Some manufacturers won’t have this toggle inside Developer Options. Even more, following the steps below won’t make the tab hidden again. All it does is disable any functionality related to an option you might have enabled from there.
So if you want to get rid of something caused by a setting in Developer Options without hiding the entire tab, follow the steps below. If want Developer Options to be hidden from the Settings menu, follow one of the other two methods below.
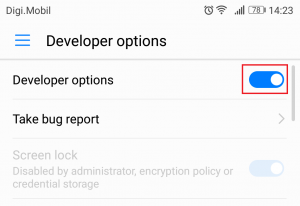
- Go to Settings and scroll all the way down to Developer Options.
- If you manage to identify a button (toggle) next to Developer Options, go ahead and tap it. All the options inside the tab will be grayed out, meaning they are disabled.
You can go back and re-enable Developer Options via the same toggle any time you need it. The entry will still be visible on the Settings menu.
Method 2: Clearing cache data of the Settings app
If you want to remove the Developer options menu completely, this following trick should do the job. Unless you have a Samsung S model – they are known for storing the cached data for Settings somewhere else.
After you’re done performing the following steps, Developer Options will most likely be hidden from the Settings menu. You can make it appear again by going to Settings > About Phone and tapping on Build Number seven times.
- Open the Settings menu of your Android device.
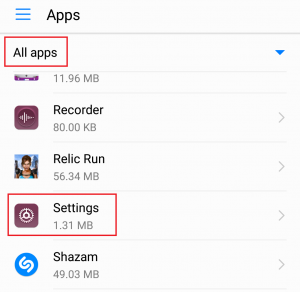
- Scroll down and tap on Apps (Applications). On Samsung, you need to go to Apps > Settings > Applications > Application manager.
- Make sure you have the ALL apps filter selected.
- Scroll down and tap on the Settings app.
- Tap on Storage and hit Clear data and confirm by tapping Delete.
- Go back to the Settings menu and check to see if Developer options is gone. If it’s still present, restart your phone and check again.
If the entry is still visible, move on to the final method.
Method 3: Performing a Factory Reset
If the method above was not successful, I’m probably right when I say you have a Samsung S model. If you’re desperate enough to get rid of the Developer Options, a factory data reset is your only option.
Keep in mind that the following procedure will erase all personal and app data that isn’t present on your SD card. This includes contacts, photos, videos, music and any other types of files. Before you go through the whole process, I urge you to consider making a backup to avoid unnecessary data loss. Here’s what you need to do:
- Go to Settings > Advanced Settings > Backup & Reset. On Samsung and other Android versions the correct path is Settings > More (General) > Backup & reset.
- Make sure the box next to Backup my data is checked.
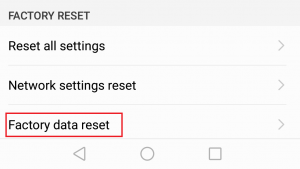
- Tap on Factory data reset.
- Tap on Reset device and confirm once more when prompted.
- Wait for the process to complete. The whole operation shouldn’t take more than 10 minutes. Your Android device will restart at the end of it.
- After your device is reinitialized, go to Settings and scroll all the way down. Developer options will be hidden.
Источник


