Полный список
— используем методы update и delete с указанием условия
На прошлом уроке мы разобрали, как вставить запись, считать все записи из таблицы и очистить таблицу. Теперь посмотрим, как обновить и удалить конкретную запись.
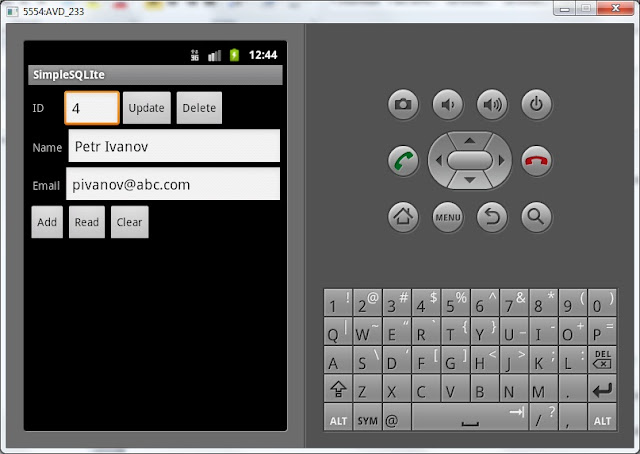
Новый проект создавать не будем, используем P0341_SimpleSQLite с прошлого урока. Немного поменяем экран, добавим поле для ввода ID и кнопки для обновления и удаления.
По нажатию кнопки Update мы будем читать содержимое полей Name и Email, и обновлять запись в таблице, для которой id = значению из поля ID. По нажатию кнопки Delete будем удалять запись из таблицы по id = значению из поля ID. Экран получился, конечно, не самый лучший с точки зрения эргономики и юзабилити, но у нас тут не кружок юных дизайнеров, а серьезное изучение БД.
Подредактируем MainActivity.java. Добавим описание и определение новых экранных элементов, присвоение обработчиков для кнопок.
(Обращайте внимание только на выделенные строки)
Теперь дополним реализацию onClick:
(Добавляете только выделенный текст)
Мы добавляем переменную id, пишем в нее значение поля etID. В switch добавляем две новые ветки:
btnUpd – обновление записи в mytable. Проверяем, что значение id не пустое, заполняем cv данными для апдейта и обновляем запись. Для этого используется метод update. На вход ему подается имя таблицы, заполненный ContentValues с значениями для обновления, строка условия (Where) и массив аргументов для строки условия. В строке условия я использовал знак ?. При запросе к БД вместо этого знака будет подставлено значение из массива аргументов, в нашем случае это – значение переменной id. Если знаков ? в строке условия несколько, то им будут сопоставлены значения из массива по порядку. Метод update возвращает нам кол-во обновленных записей, которое мы выводим в лог.
btnDel – удаление записи из mytable. Проверяем, что id не пустое и вызываем метод delete. На вход передаем имя таблицы, строку условия и массив аргументов для условия. Метод delete возвращает кол-во удаленных строк, которое мы выводим в лог.
Обратите внимание, что условия и для update и для delete у меня одинаковые, а именно id = значение из поля etID. Но реализовал я их немного по-разному. Для update использовал символ ? в строке условия и массив аргументов. А для delete вставил значение сразу в строку условия. Таким образом, я просто показал способы формирования условия. А вы уже используйте тот, что больше нравится или лучше в конкретной ситуации.
Все сохраним и запустим. На прошлом уроке мы добавляли пару записей, но потом их удалили. Так что я буду добавлять снова. Добавлю пару записей, нажму Read, вижу в логе:
ID = 3, name = Ivan Petrov, email = ipetrov @abc.com
ID = 4, name = Anton Sidorov, email = asidorov @def.com
Теперь попробуем обновить запись с ID=3. Для этого вводим 3 в поле ID и новые данные в поля Name и Email:

Жмем Update, смотрим лог:
— Update mytable: —
updated rows count = 1
обновилась одна запись, все верно.
Нажмем Read и убедимся в этом. Лог:
ID = 3, name = Petr Ivanov, email = pivanov @abc.com
ID = 4, name = Anton Sidorov, email = asidorov @def.com
Запись действительно обновилась.
Теперь давайте удалим запись с ID = 4. Вводим 4 в поле ID
Жмем Delete, смотрим лог:
— Delete from mytable: —
deleted rows count = 1
одна запись удалена.
Жмем Read, смотрим лог:
— Rows in mytable: —
ID = 3, name = Petr Ivanov, email = pivanov @abc.com
осталась одна запись.
Если попробовать удалить запись с пустым полем ID, то ничего не будет, т.к. мы реализовали проверку. Если же попробовать удалить запись с несуществующим ID, то метод delete вернет 0. Т.е. ничего не было удалено, т.к. не нашлось записей для удаления.
Теперь вы умеете читать, вставлять, удалять и изменять записи в SQLite.
Полный код MainActivity.java:
На следующем уроке:
— подробно разбираем метод чтения данных query
— используем сортировку, группировку, условия, having
Присоединяйтесь к нам в Telegram:
— в канале StartAndroid публикуются ссылки на новые статьи с сайта startandroid.ru и интересные материалы с хабра, medium.com и т.п.
— в чатах решаем возникающие вопросы и проблемы по различным темам: Android, Kotlin, RxJava, Dagger, Тестирование
— ну и если просто хочется поговорить с коллегами по разработке, то есть чат Флудильня
— новый чат Performance для обсуждения проблем производительности и для ваших пожеланий по содержанию курса по этой теме
Источник
SQLite Database Update in Android
Please follow the below steps in order to update data in SQLite database using our Android app:
Step 1) First add one more button and this button we are going to use to update the data, so I’m going to change the name of the button as an update.
Step 2) And one more thing we want to do is, if you remember our database table contains four columns. First one was id, the second one was name, surname and the marks scored by the students. And to update the data we need a unique reference of the row so that we can tell SQLite that we want to delete the data from this row.
Because names can be same so if you want to change the name of one partner which shares the name with the other person then the data can be changed for both the names if you don’t know what is the unique you know row or unique column in this, So id we have defined as a unique column for this database table.
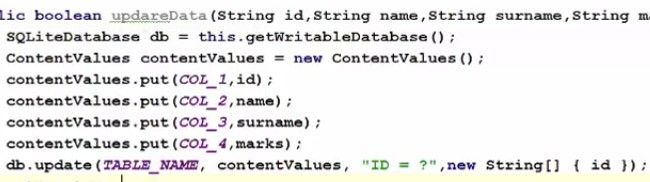
Step 3) Now we need to create a function in our database helper .javaclass which we have created in the last tutorial so go to the database helper .javafile and in here till now we have created insert data and get all data function right. Now we will create one more function here and we will call it as updateData.
So it will be public and it’ll return boolean and It’s going to take four arguments. The First argument we are going to pass here will be string id, second is string name, third is string surname and fourth is string marks.

basically, we want to pass all the four column data to it. Because our table will contain four columns, id, name, surname and marks right.
Step 4) Now in here what we’re going to do is, as we have done inserting data function. First of all, we will create SQLite database instance and then we are going to create an instance of content value.

Step 5) And then as we have done in this insert data function that we’re putting whatever data is passed from the argument to this content value using put. So let’s do it and one more column we need to add here and this will be for column 1 and its id in our case right. Because this contains extra id here. The only difference in update data functions and insert data function is, the method we are going to use now.

Step 6) So just take your database instance now and then call update here. And this update will update whatever argument you pass here. The first argument it takes is the name of your table okay. So give the name if you remember. we have declared table name here right so first argument is the table name right. Second is the content value. So it takes the second argument as a content value so we take this instance of content value and pass it here. The third argument is the condition which we want to pass here. So what we want to do, we want to update data on the basis of for example id because id is our unique primary key here and on the basis of primary key we can differentiate data. So in here we will write So we will you know ask whatever id is passed using this id parameter we are going to query this and fourth is the value on the basis of which we want to update our data so this is the column name on the basis of which we want to update the data and our column name is id so you can just write here column name, id is equal to and then in here, fourth argument. Lets go inside this update, so hover over control and click and see it takes the fourth argument as the string array right. So we will go back and pass string array here right.
And if everything goes well, we want to return, return to know that if the data is really updated or not.

Step 7) Now this is done, what we are going to do is we are going to move to our main activity .javafile and in here we will declare one more button variable which will be our button for update so button update and then we are going to take this button instance and we will cast it as a button using the id.
So go to the onCreate method where you have type casted all other tools or widgets and cast this button.
Источник
SQLite в Android Как обновить определенную строку
Я пытался обновить определенную строку некоторое время, и кажется, что есть два способа сделать это. Из того, что я прочитал и попробовал, вы можете просто использовать:
update(String table, ContentValues values, String whereClause, String[] whereArgs) .
(Дайте мне знать, если это неверно, поскольку я новичок в android и очень новичок в SQL.)
Поэтому позвольте мне перейти к моему фактическому коду.
Я пытаюсь это сделать:
Обновить поле1, поле2 и поле3, где первичный ключ (_id) равен 1.
Eclipse дает мне красную линию прямо под словом «обновление» и дает мне следующее объяснение:
Обновление метода (String, ContentValues, String, String []) в типе SQLiteDatabase не применимо для аргументов (String, String, String, null)
Я предполагаю, что я не правильно назначил ContentValues. Может кто-то указать мне верное направление?
Сначала создайте объект ContentValues:
Затем используйте метод обновления, он должен работать сейчас:
- Я лично предпочитаю .update для его удобства. Но execsql будет работать одинаково.
- Вы правы, полагая, что проблема заключается в ваших значениях контента. Вы должны создать объект ContentValue и поместить значения для строки базы данных.
Этот код должен исправить ваш пример:
Сначала создайте объект ContentValues :
Затем используйте метод обновления. Обратите внимание, что третий аргумент – это предложение where. «?» Является заполнителем. Он будет заменен четвертым аргументом (id)
Это решение для очистки конкретной строки.
Вы можете попробовать это …
Используйте этот код в своем DB `
Для обновления в вашем sample.java используйте этот код
Вы попробуете этот один метод обновления в SQLite
Надеюсь, это поможет вам:
Если ваша строка sqlite имеет уникальный идентификатор или другой эквивалент, вы можете использовать where where, как это
// Вот простой пример кода для обновления
// Сначала объявим это
// put ur id вместо «вопросительного знака» – это функция в моих общих предпочтениях.
Просто попробуйте этот путь
Для обновлений необходимо вызвать setTransactionSuccessfull для изменений, которые необходимо сделать так:
Источник
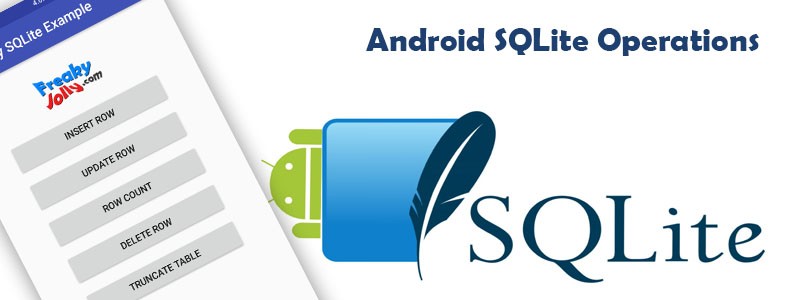
Android SQLite Example Application Insert Update Delete Truncate Operations
Android SQLite provides a mean for an application developer to save data locally in device memory in a structured form, which makes it very easy to read, update or delete information saved in multiple formats.
Android SQLite is the best way to save data locally in the device itself. SQLite acts as a local database for applications saving data in tradition columns rows architecture. It is suited where data is structured and repeating, for example, user data information. Here we will discuss the implementation of SQLite form beginning using API’s of android.database.sqlite package.
Data limits allowed in SQLite is explained here
Here I am going to create an application sample which will explain some basic Database table operations like Insert, Delete, Update, Truncate Table, Get Rows Count and Get All Rows saved in Table.
So let’s Get Started…
Before we start Let’s Have a look some application view which we are going to develop.
Step 1) Open Android Studio and create a new project with Empty Activity Selection.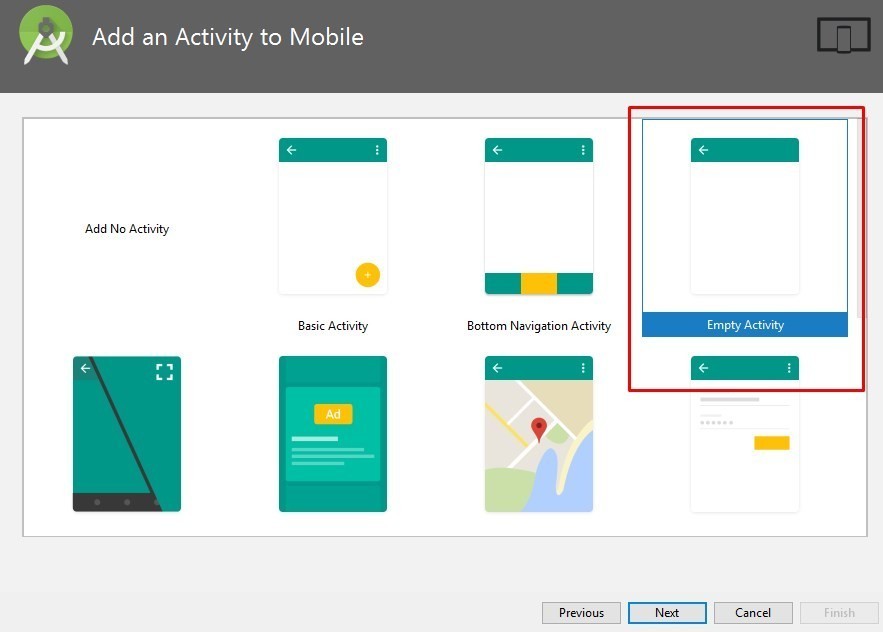
Step 2) Next we will create “DataBaseHelper” which will extend “SQLiteOpenHelper” which is a helper class to manage database creation and version management.
Step 3) Create “UsersDatabaseAdapter” this class will have UPSERT Operation methods that we will execute in the database.
Step 4) In “MainActivity” get an instance of “UsersDatabaseAdapter” to create DATABASE and TABLE.
Before OnCreate add
In OnCreate method add
We will add some buttons to open respective Activities. We will add those button Methods as well, so MainActivity will look like this
activity_main.xml will look like this after adding all buttons

Step 5) Now we will add Three Activities and Two ListViews
Activities will be:
- activity_insert_row.xml
- activity_update_rows.xml
- activity_delete_rows.xml
How to add a new activity: Right Click on main package > New > Activity > Empty Activity
Here I will add one by one first will show layout code then Activity Code.
activity_insert_row.xml

InsertRowActivity.java
In InsertRowActivity we will show a form with three EditText fields and a submit button to save values to table using UsersDatabaseAdapter‘s insertEntry method
activity_update_rows.xml
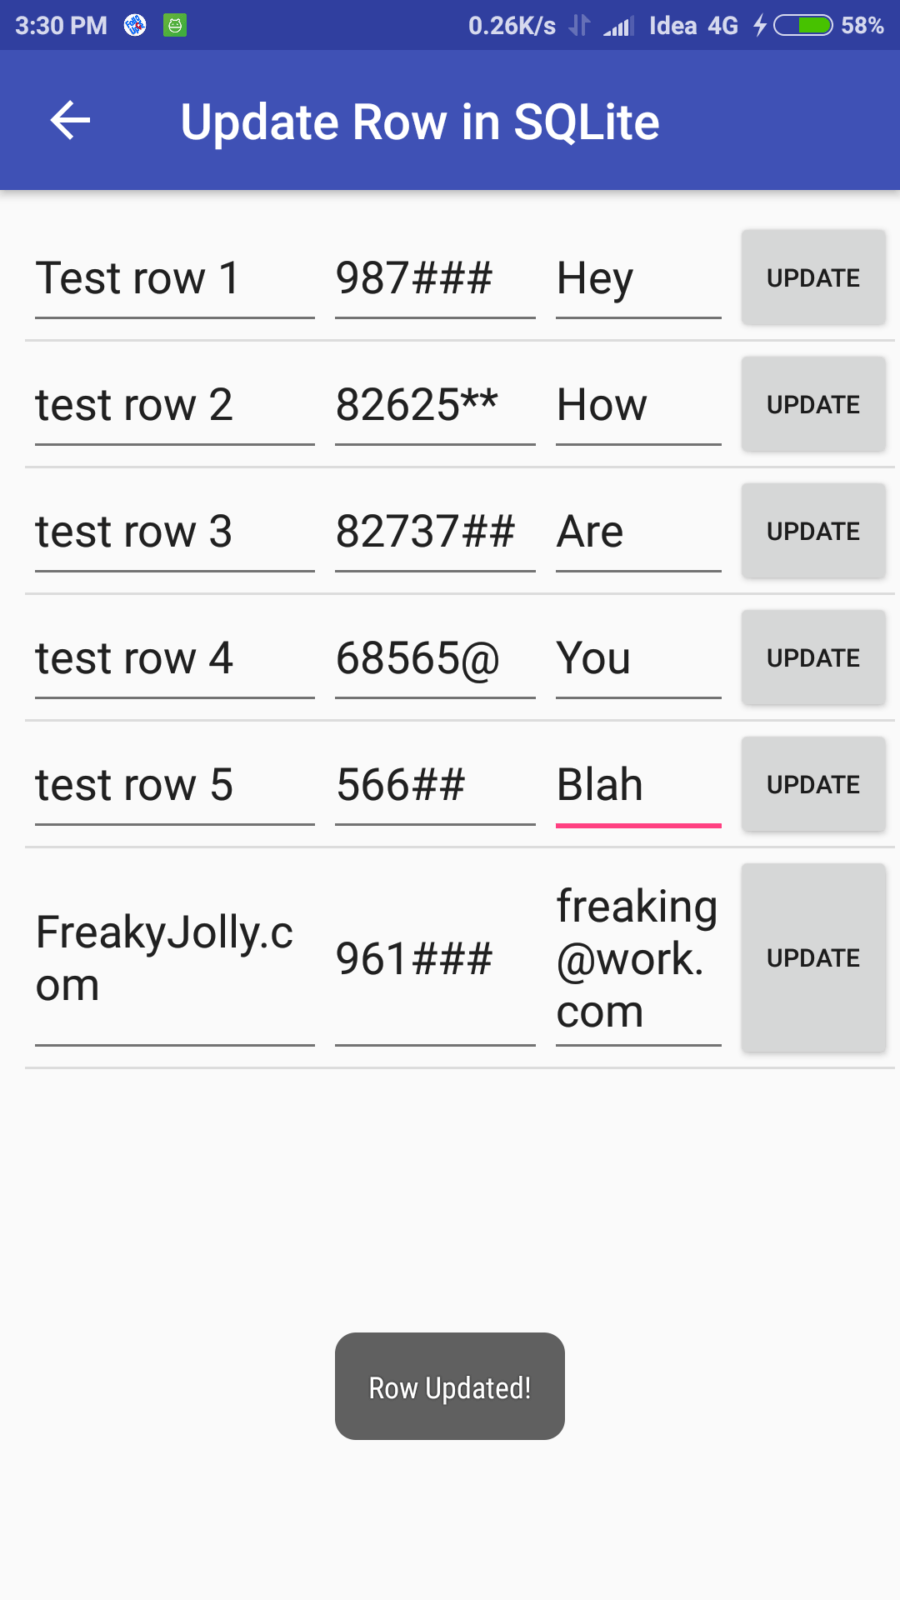
updateRowsActivity.java
updateRowsActivity will have ListView to show all rows and each row will have an Update button to save values in table row
activity_delete_rows.xml
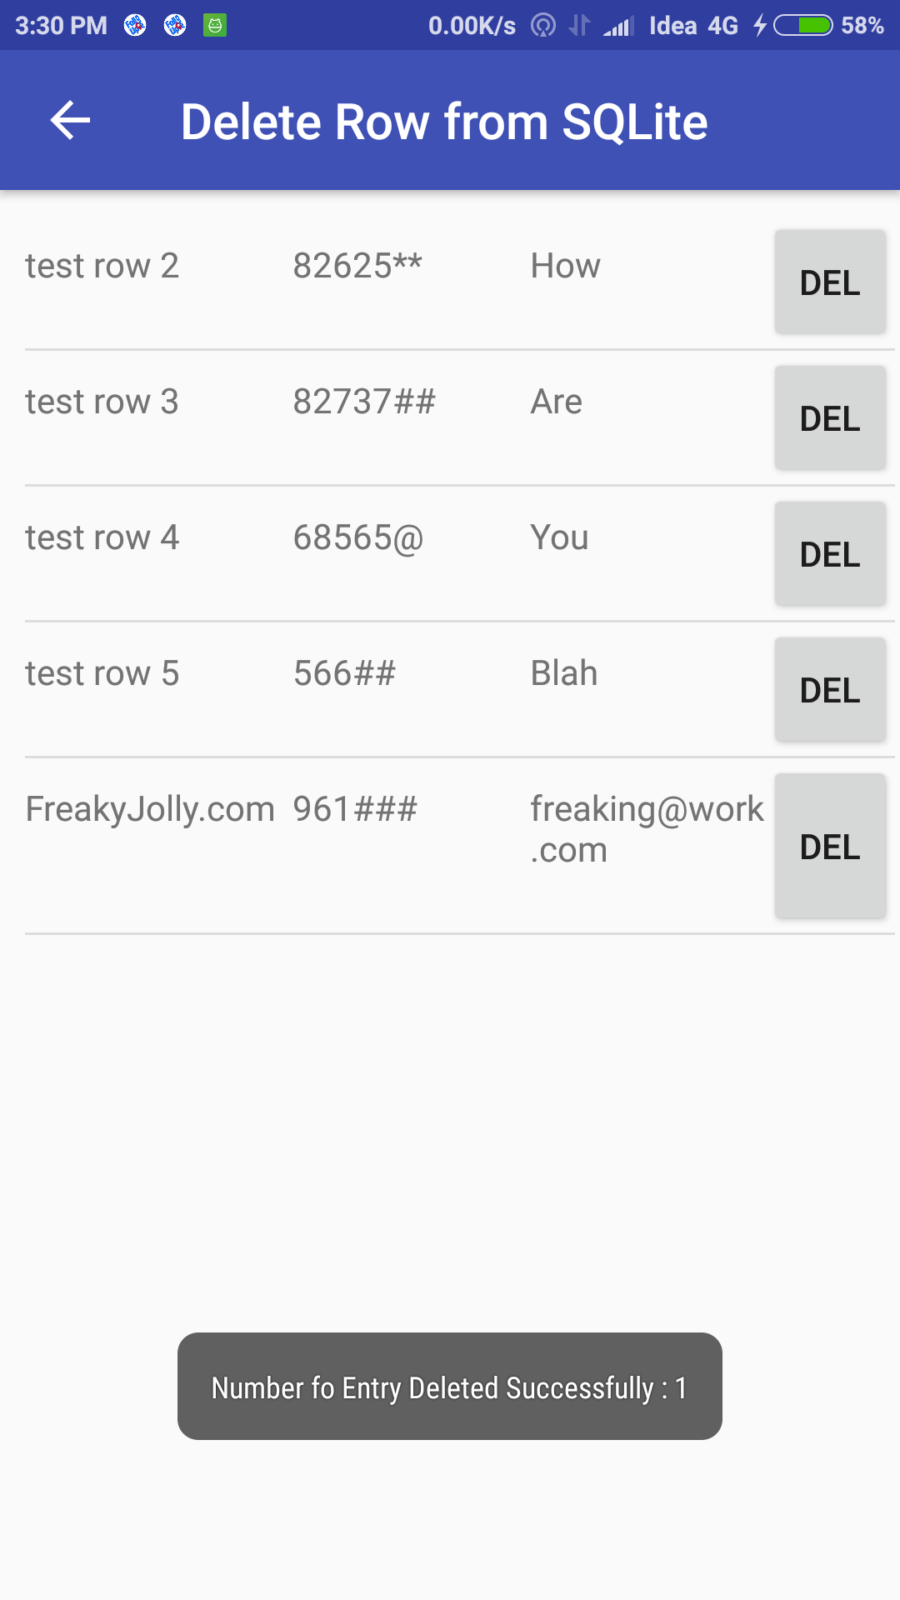
deleteRowsActivity.java
Now we will add two ListView layouts
How to add ListLayouts: Right Click on layout folder in res > New > Layout resource file

listviewupdate_row.xml
this ListLayout is for update row activity.
listviewdelete_row.xml
this List layout is for update activity
Step 6) Now we will add CustomList Adapter files, these will list the user data in ListViews for Update and Delete.
CustomListAdapterUpdateRows.java
CustomListAdapterDeleteRows.java
Step 7) Create a User Model to get and set data values.
UserModel.java
Phewww… so we have added all the files we needed for this example app to work as expected. In most places, I have already added inline comments. let me know in comments if you have Questions…
Oops here is source code for above application 😛
Источник


