- Use iPad, iPhone, or iPod touch to sketch in or mark up Mac documents
- Set up your devices
- Use Continuity Sketch
- Use Continuity Markup
- Transfer photos and videos from your iPhone, iPad, or iPod touch
- Use iCloud Photos
- Import to your Mac
- Import to your Windows PC
- Back up and restore your iPhone or iPad to your Mac or to iCloud
- Back up your device
- Restore your device from a backup
- Restore your device to its factory settings
- Sync files from your Mac to your iPhone or iPad
Use iPad, iPhone, or iPod touch to sketch in or mark up Mac documents
With Continuity Sketch and Continuity Markup, you can use your iPad, iPhone, or iPod touch to easily insert sketches into your Mac documents, or perform live mark up of PDFs and images on your Mac.

Set up your devices
Continuity Sketch and Continuity Markup work when your compatible devices are near each other and set up as follows:
- Your Mac and iPad, iPhone, or iPod touch have Wi-Fi and Bluetooth turned on.
- Your Mac and iPad, iPhone, or iPod touch are signed in to iCloud with the same Apple ID using two-factor authentication.
- Your Mac is using macOS Catalina, and your iPad, iPhone, or iPod touch is using iPadOS or iOS 13.
These features work with any Apple or third-party app designed to support them, including Pages, Numbers, Keynote, Mail, Messages, Notes, and TextEdit.
Use Continuity Sketch
With Continuity Sketch, you can use your Mac to request a new sketch from your iPad, iPhone, or iPod touch, then insert the sketch into your Mac document.
- On your Mac, open a document and take one of these actions:
- From the menu bar, choose File > Insert from [device] > Add Sketch.
In some apps, such as Pages, Numbers, and Keynote, this is in the Insert menu instead of the File menu. - Or Control-click within your document, then choose Add Sketch from the shortcut menu.
- From the menu bar, choose File > Insert from [device] > Add Sketch.
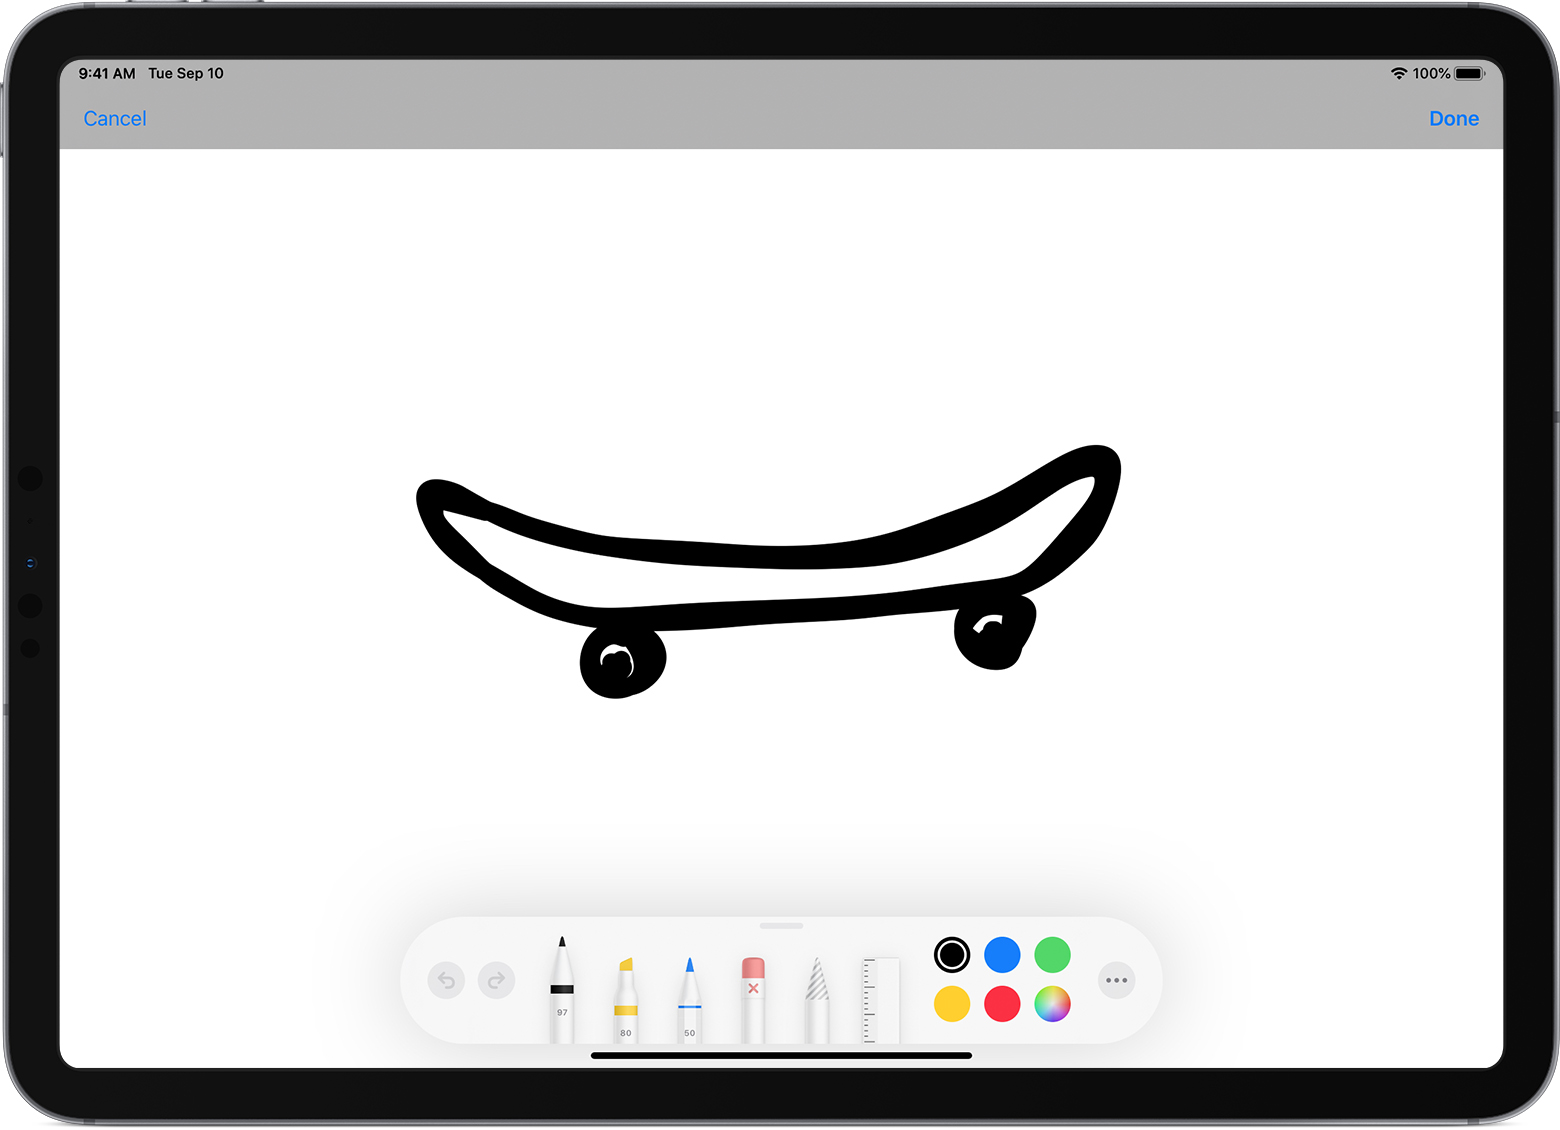
- On your device, a sketch window opens, ready for you to create a sketch with your Apple Pencil or finger:

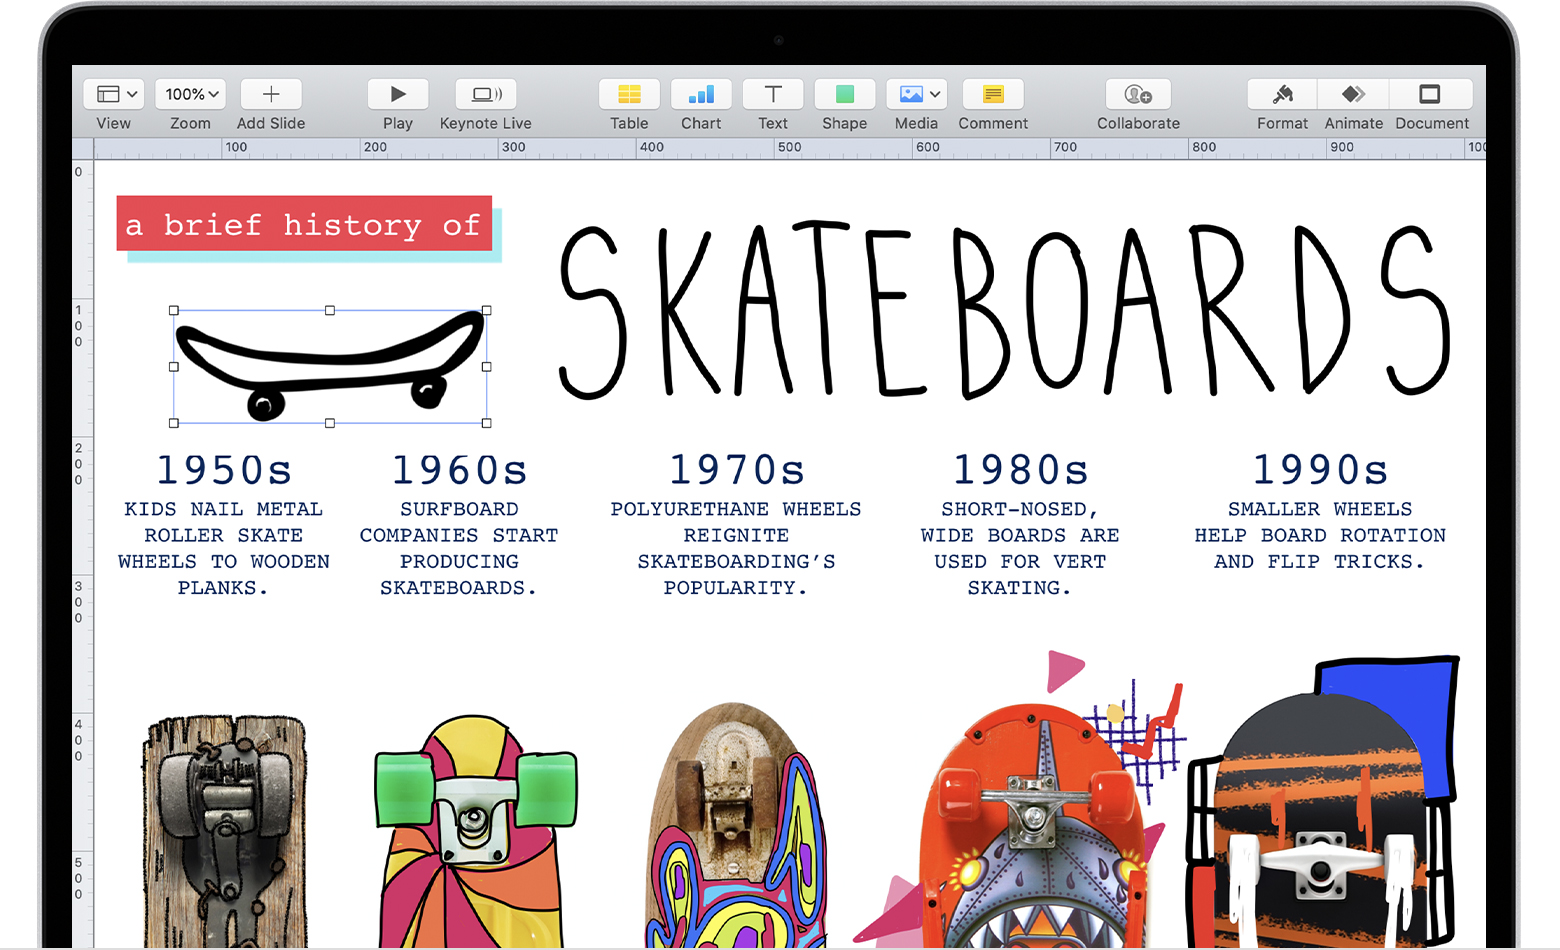
- When you’re finished sketching, tap Done on your device. The sketch then appears in your Mac document:
Use Continuity Markup
With Continuity Markup, you can use your Mac to request document markup from your iPad, iPhone, or iPod touch. As you add markup on your device, you see it happening live on your Mac. It’s a great way to sign documents, correct papers, circle important details, and more.
- From the Finder on your Mac, find the PDF or image that you want to mark up. Then take one of these actions:
- Select the document, then press Space bar to open a preview window. Click the markup button at the top of the window.
- Or Control-click the document, then choose Quick Actions > Markup from the shortcut menu.
- From the markup toolbar at the top of the preview window, click the annotate button :
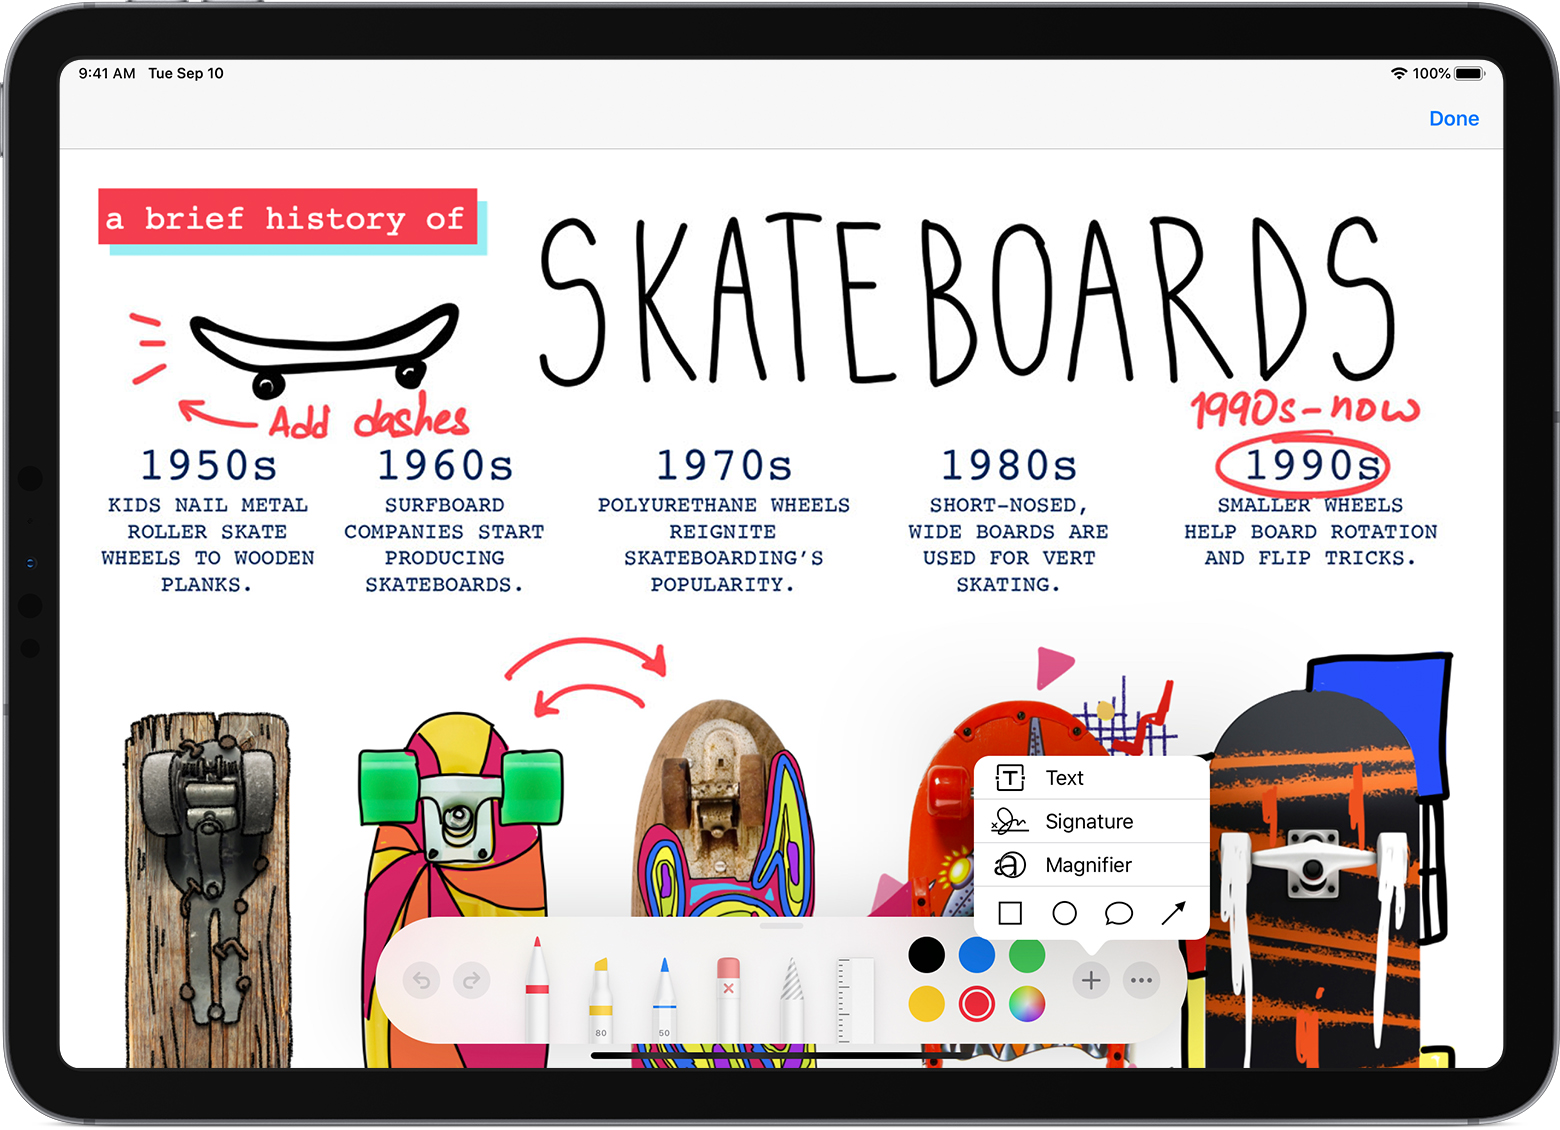
- A markup window opens on your device. You can now use an Apple Pencil or your finger with the sketch tools, or tap the plus sign and use the markup tools for adding text, a signature, a magnifier, or shapes and arrows.
- As you work on your device, the changes appear live on your Mac:
- When you’re finished marking up the document, click Done on your device.
- To save the changes, click Done on your Mac.


Источник
Transfer photos and videos from your iPhone, iPad, or iPod touch
Learn how to transfer photos and videos from your iPhone, iPad, or iPod touch to your Mac or PC. You can also make your photos available on all your devices with iCloud Photos.
Use iCloud Photos
iCloud Photos keeps your photos and videos safe, up to date, and available automatically on all of your Apple devices, on iCloud.com, and even your PC. When you use iCloud Photos, you don’t need to import photos from one iCloud device to another. iCloud Photos always uploads and stores your original, full-resolution photos. You can keep full-resolution originals on each of your devices, or save space with device-optimized versions instead. Either way, you can download your originals whenever you need them. Any organizational changes or edits you make are always kept up to date across all your Apple devices. Learn how to set up and use iCloud Photos.
The photos and videos that you keep in iCloud Photos use your iCloud storage. Before you turn on iCloud Photos, make sure that you have enough space in iCloud to store your entire collection. You can see how much space you need and then upgrade your storage plan if necessary.
Import to your Mac
You can use the Photos app to import photos from your iPhone, iPad, or iPod touch to your Mac.
- Connect your iPhone, iPad, or iPod touch to your Mac with a USB cable.
- Open the Photos app on your computer.
- The Photos app shows an Import screen with all the photos and videos that are on your connected device. If the Import screen doesn’t automatically appear, click the device’s name in the Photos sidebar.
- If asked, unlock your iOS or iPadOS device using your passcode. If you see a prompt on your iOS or iPadOS device asking you to Trust This Computer, tap Trust to continue.
- Choose where you want to import your photos. Next to «Import to,» you can choose an existing album or create a new one.
- Select the photos you want to import and click Import Selected, or click Import All New Photos.
- Wait for the process to finish, then disconnect your device from your Mac.
Import to your Windows PC
You can import photos to your PC by connecting your device to your computer and using the Windows Photos app:
- Make sure that you have the latest version of iTunes on your PC. Importing photos to your PC requires iTunes 12.5.1 or later.
- Connect your iPhone, iPad, or iPod touch to your PC with a USB cable.
- If asked, unlock your iOS or iPadOS device using your passcode.
- If you see a prompt on your iOS or iPadOS device asking you to Trust This Computer, tap Trust or Allow to continue.
If you have iCloud Photos turned on, you need to download the original, full resolution versions of your photos to your iPhone before you import to your PC. Find out how.
When you import videos from your iOS or iPadOS device to your PC, some might be rotated incorrectly in the Windows Photos app. You can add these videos to iTunes to play them in the correct orientation.
If you’re having trouble importing photos from your iOS or iPadOS device to Windows 10, try these steps:
- On your iOS or iPadOS device, open the Settings app. Tap Camera, then tap Formats.
- Tap Most Compatible. From now on, your camera will create photos and videos in JPEG and H.264 formats.
Источник
Back up and restore your iPhone or iPad to your Mac or to iCloud
One of the best ways of safeguarding the information on an iPhone or iPad against damage or loss is backing up or copying your files and settings to either your Mac or to iCloud. Backing up is also useful if you get a new device and want to transfer your previous settings to it.
After you back up your device, you can use the backup to restore the information on your device whenever needed. If your device has issues that can’t be fixed by restoring from a backup, you can also restore your device to its factory settings and then restore a recent backup to see if that fixes the problem.
Back up your device
Connect your device to your Mac.
You can connect your device using a USB or USB-C cable or using a Wi-Fi connection. See Sync content between your Mac and iPhone or iPad over Wi-Fi.
In the Finder  on your Mac, select the device in the Finder sidebar.

If you connect your device to your Mac using a USB cable and can’t see the device in the Finder sidebar, see If your device doesn’t appear in the sidebar.
Click General in the button bar.

To select backup options, do any of the following:

Select the “Back up your most important data on your [device] to iCloud” button to store backup data on iCloud and not on your Mac.
Select the “Back up all the data on your [device] to this Mac” to store backups on your Mac.
Select the “Encrypt local backup” tickbox to encrypt your backup data and protect it with a password. To change your password later, click Change Password.
Click Back Up Now.
Restore your device from a backup
If your device has an issue, you can use a recent backup to restore the information on the device.
Connect your device to your Mac.
You can connect your device using a USB or USB-C cable or using a Wi-Fi connection. See Sync content between your Mac and iPhone or iPad over Wi-Fi.
In the Finder on your Mac, select the device in the Finder sidebar.
Click General in the button bar.
Click Restore Backup.
Click the Backup pop-up menu, choose the backup you want to restore to the device, then click Restore.
If your backup is encrypted, you must enter the password before restoring your files and settings.
Restore your device to its factory settings
You can reinstall the software originally on your device and restore it to its factory settings. You might need to do this if you’re having problems with the device (for example, if it freezes or crashes frequently) of if you’re getting ready to sell or give it away.
Important: Restoring a device to its factory settings deletes all your information and settings. However, before doing so, your Mac backs up your device. You can use this backup to restore your information and settings on the device.
Note: You must turn off the Find My app in iCloud Settings on your device before you can restore your device.
Connect your device to your Mac using a USB or USB-C cable.
You can’t restore your device using a Wi-Fi connection.
In the Finder on your Mac, select the device in the Finder sidebar.
Click General in the button bar.
Click “Restore [device]”, then follow the onscreen instructions.
Источник
Sync files from your Mac to your iPhone or iPad
You can transfer files from your Mac to a device. For example, you can transfer specific files to your device so you can use them while away from your Mac.
Connect your device to your Mac.
You can connect your device using a USB or USB-C cable or using a Wi-Fi connection. See Sync content between your Mac and iPhone or iPad over Wi-Fi.
In the Finder on your Mac, select the device in the Finder sidebar.
If you connect your device to your Mac using a USB cable and can’t see the device in the Finder sidebar, see If your device doesn’t appear in the sidebar.
Click Files in the button bar.

A list of the apps on your device that support file sharing appears.
Drag a file or selection of files from a Finder window onto an app name in the list.
The files are immediately transferred to the device and are available using the app.
Click the arrow  beside the app name to see files already transferred to your device.

To delete files, select them under an app name, press Command-Delete, then click Delete. The files are immediately removed from the device. You don’t need to sync when transferring files this way.
Before disconnecting your device from your Mac, click the Eject button  in the Finder sidebar.
Источник


