- Use AssistiveTouch on your iPhone, iPad, or iPod touch
- Turn on AssistiveTouch
- Use AssistiveTouch instead of gestures
- Use AssistiveTouch instead of pressing buttons
- Use AssistiveTouch for multi-finger gestures
- Customize the AssistiveTouch menu
- Use custom actions
- Create new gestures
- Connect a pointer device with AssistiveTouch
- Learn more
- Make and receive calls on your Mac, iPad, or iPod touch
- Set up iPhone Cellular Calls
- Make and receive phone calls
- Make a call on your Mac
- Make a call on your iPad or iPod touch
- Answer a call
- Use Markup on your iPhone, iPad, or iPod touch
- Apps and features that use Markup
- Messages
- Photos
- Draw with Markup
- Move a drawing
- Erase or undo a drawing
- Add text, a signature, magnifier, and shapes
- Пять ЦАП для iPhone — повышаем качество звука
- DAC ES9318
- TempoTec Sonata HD Pro
- SMSL ICON /I2
- Hidizs S8
- Shanling UA2 DAC
Use AssistiveTouch on your iPhone, iPad, or iPod touch
You can use AssistiveTouch to adjust volume, lock your screen, use multi-finger gestures, restart your device, or replace pressing buttons with just a tap.
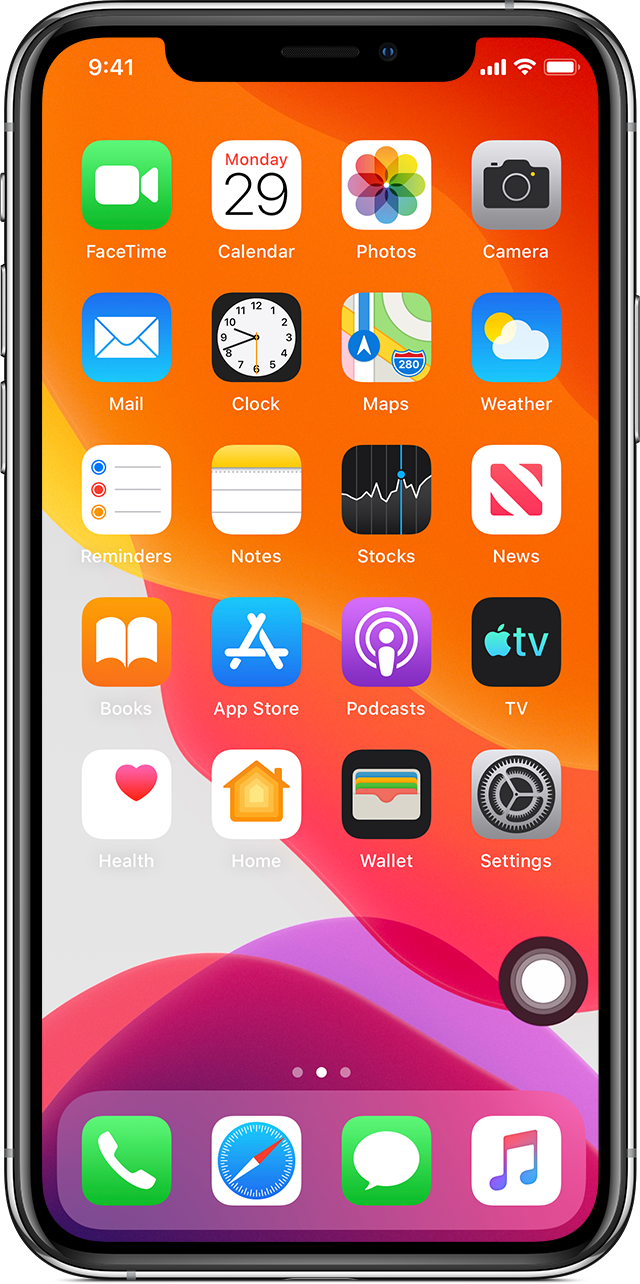
Turn on AssistiveTouch
When you turn on AssistiveTouch, you’ll see a button appear onscreen. You can drag it to any edge of the screen, where it will stay until you move it again. By default, tapping the button once will open the AssistiveTouch menu. Tapping once anywhere outside of the menu will close it.
There are a few ways to turn on AssistiveTouch:
- Go to Settings > Accessibility > Touch, then select AssistiveTouch to turn it on.
- Use «Hey Siri» to say, “Turn on AssistiveTouch.”
- Go to Settings > Accessibility > Accessibility Shortcut and turn on AssistiveTouch.
AssistiveTouch can also be added to the Accessibility Shortcut for quick access from Control Center, or you can use the Side or Home button.
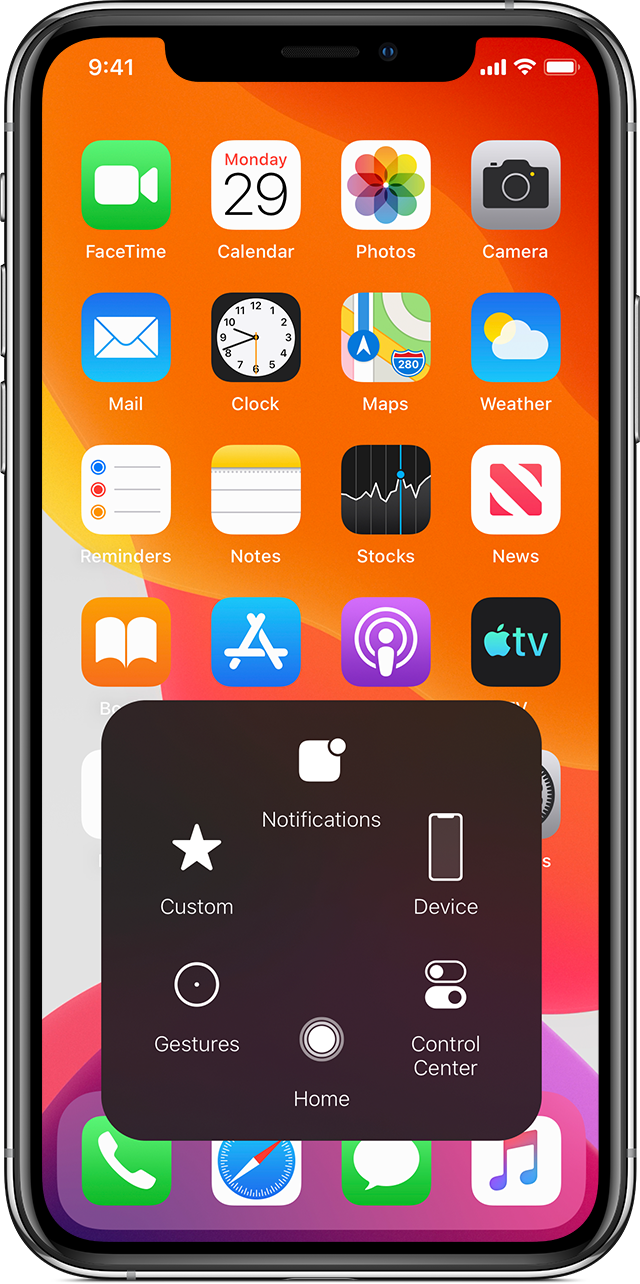
Use AssistiveTouch instead of gestures
Access menus and controls that require onscreen gestures like:
- Control Center
- Notification Center
- Spotlight
- Home
- App Switcher
- Speak Screen
Use AssistiveTouch instead of pressing buttons
The menu gives you access to functions that would otherwise be controlled by pressing physical buttons or moving the device. Here’s some of what you can do:
- Activate the Accessibility Shortcut
- Lock the screen
- Adjust the volume
- Summon Siri
- Restart the device
- Capture a screenshot
- Simulate shaking the device
Use AssistiveTouch for multi-finger gestures
- From the AssistiveTouch menu, select Device > More, then select Gestures.
- Choose between 2, 3, 4, or 5 finger input.
After making your selection, multiple dots appear on the screen indicating where the virtual fingertips are touching the screen. Moving one finger around the screen or performing taps will control all virtual fingertips at the same time. The virtual fingertips will automatically go away after a few moments of inactivity.
Customize the AssistiveTouch menu
To change the order, number, and contents of the buttons in the menu:
- Go to Settings > Accessibility > Touch, then select AssistiveTouch.
- Select Customize Top Level Menu, then tap an icon to reassign a different function to its position.
- Use the + and — buttons to change the number of buttons that appear in the menu.
Use the Reset button to erase your changes and restore the default menu settings.
Use custom actions
To assign an AssistiveTouch function to a single-tap, double-tap, or long press of the button:
- Go to Settings > Accessibility > Touch, then select AssistiveTouch.
- Under the Custom Actions heading, choose Single-Tap, Double-Tap, or Long Press.
- Choose an action from the list to assign to the gesture.
- Use the AssistiveTouch button to go back to Settings.
You can adjust the amount of time the actions can perform a double-tap, or how long the button must be held for a long press.
Create new gestures
You can record custom taps and swipes using the touchscreen and save them to the AssistiveTouch menu.
To create a new gesture:
- Go to Settings > Accessibility and select Touch.
- Select AssistiveTouch, then Create New Gesture.
- Recording starts automatically when you touch the ; so you can tap or swipe whenever you’re ready.
- When you’re finished, tap Stop.
To review your recorded gesture, press Play. If you want to re-record your gesture, tap Record. Press Save to name your gesture when you’re ready.
If you’re unable to perform a multi-finger gesture by using multiple fingers at the same time, you can record individual movements, and they’ll be grouped together. For example, draw two horizontal dots on the top half of the screen, and a half circle on the bottom of the screen, then press Stop. When you press play, all dots and lines will play at once.
Connect a pointer device with AssistiveTouch
With AssistiveTouch, you can connect an accessory — like a wired or bluetooth mouse or trackpad — to control the onscreen pointer on your device. Learn how to connect a pointer device to your iPhone, iPad, or iPod touch.
Learn more
Information about products not manufactured by Apple, or independent websites not controlled or tested by Apple, is provided without recommendation or endorsement. Apple assumes no responsibility with regard to the selection, performance, or use of third-party websites or products. Apple makes no representations regarding third-party website accuracy or reliability. Contact the vendor for additional information.
Источник
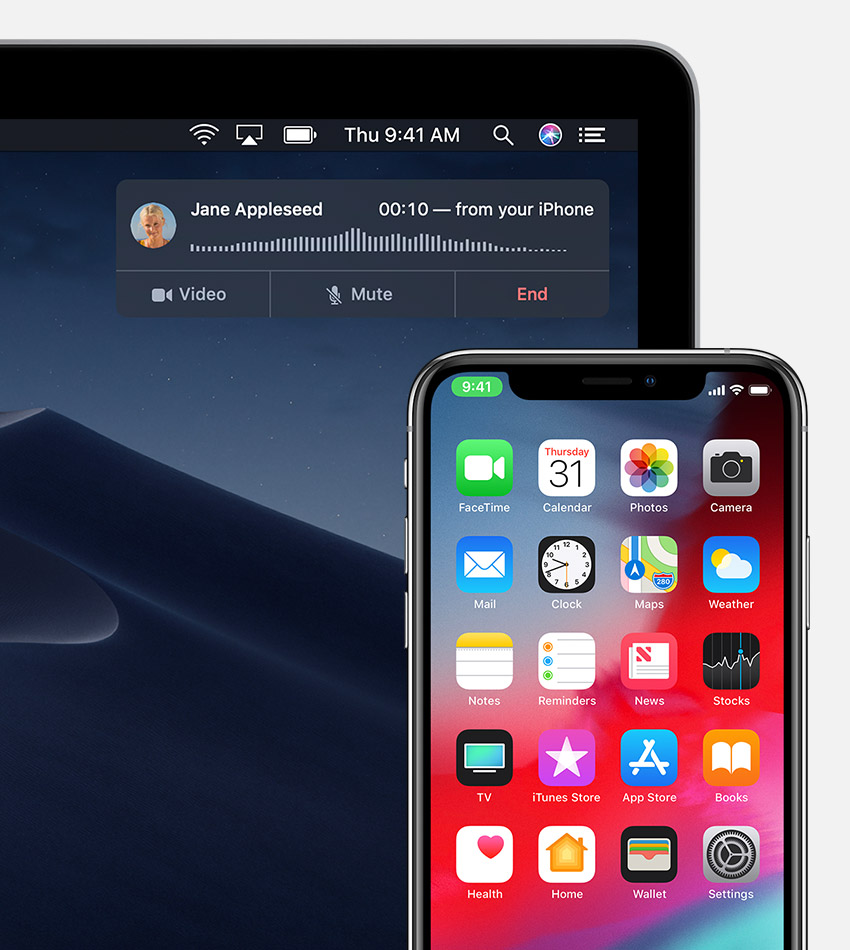
Make and receive calls on your Mac, iPad, or iPod touch
With the iPhone Cellular Calls feature, you can make and receive calls from your Mac, iPad, or iPod touch when those devices are on the same network as your iPhone.
Set up iPhone Cellular Calls
You can use iPhone Cellular Calls with any Mac, iPhone, iPad, or iPod touch that meets the Continuity system requirements. It works when your devices are near each other and set up as follows:
- Each device is signed in to iCloud with the same Apple ID.
- Each device is signed in to FaceTime with the same Apple ID.
- Each device has Wi-Fi turned on.
- Each device is connected to the same network using Wi-Fi or Ethernet.
- On your iPhone, go to Settings > Phone > Calls on Other Devices, then turn on Allow Calls on Other Devices.
- On your iPad or iPod touch, go to Settings > FaceTime, then turn on Calls from iPhone.
- On your Mac, open the FaceTime app, then choose FaceTime > Preferences. Click Settings, then select Calls From iPhone.
If your carrier supports Wi-Fi calling on other devices, you can set up those devices to make and receive calls even when your iPhone isn’t turned on or nearby. Learn about Wi-Fi calling.

Make and receive phone calls
Learn how to make and receive phone calls on your Mac, iPad, and iPod touch.
Make a call on your Mac
- Move the pointer over any phone number in Contacts, Calendar, Safari, or other app that automatically detects such data. Click the arrow in the box that outlines the phone number, then choose Call [phone number] Using iPhone.
- Or open the FaceTime app, enter a phone number in the search field, then click Audio.
Make a call on your iPad or iPod touch
- Tap a phone number in Contacts, Calendar, Safari, or other app that automatically detects such data.
- Or open the FaceTime app, tap , enter the phone number in the search field, then tap Audio.
Answer a call
- On your Mac, a notification appears when someone calls your iPhone. You can answer the call, send it to voicemail, or send the caller a message.
- On your iPad or iPod touch, slide to answer the call.
To stop getting calls on one of your devices, just turn off the Calls from iPhone setting on that device. See the setup section above for details.
Источник
Use Markup on your iPhone, iPad, or iPod touch
With Markup, you can edit screenshots and photos, select different opacity and font thickness, and even add a signature to a PDF document.
Apps and features that use Markup
Here are some apps that you can use with Markup and steps to get started:
- Open Mail and tap the compose button to start a new email. Or reply to an existing email.
- Tap inside the body of your email, then tap the gray arrow icon or tap Return to open the format bar. You can also tap inside your email, then tap the cursor and select Insert Photo or Video or Add Attachment. You might need to tap the arrow icon to scroll through the options.
- Tap the Camera button or the Document button , then look for the photo or PDF that you want to attach and mark up.
- Tap the attachment, then tap the gray arrow icon . Tap the Markup button to add your markup. Tap the plus button to add a signature, text, and more.
- Tap Done, then send your email.
![]()
Messages
- Open Messages and tap the compose button to start a new conversation. Or go to an existing conversation.
- Tap the Photos button and select a photo.
- Tap the photo in the message, then tap Markup. From here, you can add a sketch to the photo, or tap the plus button for other Markup options.
- Tap Save, then tap Done.
- Tap the Send button .
![]()
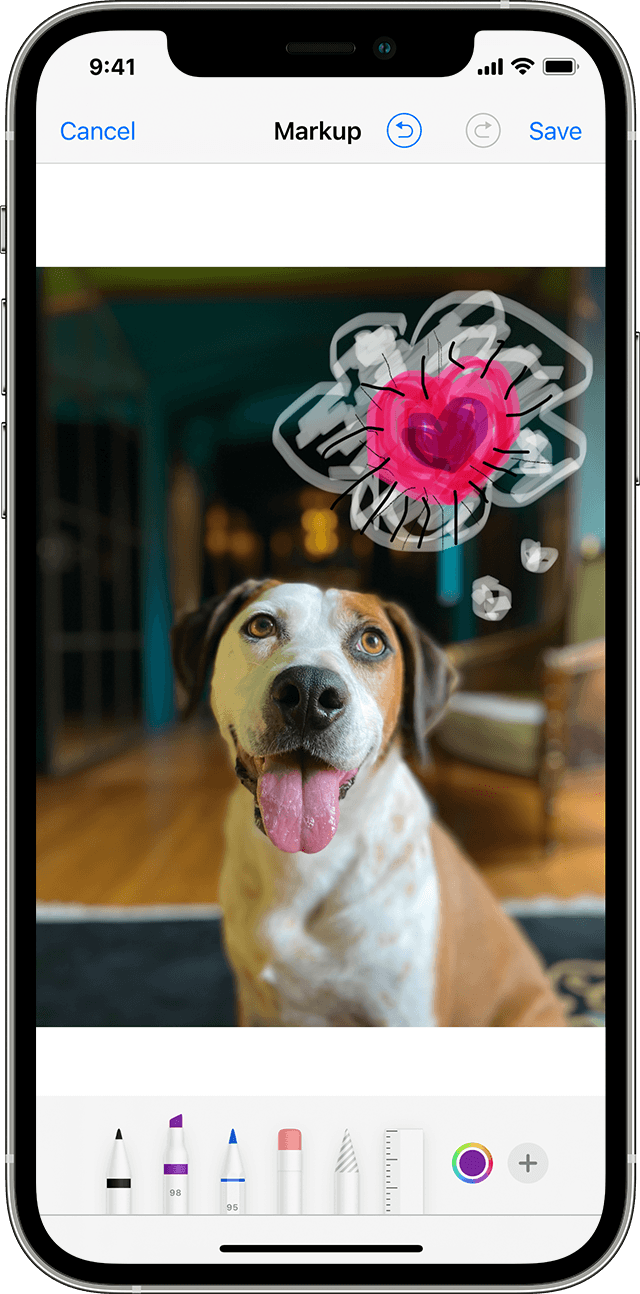
Photos
- Go to Photos and select the photo you want.
- Tap Edit, then tap the Markup button . Tap the Add button to add text, shapes, and more.
- Tap Done, then tap Done again.
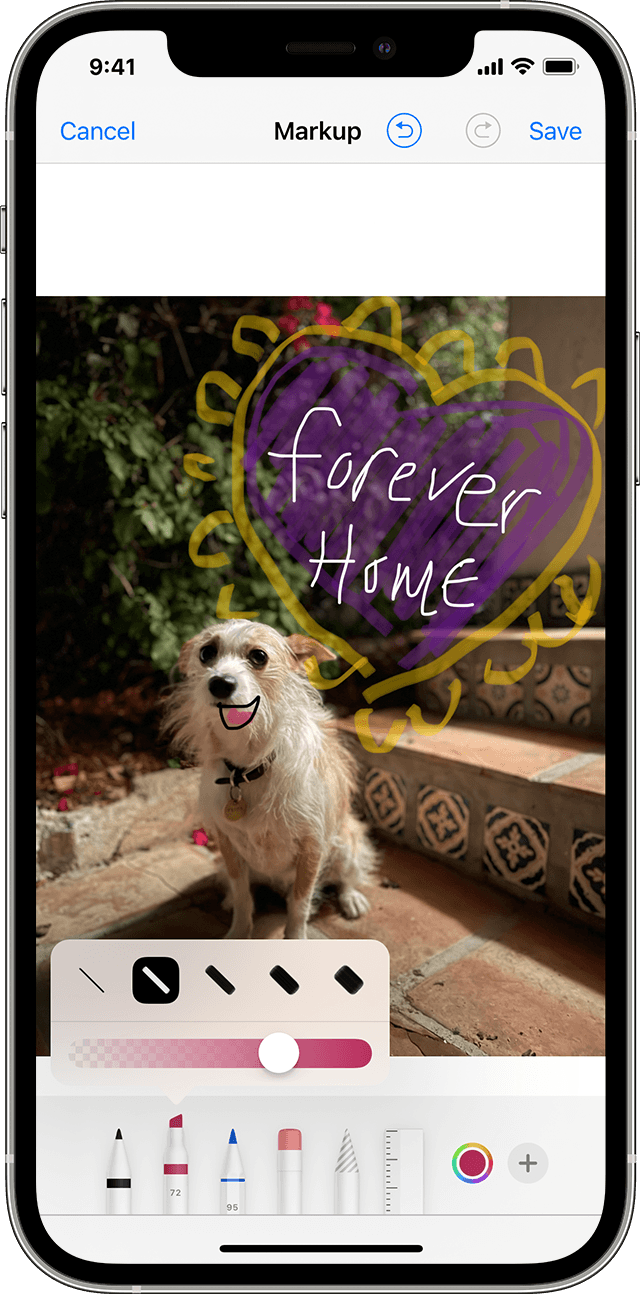
Draw with Markup
After you choose a Markup tool — like the pen, highlighter, or pencil — select a color and start drawing. Tap the same tool again to change the color opacity, or tap another tool to change the thickness. You can also tap the Color button to change color shades.
Move a drawing
After you draw something, you can move it around. Tap the Lasso button  , trace a circle around the drawing that you want to move, then drag it where you want it.
Erase or undo a drawing
To redo a drawing, tap the eraser button and rub your finger across the area you want to erase. You can also undo any markup action by using the Undo button . If you accidentally undo a markup, you can shake your device and tap Redo.
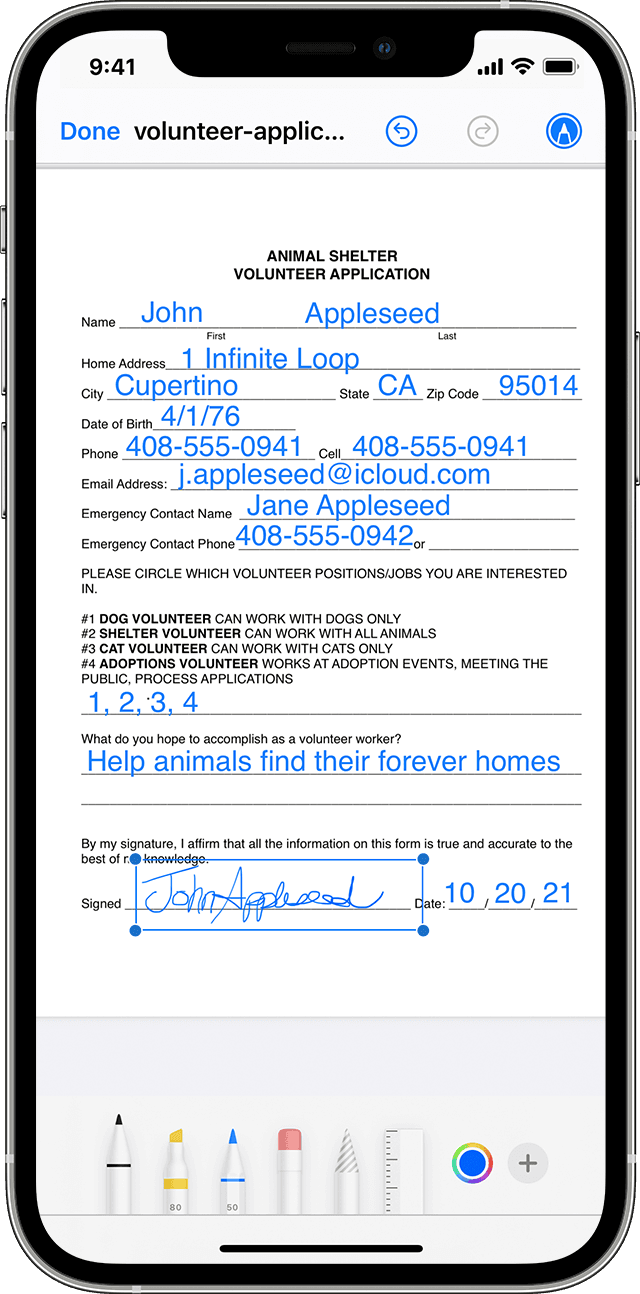
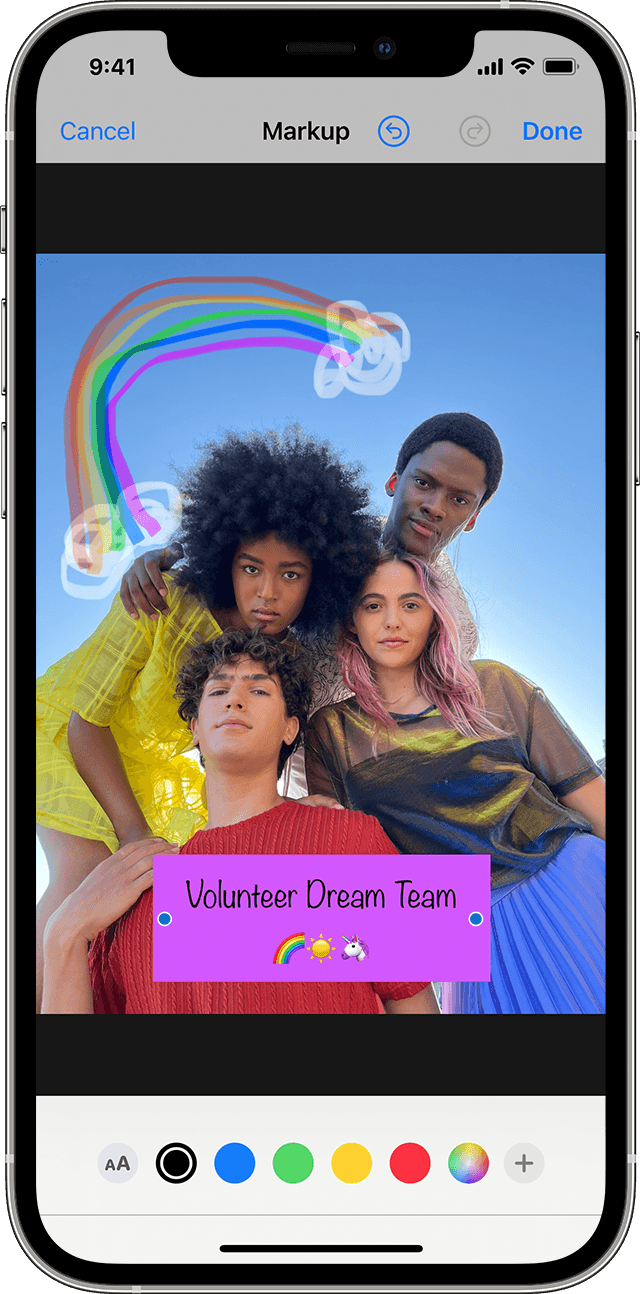
Add text, a signature, magnifier, and shapes
Tap the Add button to choose from other Markup tools:

Tap the circle to choose a different text color, then tap the formatting button to adjust the font, size, and alignment.

Quickly add or create a signature for a document.
![]()

Drag the loupe around, use the blue dot to adjust the size, and the green dot to increase or decrease the magnification level.

Tap a shape to add it to your screenshot, photo, or PDF. Drag the shape to where you want it and use the blue dots to adjust the size and shape. Use the green dots to adjust the arrow’s curve and the speech bubble’s appearance.
Источник
Пять ЦАП для iPhone — повышаем качество звука
Apple обещает, что Lossless-аудио появится в Apple Music уже в ближайшие несколько недель. Но если пространственный звук будет доступен практически на всех яблочных устройствах, то «звук без потерь» смогут опробовать далеко не все. Ранее Apple подтвердила, что Lossless-аудио не будет работать по Bluetooth. Также для прослушивания композиций в высоком качестве понадобятся хорошие наушники и ЦАП.
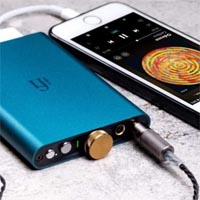
В этой подборке мы решили собрать несколько моделей цифро-аналоговых преобразователей, которые позволят опробовать новые возможности яблочного музыкального сервиса. Как не удивительно, на Aliexpress есть немало хороших моделей, которые созданы специально для работы в паре с iPhone.
DAC ES9318
DAC ES9318 — является недорогим преобразователем, в основе которого лежит чип ES9318. По словам производителя этот «свисток» поддерживает все популярные форматы несжатого аудио и может «крутить» композиции в качестве до 384 кГц/32 бит, DSD256.
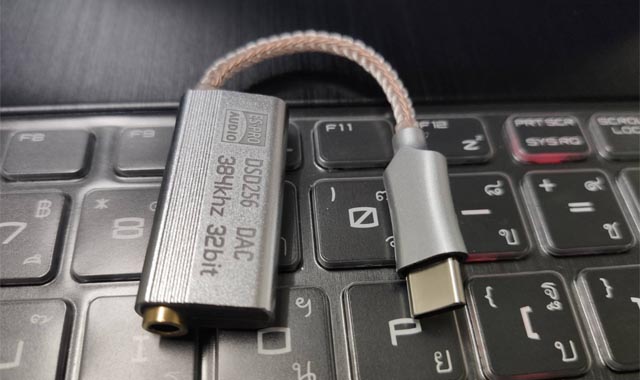
Мощности этого компактного решения не хватит для «тугих» полноразмерных наушников, но в паре с недорогой внутриканальной гарнитурой DAC ES9318 показывает себя замечательно. При этом особой направленности у DAC ES9318 нет.
В целом DAC ES9318 можно считать неплохим решением «на попробовать». Стоит он не очень дорого, но с ним вполне можно попробовать послушать музыку в более высоком качестве. Главное подобрать наушники и немного поиграть с настройками.
TempoTec Sonata HD Pro
Многие называют TempoTec Sonata HD Pro народным ЦАП. Модель действительно продается уже давно и пользуется популярностью у любителей хорошего звука. Также народной любви этому ЦАП добавляет не очень высокая цена.
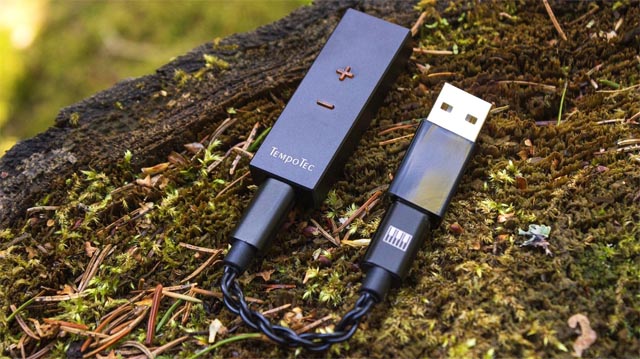
Как и в случае с DAC ES9318, этот преобразователь лучше не использовать в паре с высокоомными полноразмерными наушниками. Sonata HD Pro создавался немного для других целей. Он хорошо показывает себя с более «легкими» гарнитурами.
По звуку TempoTec Sonata HD Pro можно назвать скорее универсальным устройством. Играет ЦАП точно и правильно, и многие любят его именно за это. Также нелишним будет сказать про наличие в комплекте с устройством нескольких сменных переходников. Благодаря этому его можно подключать не только к iPhone, но и к смартфонам на Android или Mac.
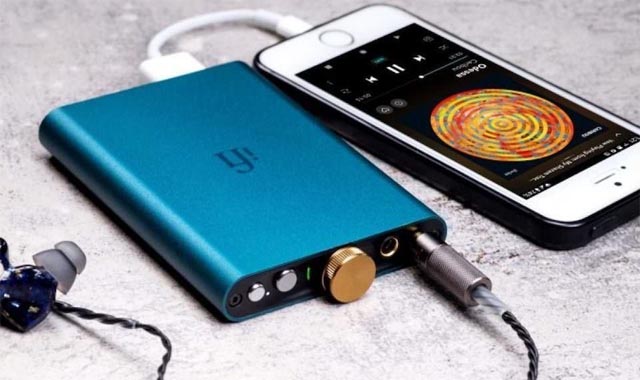
SMSL ICON /I2
SMSL ICON /I2 можно считать ЦАП-ом из условного среднего ценового сегмента. Отличается от большинства доступных в продаже моделей достаточно длинным корпусом, на котором расположены несколько физических кнопок. Ко всему прочему в SMSL ICON /I2 есть встроенный микрофон.
ЦАП поддерживает большинство популярных высококачественных аудио-форматов. А после его подключения к iPhone звук сразу становится более плотным, а басы начинают звучать более энергично.
Hidizs S8
Кроме моделей в ценовом диапазоне от 30 до 50 долларов на Aliexpress встречаются и более дорогие ЦАП-ы. Они обладают уже большими возможностями. Например, благодаря возросшей мощности более дорогие модели могут работать в паре с полноразмерными наушниками, хотя и не со всеми. Ярким представителем более дорого ценового сегмента является Hidizs S8.
По звуку он превосходит свои более доступные аналоги. Если говорить коротко, то звук ощущается более «взрослым». Появляется чуть более выраженный бас, лучше угадываются средние частоты, а верха чуть смещены назад. Многие любят эту модель именно за подобные «настройки».
К плюсам конкретно этой модели можно также отнести наличие в комплекте нескольких переходников.
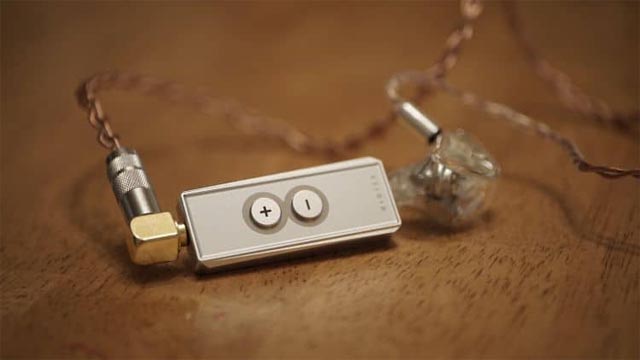
Shanling UA2 DAC
Shanling UA2 ближе всего подобрался к психологической отметке в 100 долларов. Сейчас на Aliexpress этот ЦАП можно приобрести за 95-99 долларов. При этом такие цены есть не всегда. Время от времени ценник переваливает за «сотню». Однако модель, определенно, стоит своих денег.
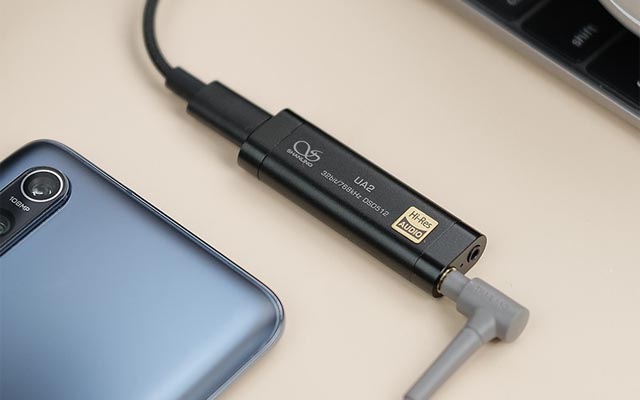
Shanling UA2 построен на основе ESS ES9038Q2M и обладает солидной мощностью до 195 мВт на 32 Ома нагрузки. Кроме этого он поддерживает композиции в качестве до 768 кГц/32 бита, DSD512 – а это уже уровень.
Что касается звука, то с Shanling UA2 достаточно капризен в плане наушников. В паре с некоторыми моделями, несмотря на высокие параметры, он удивит скучным звуком, тогда как если найти подходящую модель, то все сразу меняется. Звук приобретает объем с приятной аналоговой теплотой и обилием всяких оттенков и нюансов. Причем неважно, что конкретно играет – классика, электроника или пауэр-метал.
Источник


