- Drawable. Фигуры и градиенты
- Shape и ShapeDrawable
- Элементы фигуры
- rectangle (Прямоугольник)
- oval (Эллипс)
- ring (Кольцо)
- line (Горизонтальная линия)
- Градиенты: gradient и GradientDrawable
- linear
- radial
- sweep
- Примеры с shape
- Закругляем уголки у компонентов
- Овальный кабинет
- How to Android button rounded corners | Radius, ripple, corners, design?
- Build an Android app with rounded buttons designs:
- Step 1. Create a new project “Build Your First Android App in Kotlin“
- Step 2. Create a new XML file and add the below code.
- Step 3. Add following code in “activity_main.xml“
- Step 7. Now Run the application, in an emulator or on your Android device
- Output screenshot Android corner button example:
- Download source code of button design from an Activity in Kotlin
- Q: What is an android material button and how to set the corners (radius) of it?
- Q: How to create a circle button in android?
- Q: How to create Android button rounded corners programmatically?
- How to Make Rounded Corners(Boarder Radius) of ImageView in Android
- Android Example: Make an ImageView Image Rounded Corners in Android
- Download Complete Example Project
- ShapeableImageView – Material components for android [Example]
- Important attributes of ShapeableImageView
- Imageview in circle shape
- Corner Radius Imageview
- Corner cut imageview
- Selected Corner Radius / Cut imageview
Drawable. Фигуры и градиенты
Shape и ShapeDrawable
Фигуры являются подмножеством Drawable-ресурсов.
Данный вид ресурсов на основе класса ShapeDrawable позволяет описывать простые геометрические фигуры, указывая их размеры, фон и контур с помощью тега .
Можно создавать ресурсы фигур на основе стандартных фигур вроде прямоугольника, эллипса, линии. Для использования ресурсов фигур нужно создать в подкаталоге res/drawable XML-файл, в котором будет присутствовать тег , который в свою очередь может содержать дочерние элементы , ,
Имя файла без расширения будет служить идентификатором (ID): R.drawable.filename в Java-коде и @[package:]drawable/filename в XML-файлах.
Элементы фигуры
— отступы. Возможные атрибуты: android:left, android:top, android:right, android:bottom
rectangle (Прямоугольник)

shape_rect.xml — Атрибут android:shape здесь необязателен: rectangle — это значение по умолчанию.
Пример с градиентным прямоугольником в качестве разделителя
Создадим файл separator.xml:
В разметке приложения добавим код:
У первого разделителя ширина 1dp, у второго — 3dp. Получили красивую полоску.

У прямоугольников можно скруглить углы при помощи тега corners

Можно закруглить углы по отдельности:

oval (Эллипс)

Другой вариант с пунктиром:

ring (Кольцо)

shape_ring.xml — Для кольца имеются дополнительные атрибуты:
innerRadius Внутренний радиус innerRadiusRatio Отношение между внешним и внутренним радиусами. По умолчанию равно 3 thickness Толщина кольца (т.е. разница между внешним и внутренним радиусами) thicknessRatio Отношение ширины кольца к его толщине. По умолчанию равно 9
line (Горизонтальная линия)

shape_line.xml — Линия может быть только горизонтальной
Градиенты: gradient и GradientDrawable
Тег gradient (класс GradientDrawable) позволяет создавать сложные градиентные заливки. Каждый градиент описывает плавный переход между двумя или тремя цветами с помощью линейного/радиального алгоритма или же используя метод развертки.
Тег gradient внутри тега shape. Основные атрибуты: type, startColor (обязателен), endColor (обязателен) и middleColor (необязателен). Также иногда оказывается полезным атрибут centerColor.
Используя атрибут type, вы можете описать свой градиент:
linear

- android:type=»linear» можно опустить, он так и есть по умолчанию. Отображает прямой переход от цвета startColor к цвету endColor под углом, заданным в атрибуте angle.
- Атрибут android:angle используется только линейным градиентом и должен быть кратным значению 45.
Дополнительный материал: Android Dev Tip #3 — помните о прозрачности, который может привести к другому результату.
Также можно задействовать атрибуты centerX и centerY.
radial
Интересный эффект получается при использовании множества радиальных градиентов.

sweep
Рисует развёрточный градиент с помощью перехода между цветами startColor и endColor вдоль внешнего края фигуры (как правило, кольца).

Можно использовать атрибуты android:centerX и android:centerY.

Попробуйте также такой вариант.
А почему бы не повращать?
Примеры с shape
Закругляем уголки у компонентов
Создадим отдельный файл res/drawable/roundrect.xml и с его помощью скруглим уголки у LinearLayout, ImageView, TextView, EditText:
В разметке активности пишем следующее:

Овальный кабинет
В Белом доме есть Овальный кабинет. Если вам придётся писать приложение для администрации президента США, то все элементы нужно сделать овальными. Создадим файл res/drawable/oval.xml:
Заменим в предыдущем примере android:background=»@drawable/roundrect» на android:background=»@drawable/oval».
Источник
How to Android button rounded corners | Radius, ripple, corners, design?
Do you want to make the corners of a button round in Android? In this tutorial, you will learn an easy way to achieve this in Android.
To create an Android button rounded corners have to use a new XML file. This new XML file will be inside a drawable folder. To change the corners of all sides of the button need only one attribute in the drawable XML file.
To change one or two or three corners, you have to use the following attributes:-
Build an Android app with rounded buttons designs:
Here is step by step creating a rounded corner button with background color in android.
Step 1. Create a new project “Build Your First Android App in Kotlin“
Step 2. Create a new XML file and add the below code.
Filename: rounded_button.xml
Location: res/drawable/rounded_button.xml
Step 3. Add following code in “activity_main.xml“
Adding a Button in UI.
Step 7. Now Run the application, in an emulator or on your Android device
Output screenshot Android corner button example:
Download source code of button design from an Activity in Kotlin
Q: What is an android material button and how to set the corners (radius) of it?
Answer: Material Button is a customizable button component with updated visual styles
How to Use
Q: How to create a circle button in android?
Answer: Same as the above example, use XML drawable file:
Save the following contents as round_button.xml in drawable folder.
Android Material Effect: Although FloatingActionButton is a better option, If you want to do it using XML selector, create a folder drawable-v21 in res and save another round_button.xml there with the following XML.
And set it as background of Button in xml like this:
Important:
- To show all state: -enabled, disabled, highlighted, etc, you have to use selector as described here.
- You’ve to keep both files in order to make the drawable backward-compatible. Otherwise, you’ll face weird exceptions in the previous android version
Source: https://stackoverflow.com/questions/9884202/custom-circle-button
Q: How to create Android button rounded corners programmatically?
Answer: Here code for how to create GradientDrawable shape programmatically.
And change the radius for all corners of the button.
or Change the radius for specific corners of the button.
And finally, use this drawable as a background as of button widget:
Note: A button design topic is UI design. in this tutorial, we used a Kotlin programming language in Main Activity and will work the same with java code.
Do comment if you have any doubts and suggestions on this tutorial.
Note: This example (Project) is developed in Android Studio 3.3.2. Tested on Android 9 ( Android-P), compile SDK version API 28: Android 9.0 (Pie)
MinSdkVersion=”25″
TargetSdkVersion=”28″
Coding in Kotlin

Degree in Computer Science and Engineer: App Developer and has multiple Programming languages experience. Enthusiasm for technology & like learning technical.
Источник
How to Make Rounded Corners(Boarder Radius) of ImageView in Android
How to Make Roundness in the Corners(Boarder Radius) in an Image of ImageView in Android. In this tutorial, you will learn to make an ImageView rounded corner using java code. By default in android ImageView don’t have option to make corners rounded(border radius). But if you need corner radius, you can make it by different ways. Follow following example step by step to make rounded corner of ImageView images.
Android Example: Make an ImageView Image Rounded Corners in Android
XML Layout File
Following is the simple android xml layout with a LinearLayout and an ImageView. This ImageView has an id image_view.
res/layout/activity_main.xml
Java Activity File
Following is the java code to make ImageView image corner rounded(border radius) . Following is the final code of MainActivity.java file.
src/MainActivity.java
Following is the default strings of strings.xml file.
res/values/strings.xml
Following is also the default content of AndroidManifest.xml file.
After running your application the output looks like below:
Output:
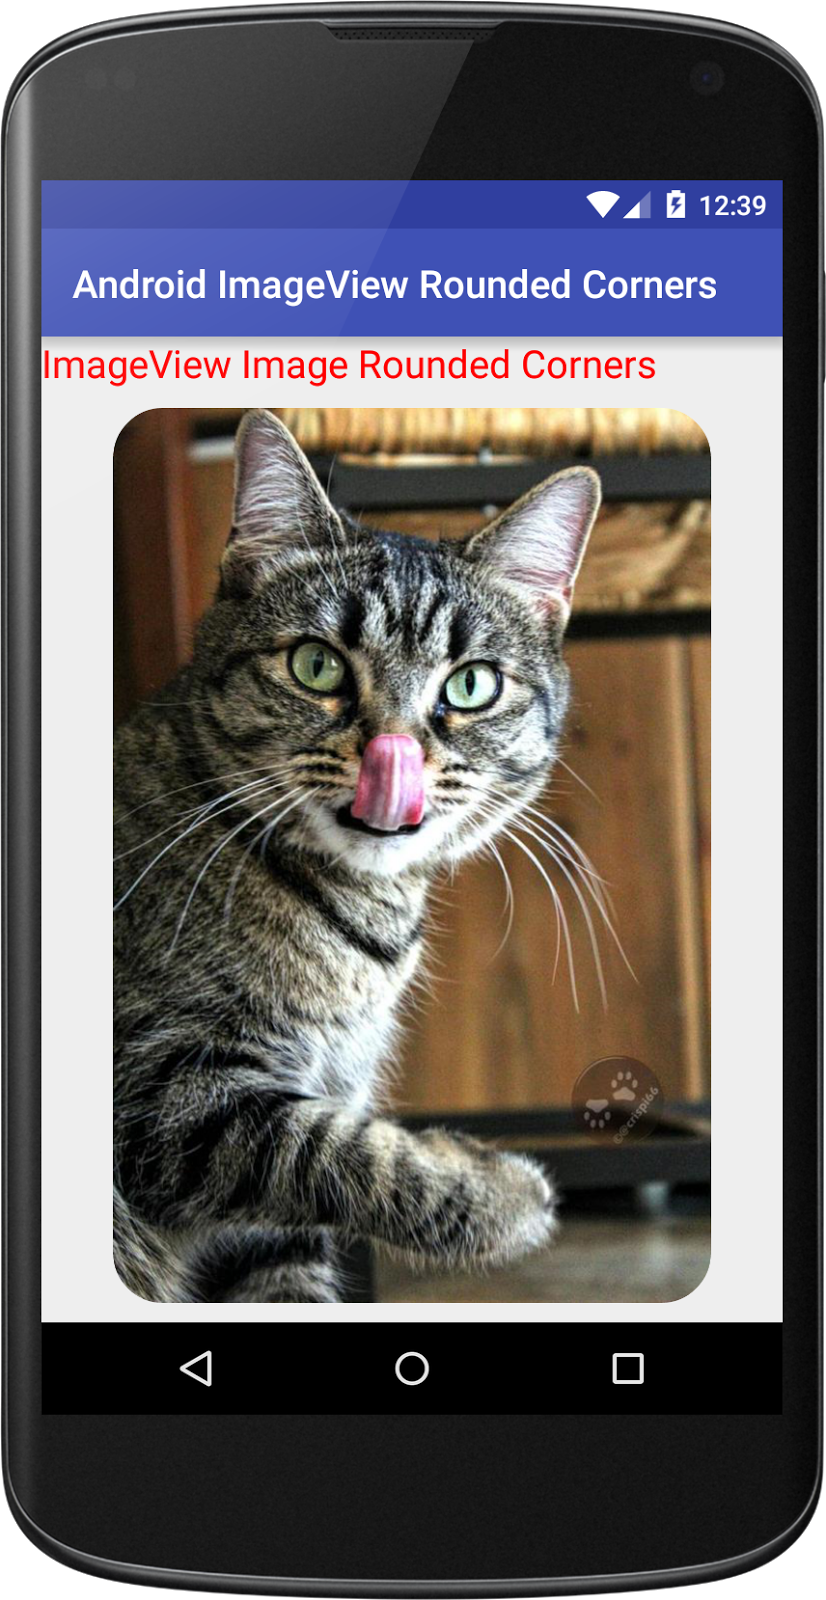 |
| Android ImageView Rounded Corners(Boarder Radius) |
Download Complete Example Project
Download complete How to Make Roundness in the Corners(Boarder Radius) in an Image of ImageView in Android project source code from GitHub.
Источник
ShapeableImageView – Material components for android [Example]
Do you want to change the shape of your ImageView in android ? . If yes then its the right place to look into it. Material Design 1.2.0 introduced ShapeableImageView that draws the image with the provided Shape in your imageview.

By using ShapeableImageView, you can change the shape of your image to circle, diamond, etc. Also, you can set a corner radius to your imageview. You can do much more by using this ShapeableImageView with minimal code.
before getting started, check out my other post in material design,
To work with ShapeableImageView in your android project, you need to add dependency material design 1.2.0 or higher.
Before starting checkout my other post on material design:
Table of Contents
Important attributes of ShapeableImageView
app:shapeAppearanceOverlay — This is working as a ThemeOverlay. ShapeAppearanceOverlay applies the defined changes without affecting the active theme.
The key to the overlay behavior is the empty parent attribute. This is what causes the overlay behavior. Lets create imageview in different shapes.
In the above style, cornerSize only affected by the overlay. remaining properties same as active theme.
cornerFamily — corner family to be used for all four corners
cornerFamilyTopLeft — corner family to be used for the top left corner
cornerFamilyTopRight — corner family to be used for the top right corner
cornerFamilyBottomRight — corner family to be used for the bottom right corner
cornerFamilyBottomLeft — corner family to be used for the bottom left corner
cornerFamily is a enum type and the supported values are rounded, cut.
cornerSize — corner size to be used for all four corners
cornerSizeTopLeft — corner size to be used for the top left corner
cornerSizeTopRight — corner size to be used for the top right corner
cornerSizeBottomRight — corner size to be used for the bottom right corner
cornerSizeBottomLeft — corner size to be used for the bottom left corner
Imageview in circle shape

Using XML
as mentioned above, first we need to set the app:shapeAppearanceOverlay. In the overlay, we need to mention the corner radius size to 50% to make the imageview a circle.
In your style.xml add,
If you want to add stroke to circle imageview, you can add stroke attributes in your ShapeableImageView.

Dynamically using Kotlin
set the corner radius in dimens.xml
Corner Radius Imageview

Using XML
we need to set the app:shapeAppearanceOverlay. In the overlay we need to mention the corner radius size to 10% to set the corner radius.
In your style.xml add,
same way, If you want to add stroke to corner radius imageview, you can add stroke attributes in your ShapeableImageView.

Dynamically using Kotlin
set the corner radius in dimens.xml
Corner cut imageview

Using XML
For the corner cut imageview, we are going to use cornerFamily attribute.
by default, cornerFamily will be rounded. In our case, we need it to be cut. So we are changes cornerFamily to cut.
in style.xml :
By changing the cornerSize, we can make different shapes like diamond, hexagon, etc.
Dynamically using Kotlin
setAllCorners() used to set both cornerFamily and cornerRadius.
Selected Corner Radius / Cut imageview

Using XML
To set corner radius for the selected position, we need to use both cornerSize and cornerFamily for the particular position.
For example, check the below example to set the corner radius for the right top position of the imageview.
in style.xml :
for the cut corner radius in style.xml :
same way for the multiple corners, we need to add cornerRadius and cornerFamily.

in style.xml :
Dynamically using Kotlin
setTopRightCorner() used to set the corner radius for the top right corner. To set multiple corners we can use setBottomLeftCorner(), setTopLeftCorner() and setBottomRightCorner() .
Thanks for reading.
You can download the example in github.
Источник


