- Open Source Your Android Code — The Complete Guide
- ADA | Adam Deconstructs Android
- Implementation
- Place code inside an Android Archive Library (AAR) — Step 1 of 6
- About
- Implementation
- Publish library publicly on GitHub with licensing and Docs — Step 2 of 6
- Bintray and Sonatype Setup — Step 3 of 6
- Bintray Implementation
- Sonatype Implementation
- Prepare Project for Upload — Step 4 of 6
- Prepare Library Module With Bintray
- Upload to jcenter— Step 5 of 6
- Why is jcenter better than maven central?
- Implementation
- Use In Project — Step 6 of 6
- Resources
- How to view website HTML/CSS source code on Android
- View HTML source code on Android Without an app
- View HTML source code on Android with an app (my preferred method)
Open Source Your Android Code — The Complete Guide
ADA | Adam Deconstructs Android

Aug 29, 2017 · 8 min read

9/17/17 Update: JitPack.io appears to be a fast and easy alternative to open source Android code vs. the method below by integrating directly with GitHub. I have not tested JitPack so please share your feedback in the comments if you’ve implemented it.
You’ve spent hours building cool shit. What’s the next step? By open sourcing your work you’ll (hopefully) provide valuable code to the Android community, receive constructive feedback, and collaborate on building something better than what you originally had.
The current state of open sourcing for Android is unintuitive, involving integrating multiple services, waiting for manual approvals, and before this post, spending hours Googling obscure steps. That’s why I created a beginning-to-end guide to expedite the process.
The more open sourced code, the better.

Implementation
I will walk through each step of how I open sourced a CustomRippleView library for Android.
Place code inside an Android Archive Library (AAR) — Step 1 of 6
Besides open sourcing, AARs are useful when building multiple apps or versions with the same components.
About
- Structurally the same as an Android app module
- Includes source code, resource files, manifest (unlike JAR)
- Compiles into Android Archive (AAR) rather than into APK
- Post to some maven repository where devs can pull it as a dependency through Gradle (can also convert an app to a module)
- Code Overlap — The app module will take precedence over a library if a resource ID is defined in both, library defined first will take precedence between libraries.
Implementation
If you’re creating a standalone library outside an existing app you’ll want to both create a new project to host the library module as well as test the library module in an existing app.
1. Build the open sourced library module in an existing project so that you can test the code as you go.
a) Create library module
Click the plus or File > New > Module > Android Library > provide unique Library Module Name ( customrippleview)

b) Ensure local library module shows in project and compile local library in the app module.
build.gradle ( app module)
Add tools:replace=”android:name” to the app module’s Manifest file.
2. Create a new Android project to host the open source code by itself so that it can be uploaded to bintray
Create the default app module with app following the name ( customrippleviewapp) to differentiate the app module name from the open source library module we’ll create in the next step.
- Application name: CustomRippleViewApp
- Company domain: com.ebay.customrippleviewapp ( needs to be a domain you own in order to get approved for open sourcing)
- Package name: com.ebay.customrippleviewapp
3. Add your library module (refer to step 1A above)
4. Place the open source code inside new library module created

5. Remove original app module
Right-click on app module > Open Module Settings > remove original app module.

6. Choose resources to make public (Optional)
All resources default to public: By declaring at least one resource public it makes the rest private
res > values > public.xml
Publish library publicly on GitHub with licensing and Docs — Step 2 of 6
Apache License 2.0 is one of the most popular, similar to the MIT License, but provides grant of patent rights from contributors to users. Apache 2.0 is commonly found in Android, Apache, and Swift.
Make sure library module ( customrippleview/) and build.gradle are not in the ignore list list and edit .gitignore to only contain library module files added.
Bintray and Sonatype Setup — Step 3 of 6
You only need to go through this painful steps once to setup your bintray account. Praise the lord! As this isn’t difficult, but the most annoying step.
Bintray Implementation
2. Create new repository
a) Add New Repository → Type: Maven → Default Licenses: Apache 2.0
b) Use lowercase naming convention: customrippleview
3. Enable auto signing
Enter Repository → Edit → General Settings → select GPG sign uploaded files automatically
a) Generate keys (Only done once for bintray account)
In terminal for project:
Fill in Real name, Email address, and passphrase. If command does not work, run following command to install gpg and retry the command above.
View keys created
Upload the public key to keyservers. Call the following command and replace PUBLIC_KEY_ID with value after 2048 in the pub line.
Export both public and private key.
Enter your passphrase when prompted for private key.
Copy and paste public and private keys into bintray: Under profile Edit > GPG Signing. Make sure to copy and paste from beginning and end tags or else bintray will not accept the keys.
Sonatype Implementation
This step requires filling a Jira ticket. If you thought you could escape Jira in your free coding time, you’re mistaken. It’s not too bad, as both times I’ve submitted a ticket they’ve approved it within the same day.
3. Provide bintray your Sonatype OSS username
In your bintray profile Edit > Accounts > Sonatype OSS User: _____________
Prepare Project for Upload — Step 4 of 6
Prepare Library Module With Bintray
1. Add Jcenter and Maven dependency
Add to project’s build.gradle (not app or library build.gradle)
2. Define your bintray username, api key, and GPG Passphrase.
This info should be secure, which is why we’re adding it to local.properties which should not be tracked in GitHub as it is commonly ignored at the start of an Android project in the .gitignore file.
3. Add repository information and build scripts
Update library’s build.gradle with repository information and add scripts for building library files and uploading the built files to bintray.
4. If using Kotlin in your code, disable Javadocs in library’s build.gradle
Upload to jcenter— Step 5 of 6
Why is jcenter better than maven central?
- Delivers library through CDN → faster loading
- Largest Java Repository on earth
- “Friendly” UI (perhaps in comparison)
Implementation
1. Upload to bintray/jcenter (Once Sonatype Open Source Project Repository Hosting request is approved)
Expected Result: BUILD SUCCESSFUL
Expected Result: BUILD SUCCESSFUL
I kept getting the BUILD FAILED response when attempting to upload. After many hours cursing at my terminal I realized even with this message, the package was being uploaded, so check the bintray package UI.

2. Sync to Jcenter for easy one line implementation in Android
3 hrs — How is this not automated too?!
a) Under the uploaded package settings select Add to JCenter

b) Select Host my snapshot…, fill in group id for package, and Select Send

Once approved, you’ll receive an email.

In the meantime you can check by searching on bintray which will also show when your package is hosted.
3. Maintaining library
Linking to jcenter only needs to be done once. Moving forward, any package changes (updates, deletes), will be reflected in jcenter 2–3 min later.
- Updates: Change the libraryVersion in library module and re-upload using Step 5, part 1.
- Deleting: Remove each version from bintray before removing the entire package.
Use In Project — Step 6 of 6
Declare the library in gradle and call the desired files.
build.gradle ( app module)
- Group_Id — com.ebay.customrippleview(package name followed by group name)
- Artifact_Id: customrippleview
- Version: 1.0
Resources
- JitPack.io — JitPack is an Android specific open sourcing solution that appears to work seamlessly with GitHub repositories. For a premium, JitPack also provides private library hosting. I haven’t given it a try, but thanks to Rakshak and Vikarti for calling it out in the comments below!
- The Cheese Factory Blog — How to distribute your own Android library through jCenter and Maven Central from Android Studio. BIG thanks! There were details that changed since this was published in 2015, but it was a great place to start.
- Android Studio — Create an Android Library
- bintray
- sonatype
- sonatype — request to host new open source project ( only works when logged in to sonatype)
- bintray documentation — Including your Package in JCenter
- CustomRippleView GitHub sample and JCenter hosting
I’m Adam Hurwitz — hit the clapping hands icon and check out the rest of my writing if you enjoyed the above | Thanks!
Источник
How to view website HTML/CSS source code on Android
This is one of those things that has always bothered me, but I never got around to doing and that is being able to view the source code of a website on Android.
For the most part I don’t do any actual coding on my phone, but there are many circumstances where I have to view the source code of a website while on my Android phone.
As an SEO, being able to view HTML source code on the fly is very important for me. I am always analyzing new websites, doing proposals and helping people with issues. As an SEO there are many times when I can’t get to a desktop and need to view the HTML or CSS source code on my Android phone.
View HTML source code on Android Without an app
While there is a way to view the HTML source code of a website on an Android via chrome natively (without a plugin or an app) there really isn’t much flexibility. To do so, all you need to do do is go to Chrome and within the URL / location bar enter:
Once you do that Chrome will display the source code right within the browser:
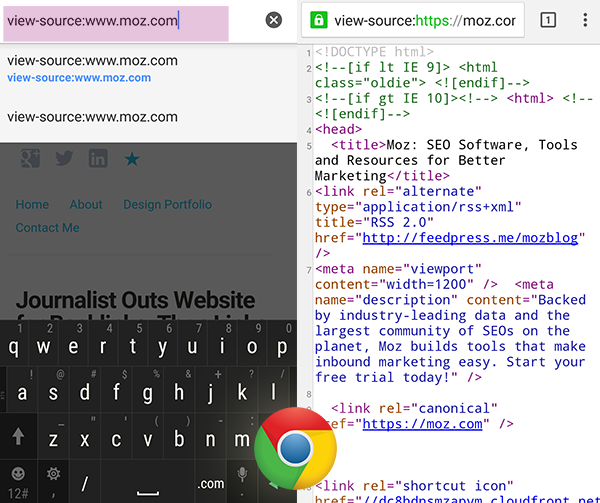
So if you are viewing a website and want to view the source code, just replace the “http” with “view-source” and it’ll pop right up for ya.
View HTML source code on Android with an app (my preferred method)
While in general I am not a huge fan of using apps for things a device can do natively, in this case I do prefer using the VT view source app to view HTML or CSS source code on my Android device.
This is the best app that I’ve found so far, and has done me well over the last few months.
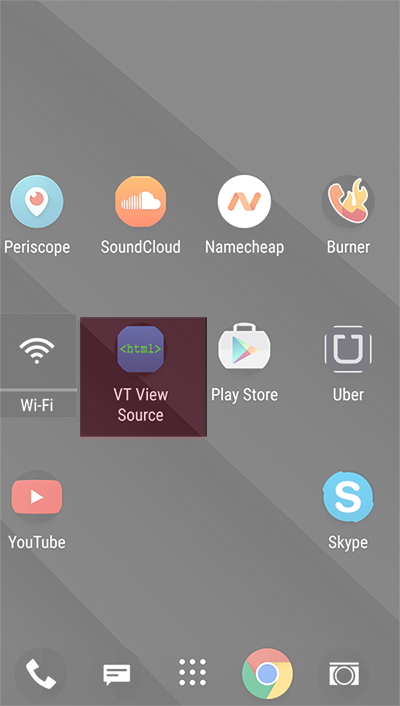
The app is called VT View Source. The VT I believe stands for Vagharshak Tozalakyan who is the developer of this app.
I normally keep this app on my secondary home screen, alongside my other apps so I can launch it easily:
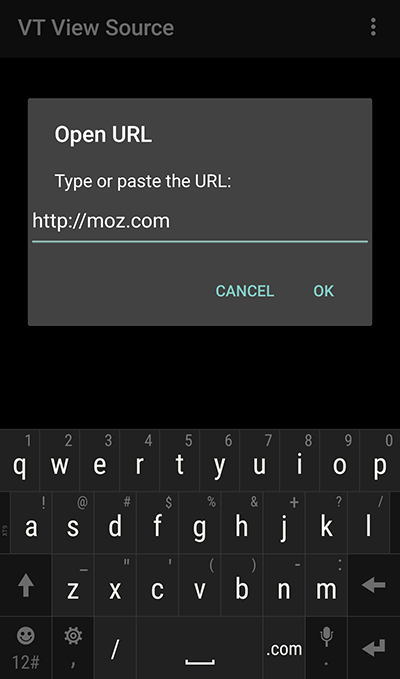
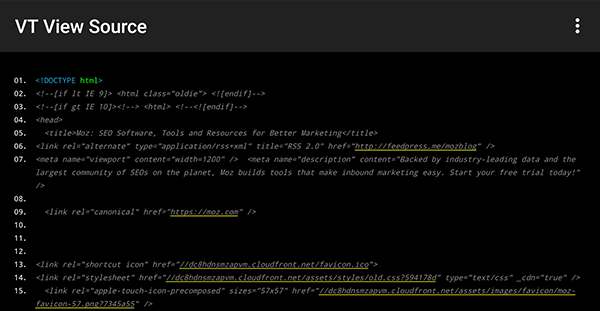
This is the first screen that you’ll see when you launch the app. Enter a URL and you are good to go:
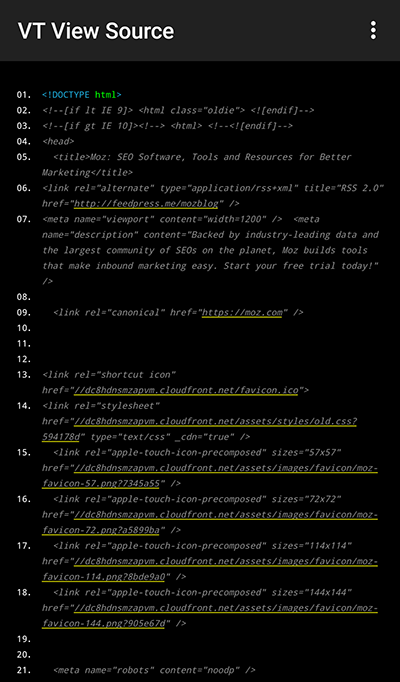
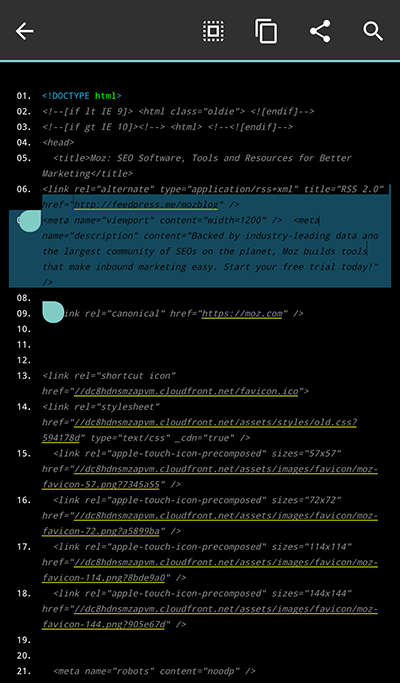
Bam: you can view the source code on an Android phone. It does a great job of showing lien numbers, and highlighting HTML syntax. Links are clickable (if you choose) and will take you to the source code of the link you click, not the actual website.
There are a number of settings on this app.
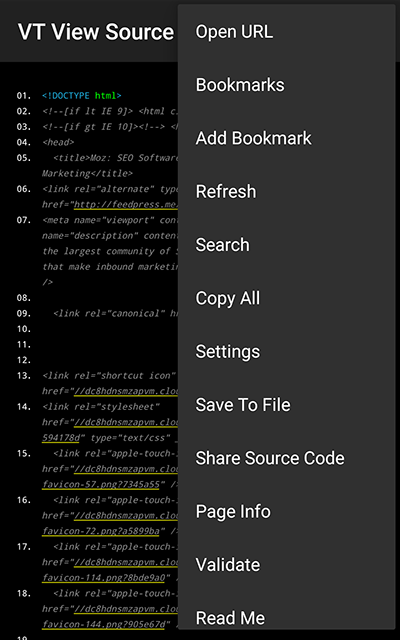
You can easily highlight code and copy / paste it into another program.
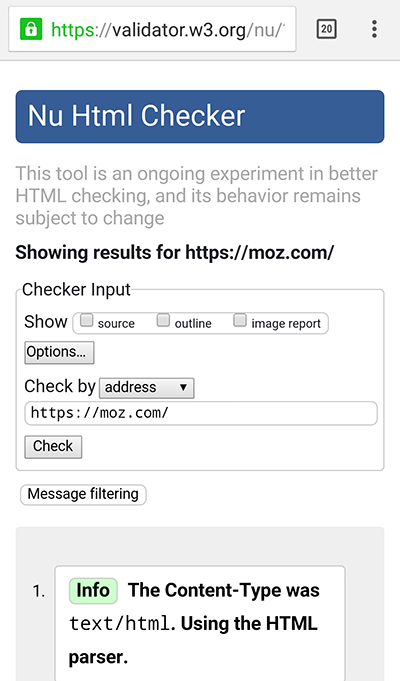
One feature that I like is the ability to validate the HTML via w3.org.
With one click you can view some cool page info, such as how many lines of code it is and the total number of characters.

Landscape view is also quite nice, and in my opinion the preferred way to view the code.
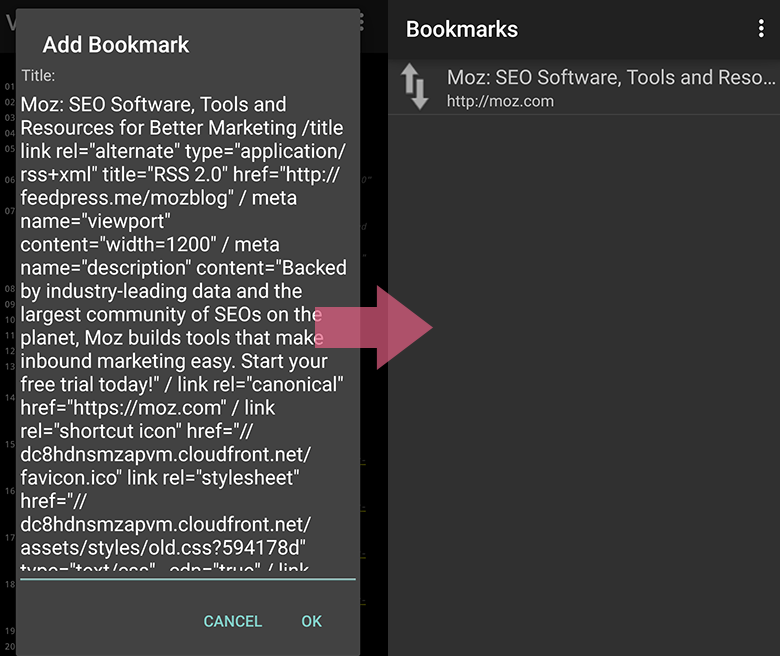
You can bookmark websites, and manage your bookmarks.
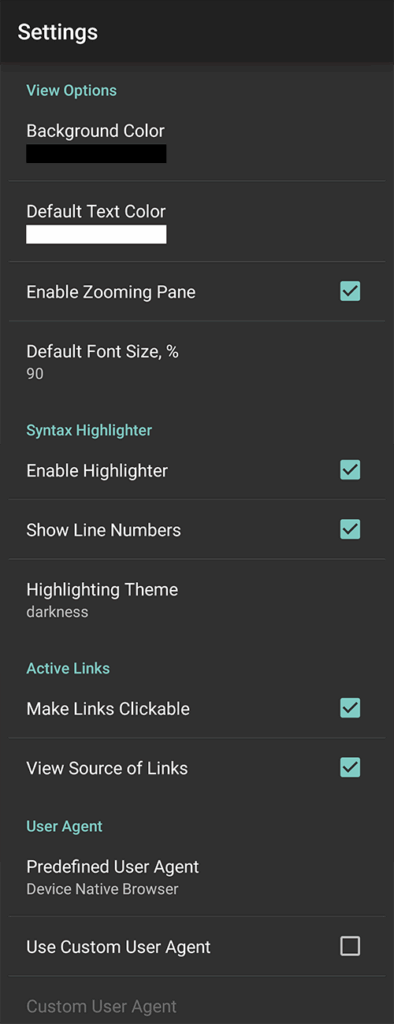
Another view of the settings. You can change the background color, text color, zooming, font size (%), syntax highlighting and a number of other options.
In addition to HTML and CSS, this app can also view source code for other languages such as JavaScript. I did not test any other languages:
Источник


