- What Is the Android SDK and How to Start Using It
- What Is the Android SDK?
- How to Install the Android SDK
- What Is the SDK Manager?
- What Are the Components of the Android SDK?
- Android SDK Tools
- SDK Build Tools
- SDK Platform-Tools
- SDK Platform
- Google APIs
- Android Emulator
- Conclusion
- Premium Android App Templates From CodeCanyon
- Android SDK tutorial for beginners
- Anatomy of the Android SDK
- Using the Android SDK
- Using the SDK independently
What Is the Android SDK and How to Start Using It
Android SDK is a software development kit developed by Google for the Android platform. The Android SDK allows you to create Android apps, and you don’t need to be an expert to use it. In this tutorial, I’ll explain what the Android SDK is and how to get started with it.
Android SDK comes bundled with Android Studio, Google’s official integrated development environment (IDE) for the Android operating system. You can learn about Android Studio and the Android App Development Kit in another of my articles.


In this post, we’ll look at:
- What is the Android SDK?
- How to install the Android SDK
- What is the Android SDK Manager?
- What are the components of the Android SDK?
What Is the Android SDK?


The Android SDK is a collection of software development tools and libraries required to develop Android applications. Every time Google releases a new version of Android or an update, a corresponding SDK is also released which developers must download and install. It is worth noting that you can also download and use the Android SDK independently of Android Studio, but typically you’ll be working through Android Studio for any Android development.
The Android SDK comprises all the tools necessary to code programs from scratch and even test them. These tools provide a smooth flow of the development process from developing and debugging, through to packaging.
The Android SDK is compatible with Windows, macOS, and Linux, so you can develop on any of those platforms.
How to Install the Android SDK
The Android SDK is optimized for Android Studio, and hence to effectively reap its benefits, you will need to install Android Studio. Having the Android SDK managed from within Android Studio is easier since support for languages like Java, Kotlin, and C++ is handled automatically. Not only that, but updates to the Android SDK are handled automatically by Android Studio.
To install the Android SDK from within Android Studio, first start Android Studio.
- From the Android Studio start page, select Configure > SDK Manager.


- If you already have Android Studio open, the SDK Manager icon is found on the top right corner, as shown below.


Install the required Android SDK platform packages and developer tools. A good start is to install:
- Android SDK Build-Tools
- Android Emulator
- Android SDK Platform-Tools
- Android SDK Tools
- Documentation for Android SDK


Click Apply, and Android Studio will install the selected tools and packages.
What Is the SDK Manager?
The Android SDK is composed of modular packages that you can download, install, and update separately using the Android SDK Manager. The SDK Manager helps to update new SDK releases and updates whenever a new Android platform is released. The SDK manager can be found in the top-right corner of the Android Studio screen, as shown below.
All that is required to follow the instructions provided, and the updates will be immediately downloaded to your environment.
What Are the Components of the Android SDK?
The Android SDK consists of an emulator, development tools, sample projects with source code, and the required libraries to build Android applications. Let’s look at the key components one by one.
Android SDK Tools
Android SDK Tools is a component of the Android SDK. It includes a complete set of development and debugging tools for Android, and is included with Android Studio. The SDK Tools also consist of testing tools and other utilities required to develop an app.
SDK Build Tools
Build tools are required for building components for building the actual binaries for your Android app. Always ensure your build tools component is up to date by downloading the latest version in the Android SDK Manager.
SDK Platform-Tools
Android Platform-Tools are used to support the features for the current Android platform and are necessary for Android app development. These tools interface with the Android platform on the device you use for testing. They include:
- Android Debug Bridge (adb): This is a handy command-line tool that lets you communicate with a device. The adb command allows you to perform device actions, such as installing and debugging apps. It also provides access to a Unix shell that you can use to run a variety of commands on a device.
- fastboot: This lets you flash a device with a new system image.
- systrace: This tool helps collect and inspect timing information across all processes running on your device at the system level. It’s crucial for debugging app performance.
SDK Platform-Tools are backward compatible, so you need only one version of the SDK Platform-Tools.
SDK Platform
For each version of Android, there’s one SDK Platform available. These are numbered according to the Android version (e.g. Android 7 Nougat) and an API version (e.g. API Level 24). Before you build an Android app, you must specify an SDK Platform as your build target. Newer SDK Platform versions have more features for developers, but older devices may not be compatible with the newer platform versions.
Google APIs
Google provides a number of exclusive Google APIs to make developing your app easier. They also offer a system image for the emulator so you can test your app using the Google APIs.
Android Emulator
The Android Emulator is a QEMU-based device-emulation tool that simulates Android devices on your computer, allowing developers to test applications on different devices and Android API levels, without needing to have physical devices for each. The emulator comes with configurations for various Android phones, tablets, Wear OS, and Android TV devices.
The Android emulator provides almost all of the capabilities of a real Android device. You can perform the following activities:
- simulate phone calls and text messages
- simulate different network speeds
- specify the location of the device
- simulate hardware sensors such as rotation
- access Google Play Store and much more
Often it is faster and easier to test your app with an emulator instead of using a physical device.
Conclusion
In this post, we looked at some of the basics of the Android SDK. The Android SDK is the only way to develop for Android devices. Fortunately, it contains extensive documentation, tutorials, samples, best practice guidance, and an array of tools for many different development tasks.
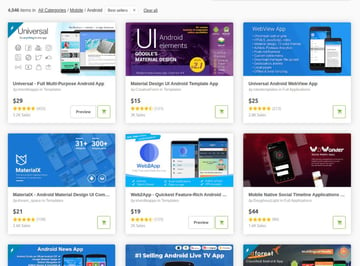
Premium Android App Templates From CodeCanyon
Android Studio comes with some default templates to help start an app, but these are very basic and provide minimal, generic functionality.
CodeCanyon is an online marketplace that has hundreds of additional templates, which are way more feature-rich and domain-specific too. You can save days, even months, of effort by using one of them.


An Android app template is a great way to jump-start your app project or to learn some new skills by exploring the source code of a professionally made app.
Take a look at some of our roundups of the best Android app templates:
Источник
Android SDK tutorial for beginners

Android development starts with the Android SDK (Software Development Kit). While there are many different programming languages and a host of IDEs (Integrated Development Environments) you can use to create an app, the SDK is a constant.
SDK provides a selection of tools required to build Android apps or to ensure the process goes as smoothly as possible. Whether you end up creating an app with Java, Kotlin or C#, you need the SDK to get it to run on an Android device and access unique features of the OS. You’ll also be able to use an emulator to test apps you’ve built, monitor your device, and do a host of other things. These days, the Android SDK also comes bundled with Android Studio, the integrated development environment where the work gets done and many of the tools are now best accessed or managed. You can download the SDK independently however if that is your preference.
So, all you really need to know is that you need the Android SDK. Getting set up with the SDK should be the first Android development tutorial you go through (note that you’ll also need the Java Development Kit). But there is a little more to it than that, and using all of the development tools to their fullest and knowing precisely how the SDK works will result in better apps.
Anatomy of the Android SDK
The Android SDK can be broken down into several components. These include:
- Platform-tools
- Build-tools
- SDK-tools
- The Android Debug Bridge (ADB)
- Android Emulator
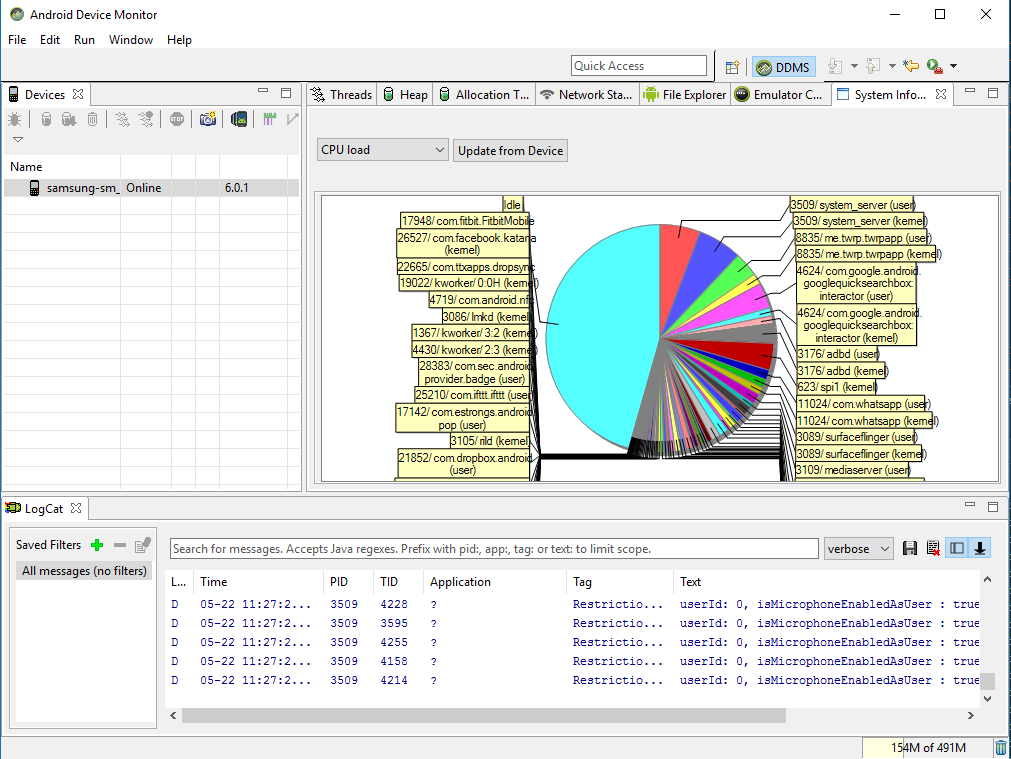
Arguably the most important parts of this package are in the SDKtools. You will need these tools regardless of which version of Android you are targeting. These are what will actually create the APK – turning your Java program into an Android app that can be launched on a phone. These include a number of build tools, debugging tools, and image tools. An example is DDMS, which is what lets us use the Android Device Monitor to check the status of an Android device.
The Build tools were once categorized under the same heading as the Platform tools but have since been decoupled so that they can be updated separately. As the name suggests, these are also needed to build your Android apps. This includes the zipalign tool for instance, which optimizes the app to use minimal memory when running prior to generating the final APK, and the apksigner which signs the APK (surprise!) for subsequent verification.
The Platform tools are more specifically suited to the version of Android that you want to target. Generally, it is best to install the latest Platform tools, which will be installed by default. After first installation though, you need to keep your Platform-tools constantly updated. The tools should be backwards compatible, meaning that you will still be able to support older versions of Android.
The Android Debug Bridge (ADB) is a program that allows you to communicate with any Android device. It relies on Platform-tools in order to understand the Android version that is being used on said device and hence it is included in the Platform-tools package. You can use ADB to access shell tools such as logcat, to query your device ID or even to install apps.
The Android emulator is what lets you test and monitor apps on a PC, without necessarily needing to have a device available. To use this, you also get an Android system image designed to run on PC hardware. You’ll use the Android Virtual Device manager in order to choose which version of Android you want to emulate, along with the device specifications (screen size, performance etc.).

You should also check out our guide to installing the Android SDK, as it goes over what each component does in more detail. I also recommend this resource on the build process that will help put the SDK into a little more context.
Using the Android SDK
In short, many of the tools included in the SDK involve testing, debugging and packaging apps for Android. They provide a kind of bridge between Android Studio and a physical device or emulator so that your app can be appropriately packaged and then tested as you develop. For the most part, you can leave the SDK alone: Android Studio will recommend necessary updates and it will call upon the required components when you hit Run or Build APK.
That said, a few of the tools are also directly accessible, which will be used for things like updating the SDK, or directly monitoring and communicating with your Android device.
Using the SDK Manager
While Android Studio will normally let you know when you need to update something, you can also manage updates to the SDK manually via the manager. You’ll find this in Android Studio if you navigate to Tools — Android — SDK Manager. You’ll see there are three tabs here for SDK Platforms, SDK Tools, and SDK Update Sites.

If you are following along with an Android development tutorial, then you might sometimes get directed here in order to ensure that specific components are up-to-date.
Using the AVD Manager
You’ll likewise find the AVD Manager under Tools — Android — AVD Manager. This lets you build your own emulators. You’ll choose the size of the device and some other specifications, and you’ll be prompted to download the requisite x86 system image if it’s not already installed.

Using the Android Device Monitor
The Android Device Monitor encapsulates DDMS and can be found under – you guessed it – Tools — Android — DDMS. This works with either an emulator or a connected device and will go a little deeper in monitoring the way your Android device and app are behaving.
Using the ADB
Using ADB is a little different. To do this, you will need to find your Android SDK installation folder and navigate to the platform-tools directory. On Windows, hold shift and right click anywhere in the folder to open a command line. On Mac, just open Terminal from Launchpad (usually found in the Other folder).

Now you can use a number of commands. For example, if you type “adb devices,” you will get a list of the Android devices that are plugged in, along with their Device IDs. Type “adb install [options] package-name” and you can remotely install an APK. You can find a list of the ADB commands here.
Accessing the Documentation
Looking for a specific Android development tutorial? You can find a whole subdirectory within the SDK folder called “Docs” and this will give you access to some useful information. For the most part though, you’re best off visiting developer.android.com instead.
There was a time when the Android SDK would also come packaged with a selection of useful sample projects. Today this is no longer the case, but you can find them instead by opening Android Studio and navigating to File — New — Import Sample.
Using the SDK independently
While the Android SDK and Android Studio are closely linked, you won’t always want to use them together. You may wish to use another IDE (Integrated Development Environment), for instance if you want to streamline the process of making a 3D game (in which case, you may wish to use Unity or Unreal), or if you are interested in cross platform mobile development (in which case you might use Xamarin).
In any case, you’ll need to show the chosen IDE where the SDK is located, usually by pasting the path somewhere. You can also find the location of the Android SDK in Android Studio, in case you should ever need to move it, or just for your own reference. Just go to File — Project Structure. You’ll also find the location of the JDK and the Android NDK.

You’ll have chosen the location of the SDK when you installed it. If you left this option as default though, then there’s a chance it may be in the AppData\Local directory. Be aware that this folder is hidden on Windows by default, so you might have a hard time finding it.
The NDK (Native Development Kit) allows you to build apps using native languages like C and C++. This gives you access to certain libraries and can help to squeeze a little more performance out of a device – making it useful for game development, among other things. The NDK can be downloaded through the SDK Manager and you can learn more about it here.
As mentioned, if it is just the SDK you are interested in, then you can download this on its own by visiting the downloads page and then choosing to include the sdkmanager. This will allow you to update the SDK through the command line. There are also ways to access the AVD Manager without Android Studio. But for the vast majority of users, it makes a lot more sense to install the full suite and enjoy the graphical interface and other conveniences – even if you intend on using a different IDE for development.

And this is the really good news: Android development is now easier than ever before thanks to the leaps and bounds that Google has made with Android Studio. There was a time when setting everything up was considerably more complex. There has never been a better time to start Android development!
Источник


