- About your Apple ID email addresses
- Email addresses you use with your Apple ID
- Apple ID email address
- Change your Apple ID email address
- Reset your Apple ID password
- Get a verification code
- Additional email addresses
- Add an additional email address
- Delete an additional email address
- Rescue email address
- Add or edit a rescue email address
- Delete a rescue email address
- Reset your security questions
- Learn more
- Using your @icloud.com email address
- Send email from your @icloud.com address
- Make an @icloud.com address your default sending and receiving address
- iPhone, iPad, or iPod touch
- iCloud.com
- Outlook
- iCloud User Guide
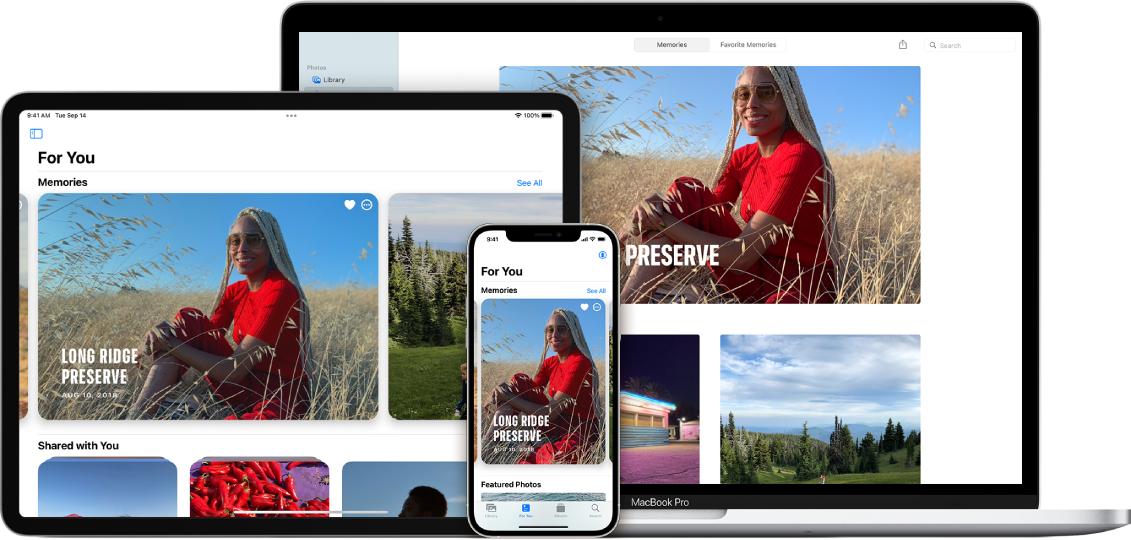
- What is iCloud?
- Use iCloud with your favorite apps
- Get more storage and features with iCloud+
- Use iCloud on the web
- Mail server settings for iCloud email clients
- Do you need these mail server settings?
- Mail server settings
- IMAP information for the incoming mail server
- SMTP information for the outgoing mail server
- Set up iCloud for Mail on all your devices
- Set up iCloud for Mail on your iPhone, iPad, or iPod touch
- Set up iCloud for Mail on your Mac
- Set up iCloud for Mail on your Windows computer
- Use Mail on iCloud.com
About your Apple ID email addresses
Learn how to add, change, or delete the different types of email addresses that you can use with your Apple ID account.
Email addresses you use with your Apple ID
Your Apple ID uses email addresses to sign you in to your account with Apple. With your Apple ID, you can access services like the App Store, Apple Music, iCloud, iMessage, FaceTime, and more. We use your email addresses to send you information about your account, and to help friends and family communicate and share with you.
Apple ID email address
In most cases, your Apple ID is also the primary email address of your Apple ID account.
Additional email addresses
Add extra email addresses to your account to help people find you on Apple services like FaceTime, iMessage, and Find My.
Rescue email address
Most people have a notification email address instead of a rescue email address. Apple uses this to send you important account and security related information. If you don’t use two-factor authentication or two-step verification (learn how to check what security method you use), you have the option to add a rescue email address to your account for more security. You can see it when you sign in to your Apple ID account page.
Before you can use a new or updated Apple ID, we’ll send you a verification email to make sure that the email address belongs to you.

Apple ID email address
When you create an Apple ID, you enter an email address. This email address is your Apple ID and the username that you use to sign in to Apple services like Apple Music and iCloud. It’s also the contact email address for your account. Be sure to check your email address regularly. We’ll send you email notifications to help you manage your account and make the most of your Apple ID.
Change your Apple ID email address
Reset your Apple ID password
If you know your current Apple ID password and want to change it, follow these steps on your iPhone, iPad, iPod touch, or Mac. If you’ve forgotten your Apple ID password and need to reset it, follow these steps.*
Get a verification code
With two-factor authentication, you’ll need a verification code to sign in with your Apple ID on a new device or browser. Learn how to get and use the code on a trusted device, or get a text or phone call.
* If you use two-factor authentication, in some cases you might be able to speed up the account recovery process or reset your password immediately by verifying a six-digit code sent to your primary email address.
Additional email addresses
Many of us have more than one email address that friends and family use to reach us. Add an email address that you commonly use to your Apple ID account, so people can easily find and communicate with you on Apple services like FaceTime, iMessage, Shared Albums, iWork collaboration, and Find My.
Add an additional email address
- Sign in to your Apple ID account page.
- Click Edit in the Account section.
- Under Reachable at, select Add More.
- Enter your additional email address. Make sure you’re not already using it as an Apple ID.
- We’ll send a verification to that address. Didn’t get the email?
- Enter the verification code and click Verify.
Delete an additional email address
- Sign in to your Apple ID account page.
- Click Edit in the Account section.
- To delete one of your additional email addresses, click next to the address.
Rescue email address
Having a rescue email address is optional but recommended if you do not have two-factor authentication or two-step verification. If you ever forget your security questions, you can use your rescue email address to reset them. We also send any account security-related notifications to your rescue email address. If you have two-factor authentication or two-step verification, you have a notification email address instead of a rescue email address and won’t need to remember security questions.
Add or edit a rescue email address
- Sign in to your Apple ID account page.
- Click Edit in the Security section. You might be asked to answer one or more security questions before you continue.
- To add a rescue email address:
- Under Rescue Email, click Add an Email Address, then enter your rescue email address. We send a verification to that address. Didn’t get the email?
- Enter the verification code and click Verify.
- To edit a rescue email address:
- Select Change Email Address under the address you want to edit, then enter the new address. We send a verification to that address. Didn’t get the email?
- Enter the verification code and click Verify.
If you had a rescue email address on file when you upgraded to two-factor authentication or two-step verification, you can also use these steps to edit your notification email address. If you remove the notification email, you won’t be able to add a new one.
Delete a rescue email address
- Sign in to your Apple ID account page.
- Click Edit in the Security section. You might be asked to answer one or more security questions before you continue.
- To delete a rescue email address, click next to the address.
Reset your security questions
If you’ve forgotten the answers to your security questions, follow these steps to verify your identity and reset your security questions. If you set up two-factor authentication or two-step verification, you won’t need to remember any security questions.
Learn more
If you receive suspicious email, learn how to identify fraudulent email.
FaceTime is not available in all countries or regions.
Источник
Using your @icloud.com email address
Learn how to send and receive email using your @icloud.com email address.
Depending on when you started using iCloud, your iCloud email addresses or aliases might end with @icloud.com, @me.com, or @mac.com. No matter which address you send email from, you’ll get all email sent to your @me.com, @mac.com, or @icloud.com email addresses in your iCloud inbox.
Send email from your @icloud.com address
Open Mail and start a new email:
- If you only have an @icloud.com address and don’t have any iCloud email aliases, it appears in the Cc/Bcc, From field on your iOS device or the From field on your Mac and iCloud.com.
- If you have multiple email addresses, you might need to select your @icloud.com address:
- iOS: Tap Cc/Bcc, From, tap From, then choose your @icloud.com address.
- macOS: Choose your @icloud.com address from the From menu.
- iCloud.com: Click CC/Bcc From, then choose your @icloud.com address from the From menu.
Then complete your email and send it.
Make an @icloud.com address your default sending and receiving address
To make your @icloud.com address the default for sending and receiving email from iCloud, follow the steps below for each of your devices.
iPhone, iPad, or iPod touch
If you’re using iOS 10.3 or later:
- Go to Settings > Mail.
- Scroll down and tap Default Account.
- Tap iCloud.
If you’re using iOS 10.2 or earlier:
- Go to Settings > iCloud.
- Tap Mail under Advanced.
- Under iCloud Account Information, tap your email address.
- Tap the @icloud.com email address that you want to use as the default for sending mail from iCloud Mail.
- Go to Mail > Preferences, then click Composing.
- Click “Send new messages from” and select the @icloud.com email address that you want to use.
iCloud.com
- In iCloud Mail, click in the sidebar and choose Preferences.
- Click Composing.
- Select “Set a default address” and choose the @icloud.com address that you want to use.
Outlook
- Outlook 2007: Choose Tools > Account Settings. Select the Email tab, then select your @icloud.com email address from the list. Click “Set as default.”
- Outlook 2010 and Outlook 2013: Choose File > Info > Account Settings. Select the Email tab, then select your @icloud.com email address from the list. Click “Set as default.”
Information about products not manufactured by Apple, or independent websites not controlled or tested by Apple, is provided without recommendation or endorsement. Apple assumes no responsibility with regard to the selection, performance, or use of third-party websites or products. Apple makes no representations regarding third-party website accuracy or reliability. Contact the vendor for additional information.
Источник
iCloud User Guide
What is iCloud?
iCloud is the service from Apple that securely stores your personal information, keeps it up to date on all your devices, and makes it easy to share your photos, files, and more with friends and family.
Use iCloud with your favorite apps
See the same photos and videos everywhere. Keep your files up to date on all your devices. Store data from your favorite apps and see it anywhere iCloud is turned on.
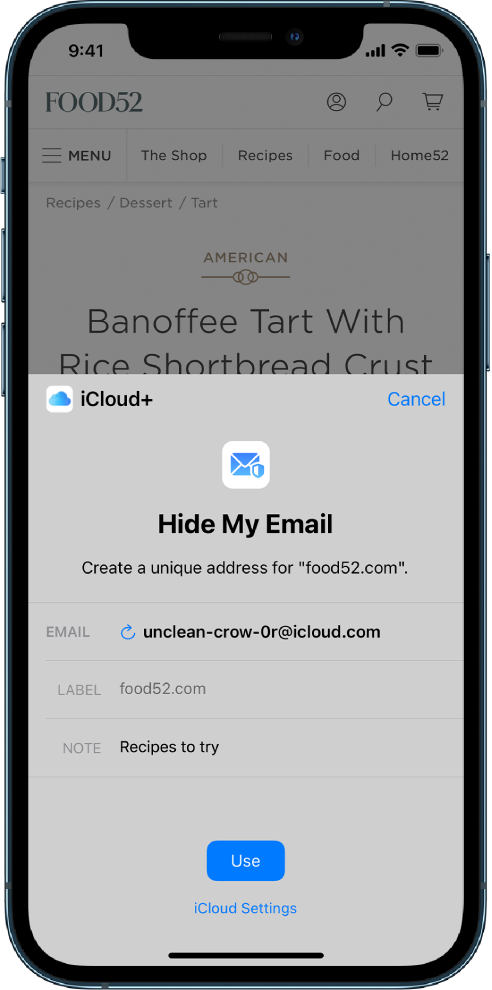
Get more storage and features with iCloud+
When you upgrade to iCloud+, you get more iCloud storage for your photos and files and access to features like iCloud Private Relay (beta) and Hide My Email.
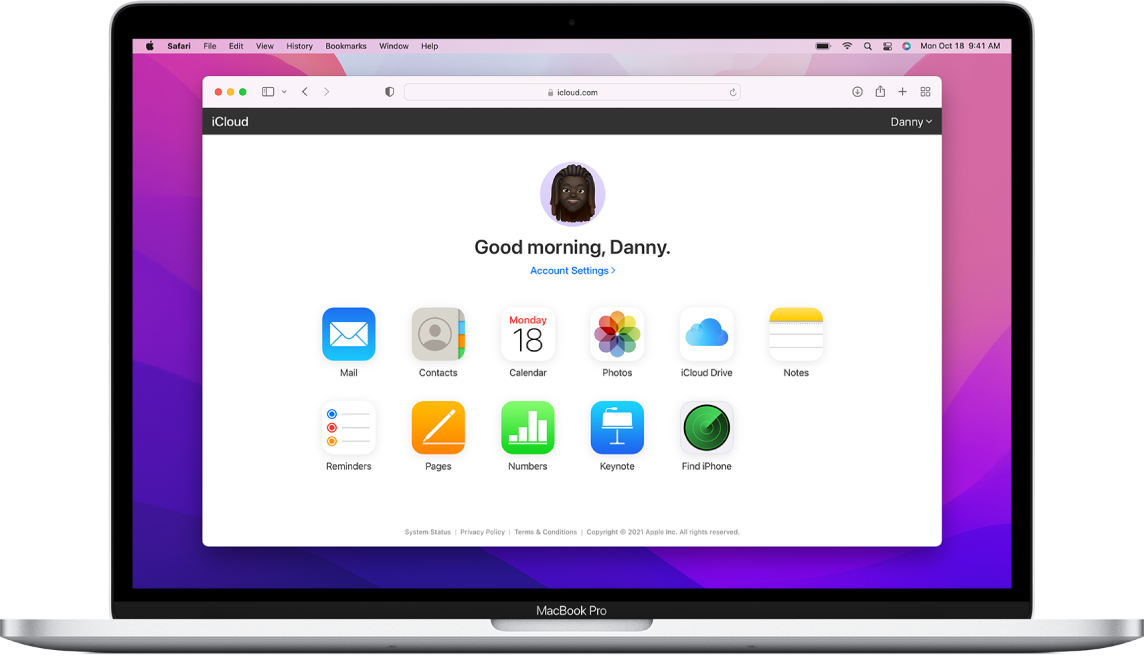
Use iCloud on the web
See your mail, photos, files, and more on iCloud.com. They’re safe, up to date, and available wherever you are.
To explore the iCloud User Guide, click Table of Contents at the top of the page, or enter a word or phrase in the search field.
If you need more help, visit the iCloud Support website.
Not all features are available in all countries or regions.
Источник
Mail server settings for iCloud email clients
Use these mail server settings if you need to manually set up your email app (client) to use an iCloud email account.
Do you need these mail server settings?
You can use the mail server settings in this article to manually set up your email app to send and receive email with an iCloud email account. However, you shouldn’t need to do that if you meet iCloud system requirements and can use any of these setup methods:
- Use iCloud Preferences on your Mac in OS X Lion 10.7.4 or later.
- Use iCloud for Windows on your PC in Microsoft Windows with Outlook 2010 through Outlook 2016. Set up two-factor authentication and, if needed, generate an app-specific password* to use for iCloud Mail.
- Use iCloud settings on your iPhone, iPad, or iPod touch with iOS 7 or later.
Mail server settings
Refer to your email app’s documentation for information about how to use these settings. iCloud Mail uses the IMAP and SMTP standards supported by most modern email apps. iCloud does not support POP. If you set up an account using iCloud System Preferences or macOS Mail in 10.7.4 or later, you won’t see these settings because they’re automatically configured.
IMAP information for the incoming mail server
- Server name: imap.mail.me.com
- SSL Required: Yes
If you see an error message when using SSL, try using TLS instead. - Port: 993
- Username: This is usually the name part of your iCloud email address (for example, emilyparker, not emilyparker@icloud.com). If your email client can’t connect to iCloud using just the name part of your iCloud email address, try using the full address.
- Password: Generate an app-specific password.
SMTP information for the outgoing mail server
- Server name: smtp.mail.me.com
- SSL Required: Yes
If you see an error message when using SSL, try using TLS or STARTTLS instead. - Port: 587
- SMTP Authentication Required: Yes
- Username: Your full iCloud email address (for example, emilyparker@icloud.com, not emilyparker)
- Password: Use the app-specific password that you generated when you set up the incoming mail server.
* You only need to use an app-specific password if you’re manually setting up mail with your iCloud account in Windows, if you use Mac OS X Mail (10.7.4 and earlier), or if you use any other third-party mail client.
Information about products not manufactured by Apple, or independent websites not controlled or tested by Apple, is provided without recommendation or endorsement. Apple assumes no responsibility with regard to the selection, performance, or use of third-party websites or products. Apple makes no representations regarding third-party website accuracy or reliability. Contact the vendor for additional information.
Источник
Set up iCloud for Mail on all your devices
After you create a primary iCloud Mail address, you can use iCloud Mail on your iPhone, iPad, iPod touch, Mac, and Windows computer, and on iCloud.com. For an overview of what you can do with iCloud, see Send and receive iCloud Mail on all your devices and keep Mail settings up to date. If you have an iCloud+ subscription, you can also set up a custom email domain to personalize iCloud Mail.
Note: Make sure you’re signed in with the same Apple ID on each device. If you have devices where you’re not signed in with your Apple ID or that have iCloud Mail turned off, you won’t be able to send or receive email from your iCloud Mail address on those devices. If you have devices that have iCloud Drive turned off, your Mail settings won’t stay up to date on those devices.
Set up iCloud for Mail on your iPhone, iPad, or iPod touch
On your iPhone, iPad, or iPod touch, go to Settings > [your name] > iCloud.
If you want to send and receive iCloud Mail on your device, turn on iCloud Mail (or Mail).
If you want to keep Mail settings up to date across your devices, turn on iCloud Drive. The following settings stay up to date:
The order of your mailboxes (for all iOS and iPadOS devices)
Email address suggestions (for all iOS, iPadOS, and macOS devices)
VIPs (for all iOS, iPadOS, and macOS devices)
To view your iCloud Mail, open the Mail app. Tap a mailbox or folder in the iCloud section.
For more information on how to use Mail on your iPhone, iPad, or iPod touch, see any of the following:
Set up iCloud for Mail on your Mac
On your Mac, choose Apple menu  > System Preferences, click Apple ID, then click iCloud.
If you want to send and receive iCloud Mail on your Mac, select Mail.
If you want to keep Mail settings up to date across your devices, turn on iCloud Drive, then click Options and select Mail. The following settings stay up to date:
Blocked senders (for all macOS devices)
Email address suggestions (for all iOS, iPadOS, and macOS devices)
Flag names (for all macOS devices)
Mail rules (for all macOS devices)
Signatures (for all macOS devices)
Smart Mailboxes (for all macOS devices)
VIPs (for all iOS, iPadOS, and macOS devices)
To view your iCloud Mail, open the Mail app. Click a mailbox or folder in the iCloud section.
For more information on how to use Mail on your Mac, see the Mail User Guide for Mac.
Set up iCloud for Mail on your Windows computer
If you don’t already have it, get iCloud for Windows. See the Apple Support article Download iCloud for Windows.
Select Mail, Contacts, and Calendars, click Apply, then follow the onscreen instructions.
To view your iCloud Mail, open Microsoft Outlook. In the folder list, click the disclosure triangle to the left of your iCloud email account.
If you’re having trouble with iCloud Mail in Outlook, see the Apple Support article If you can’t add iCloud Calendars, Mail, or Contacts to Outlook.
Use Mail on iCloud.com
You can access your iCloud Mail from a web browser on a phone, tablet, or computer.
Go to icloud.com/mail and sign in with your Apple ID.
For more information on how to use Mail on iCloud.com, see any of the following:
See the Apple Support article Mail server settings for iCloud email clients to set up your iCloud Mail in other email apps.
Источник


