- Wireless Debugging through ADB in Android using WiFi
- Step 1 : Connect your adb host computer and your android phone to same network
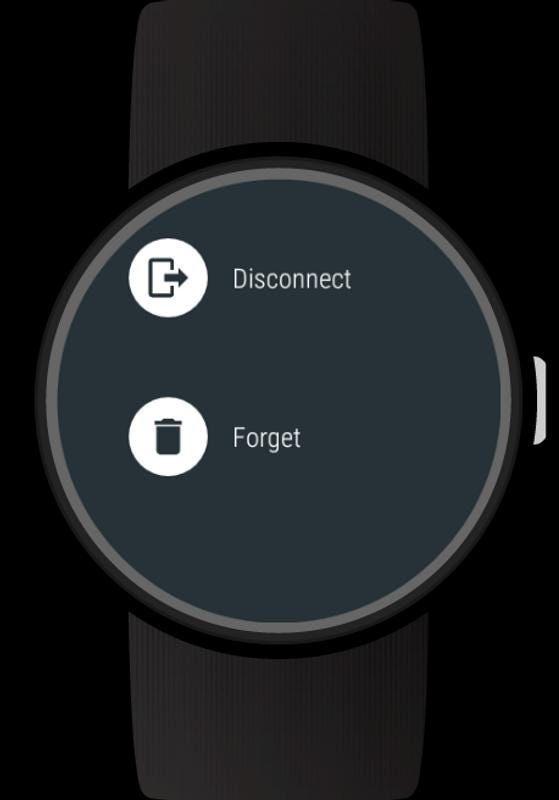
- STEP 2 : If you are connecting to a Wear OS device, turn off Bluetooth on the phone that’s paired with the device.
- STEP 3: Connect the device to the host computer with a USB cable.
- STEP 4: locate your SDK
- STEP 5 : Check whether your device is properly connected
- Step 6 : Set the target device to listen for a TCP/IP connection on port 5555
- STEP 7 : Find the IP address of the Android device.
- STEP 8 : Connect to the device by its IP address.
- STEP 9 : Remove the USB cable
- STEP 10 : Confirm that your host computer is connected to the target device
- You’re now good to go! 🎉
- Беспроводная отладка Android 11
- How to Debug Your Android App over WiFi (without Root!)
- Moonshoot
- Steps to Revolutionize your Android Coding Experience
- Do I Have to Repeat the Process Every Time?
- Get Notified on New Future Studio Content and Platform Updates
- Как отлаживать в Android Studio используя adb через WiFi
- 1. Подключение устройства
- а. Подключение устройства по локальной сети
- б. Подключение устройства напрямую через точку доступа
- 2. Создать отладочное соединение
- 3. Сохранение отладочной связи
- Wifi debugging android studio
Wireless Debugging through ADB in Android using WiFi

Jan 4, 2019 · 3 min read

In this article I am going to show you how you can debug your android app over WiFi.
Yes I know it is very hectic to debug your Android app with USB cable if your cable is broken or not functioning or you don’t have a cable and you have borrowed it from someone for few minutes.
It will require only few steps to get this done.
Step 1 : Connect your adb host computer and your android phone to same network
Make sure that your android phone and your host computer are connected on the same network then you will be able to debug your app.
STEP 2 : If you are connecting to a Wear OS device, turn off Bluetooth on the phone that’s paired with the device.
STEP 3: Connect the device to the host computer with a USB cable.
STEP 4: locate your SDK
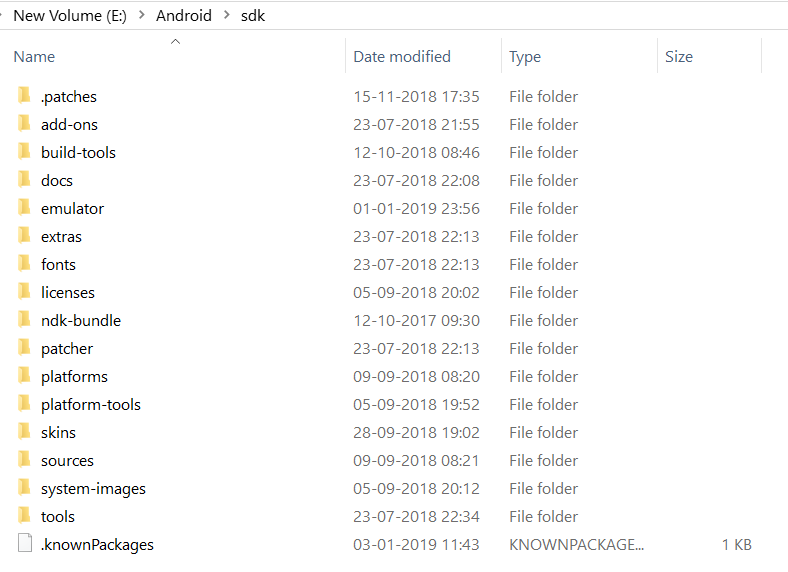
In the SDK you will find platform-tools

S e t this location as path on Command Prompt
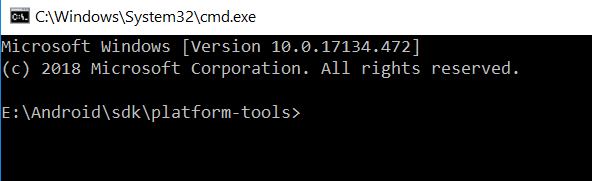
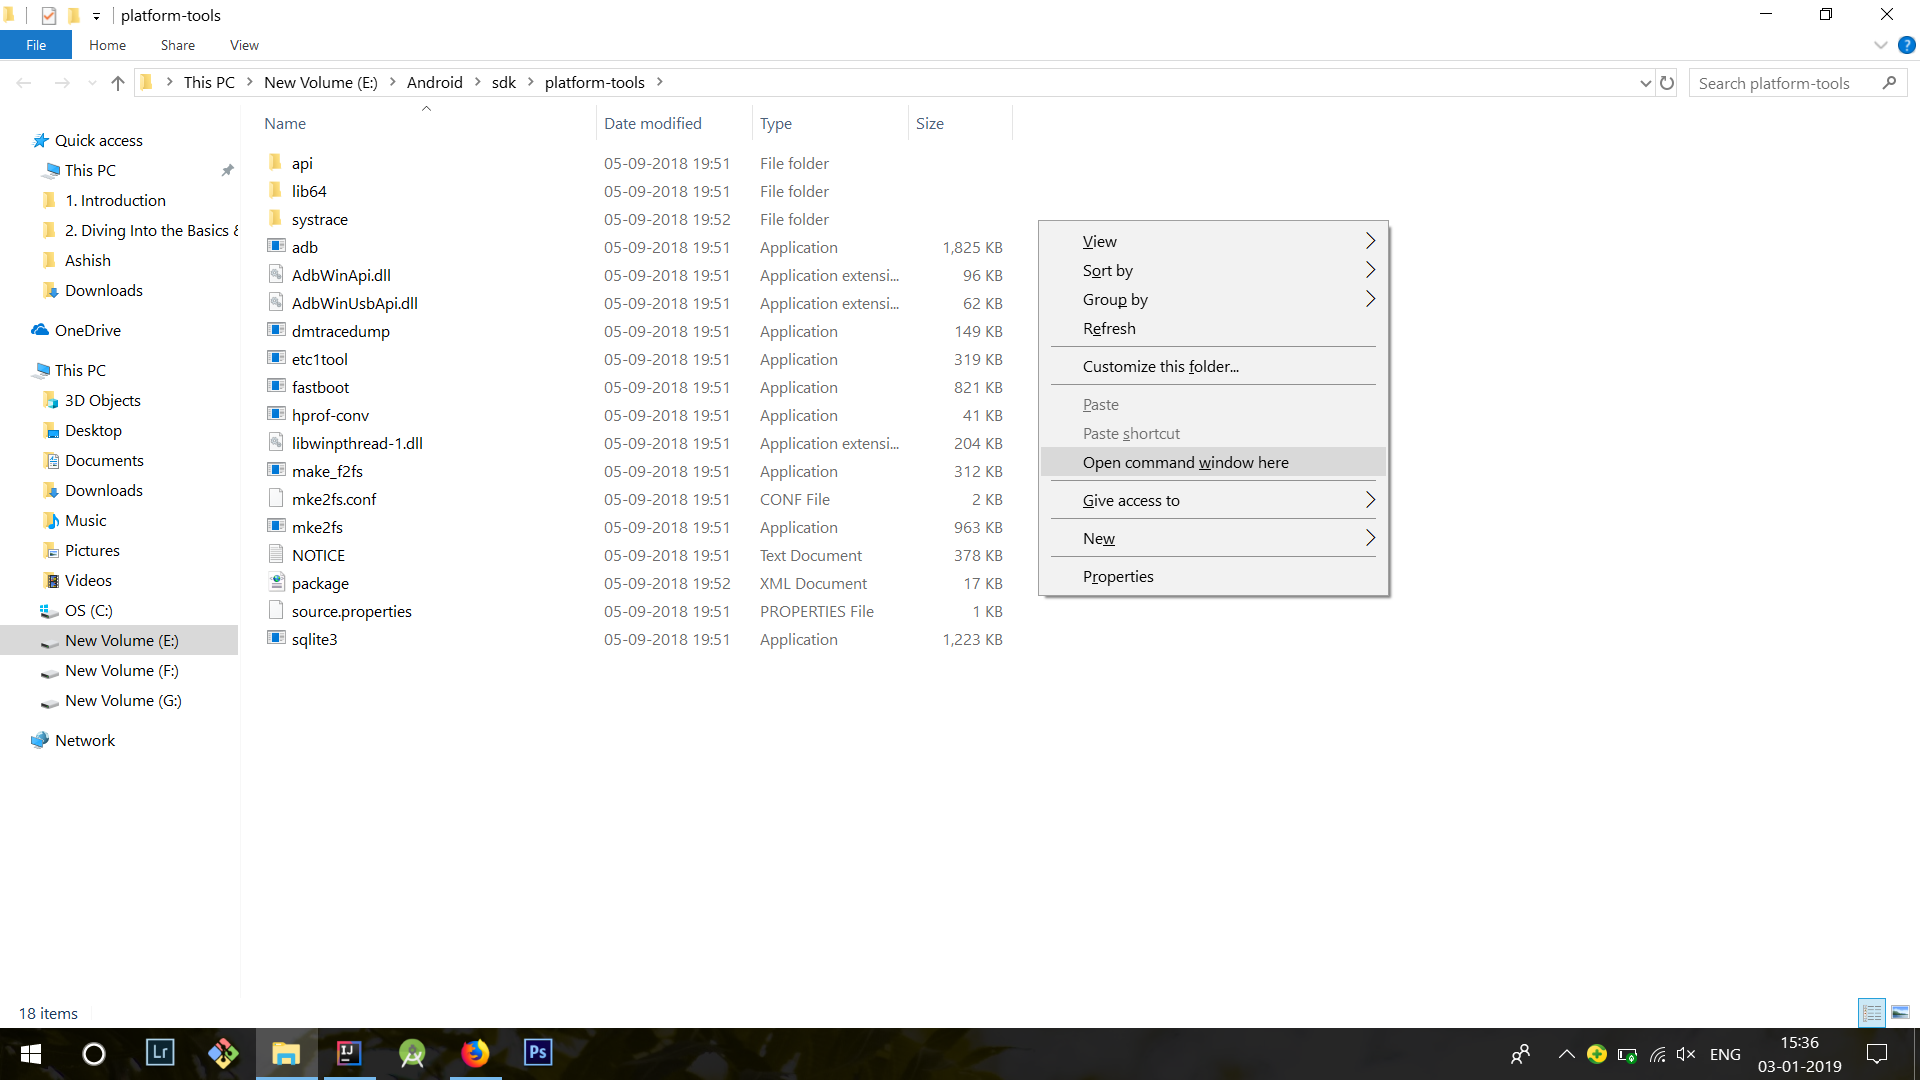
On the platform-tools folder
Select Open Command window here
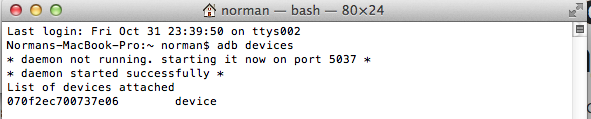
STEP 5 : Check whether your device is properly connected
This will show all the devices connect through WiFi.
Step 6 : Set the target device to listen for a TCP/IP connection on port 5555

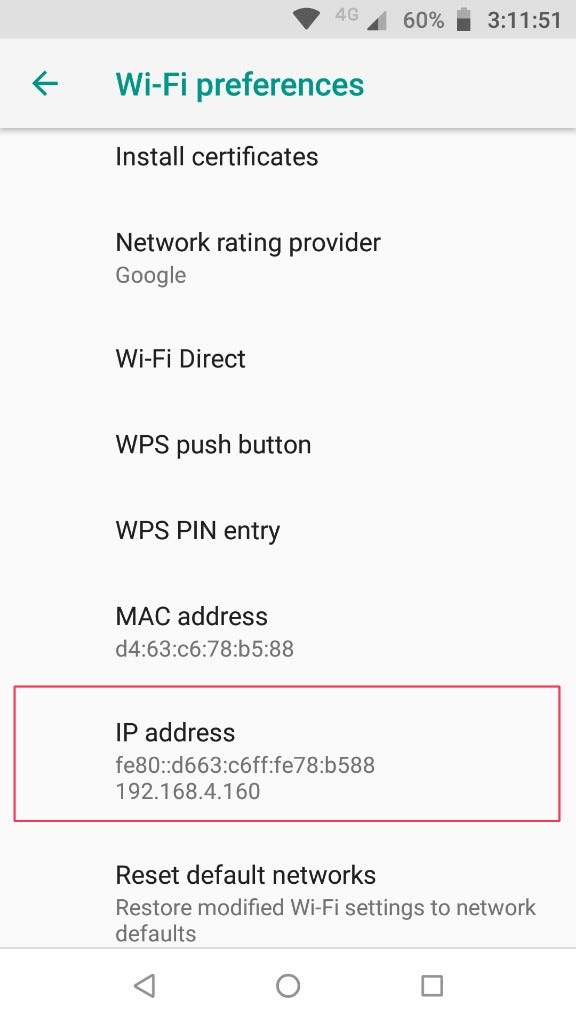
STEP 7 : Find the IP address of the Android device.
you can find the IP address at Settings > Wi-Fi Settings > Advanced > IP address.
STEP 8 : Connect to the device by its IP address.

STEP 9 : Remove the USB cable
Remove the USB cable and you should be connected to your device. If you don’t see it in adb devices then just reconnect using the previous steps command
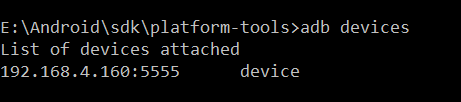
STEP 10 : Confirm that your host computer is connected to the target device
$ adb devices
List of devices attached
device_ip_address:5555 device
You’re now good to go! 🎉
If the adb connection is ever lost:
- Make sure that your host is still connected to the same Wi-Fi network your Android device is.
- Reconnect by executing the adb connect step again.
- Or if that doesn’t work, reset your adb host:
Then start over from the beginning.
Hope this helps you, if you have any query let me know in the comments section.
Источник
Беспроводная отладка Android 11
Режим дебага по WiFi теперь доступен, начиная с версии ОС Android 11. Давайте разберемся, как подключить устройство по Wi-Fi и смотреть логи в Logcat.

Нам необходимо убедиться, что у нас имеется все необходимое для соединения, а именно:
- установлен компонент Android SDK Platform-Tools версии не ниже 30.0.0 (April 2020), но естественно необходимо поставить последнюю версию, в которой разработчики пофиксили существующие на данный момент баги;
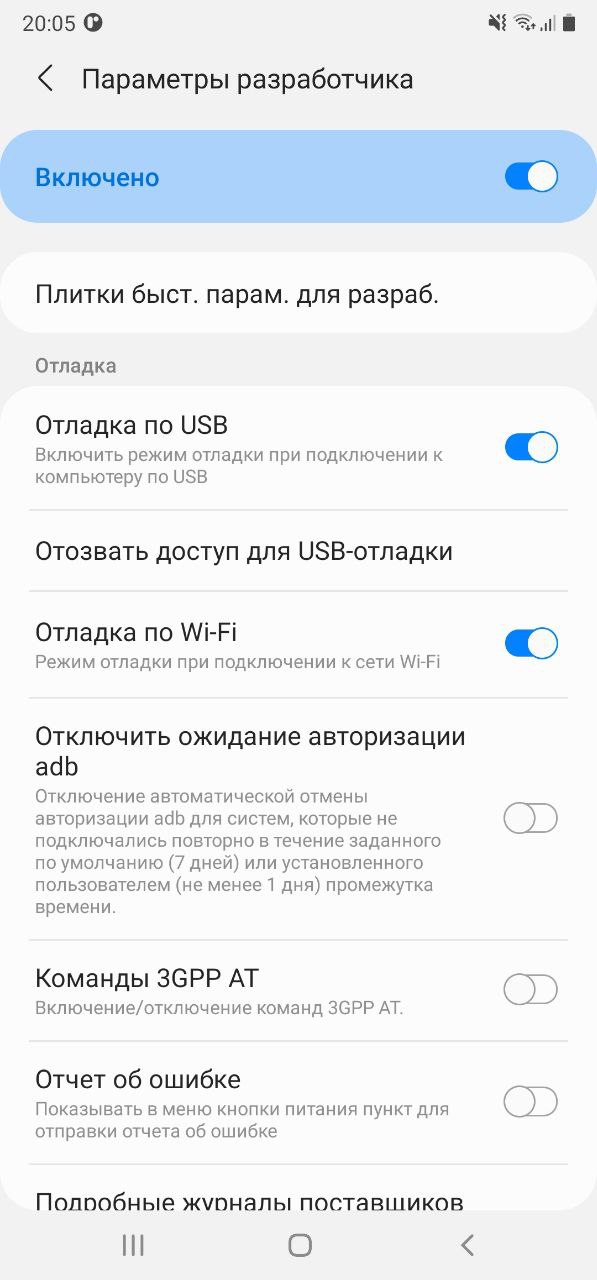
- включенрежим разработчика на вашем устройстве;
- на устройстве версия ОС Android 11.
Переходим в режим разработчика на нашем устройстве и активируем «Отладку по Wi-Fi».
Далее необходимо выбрать раздел «Подключить устройство с помощью кода подключения».
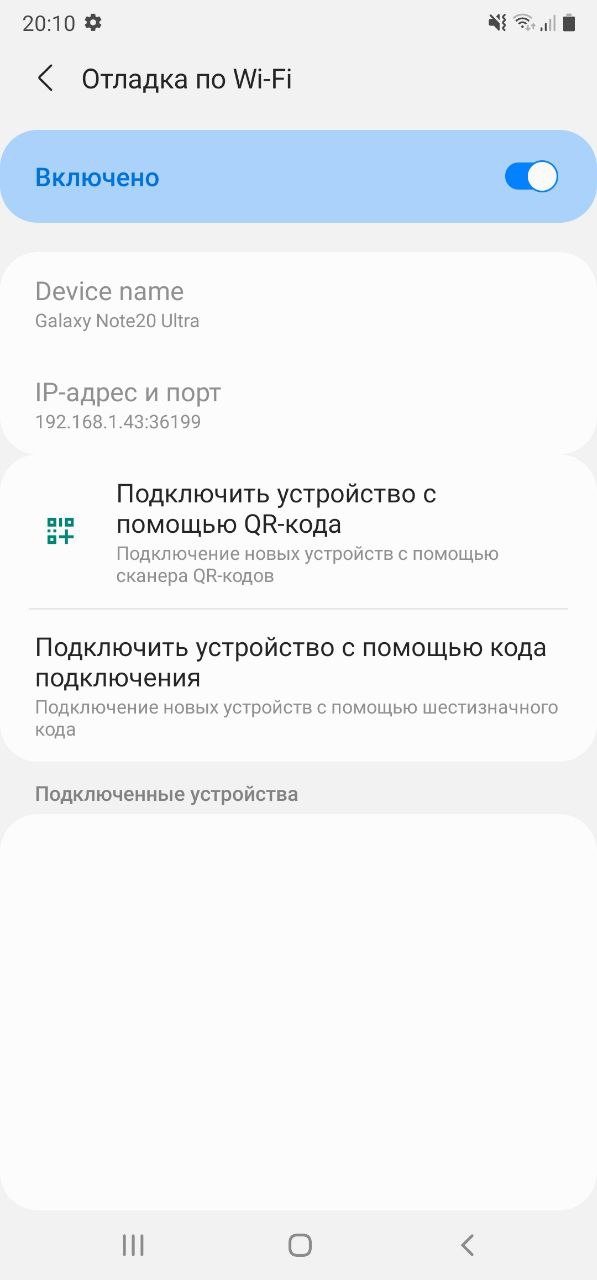
В боттомшите отобразится сам код подключения к устройству и IP-адрес и порт.

Откроем Android Studio, перейдем во вкладку Terminal, далее введем и выполним команду adb pair ipaddr:port где ipaddr и port — данные из боттомшита «Подключение к устройству». Следующим шагом — вводим код подключения и получим push на устройство об успешном подключении.
Перейдем на вкладку Logcat и все, что нам осталось — выбрать наше устройстве из списка подключенных устройств, в конкретном примере это Samsung SM-N985F.
Источник
How to Debug Your Android App over WiFi (without Root!)
Moonshoot
Moonshoot is a
Student Feature.
I discovered this little trick a year ago and it was immensely helpful. So far, whenever I was working on my Android apps, I had to connect it to my laptop with a USB cable. The USB cable is annoying and limits my movements. Consequently, I was researching, if there is an option to do the debugging over WiFi.
Luckily, there is a super simple way! All you need is a USB cable (for the initial setup) and have both devices in the same network. The screenshots in the following section are from my MacBook Pro, but it works on any operating system.
Steps to Revolutionize your Android Coding Experience
You need to connect your device to your computer via USB cable. Make sure USB debugging is working. You can check if it shows up when running adb devices .
Run adb tcpip 5555

Disconnect your device (remove the USB cable).
Go to the Settings -> About phone -> Status to view the IP address of your phone.
Run adb connect :5555

If you run adb devices again, you should see your device.

Now you can execute adb commands or use your favorite IDE for android development — wireless!
Do I Have to Repeat the Process Every Time?
Now you might ask, what do I have to do when I move into a different work space and change WiFi networks? You do not have to repeat steps 1 to 3 (these set your phone into WiFi-debug mode). You do have to connect to your phone again by executing steps 4 to 6.
Unfortunately, the android phones lose the WiFi-debug mode when restarting. Thus, if your battery died, you have to start over. Otherwise, if you keep an eye on your battery and do not restart your phone, you can live without a cable for weeks!
Happy wireless coding!
Get Notified on New Future Studio
Content and Platform Updates
Get your weekly push notification about new and trending
Future Studio content and recent platform enhancements
Источник
Как отлаживать в Android Studio используя adb через WiFi
Я могу подключиться к своему телефону с помощью ADB Connect, и я также могу ADB Shell.
Но когда я иду в Run-> Device Chooser, там нет никаких устройств.
Что я должен сделать, чтобы подключить мою (подключенную) adb Android Studio?
Когда я подключаю его через USB, он появляется в списке
Вы можете найти инструмент adb в/platform-tools /
Вы можете проверить свои устройства, используя:
Установите порт TCP:
Чтобы установить соединение Wi-Fi, вы должны проверить IP вашего устройства и выполнить:
Попробуйте ниже плагин для Android студии
КАК
- Подключите устройство к компьютеру с помощью USB-кабеля.
- Затем нажмите кнопку
 на панели инструментов и отключите USB, когда плагин подключит ваше устройство через WiFi.
 - Теперь вы можете развернуть, запустить и отладить ваше устройство, используя ваше соединение WiFi.
 на панели инструментов и отключите USB, когда плагин подключит ваше устройство через WiFi.
ПРИМЕЧАНИЕ: Помните, что ваше устройство и ваш компьютер должны быть в одном и том же соединении WiFi.
Шаг 1: Перейдите на свой Android sdk folder -> platform tools и скопируйте весь путь
Например: C:\Program Files (x86)\Android\android-sdk\platform-tools
Шаг 2: Перейти к командной строке или терминалу Android Studio
cd C:\Program Files (x86)\Android\android-sdk\platform-tools
Шаг 3: Подключите ваше устройство и систему с тем же Wi-Fi.
Шаг 4: Введите adb tcpip 5555 и нажмите Enter ,.
Шаг 5: Введите adb connect x.x.x.x:5555 , заменив xxxx на свой IP-адрес телефона ,.
узнать IP-адрес телефона
Settings -> About phone -> Status (некоторые телефоны могут отличаться)
Примечание. В случае, если вы подключаете более одного устройства, отключите другие телефоны, кроме того, который требуется подключить.
Снимок экрана командной строки: 
Я использовал следующие шаги для успешной отладки через соединение Wi-Fi. Я рекомендую это решение для всех, кто испытывает проблемы с помощью интегрированных решений, таких какAndroid WiFi ADB плагин . В моем случае не удалось сохранить соединение Wi-Fi с моим устройством после отключения USB. Следующее решение преодолевает эту проблему.
1. Подключение устройства
а. Подключение устройства по локальной сети
Если у вас есть локальный WLAN, вы можете подключить ваше устройство Android и ваш компьютер к этому WLAN . Затем определите IP-адрес устройства Android, просмотрев его настройки WLAN.
б. Подключение устройства напрямую через точку доступа
Я предпочитаю подключаться к точке доступа на устройстве. Это более приватно и не открывает ваше отладочное соединение с (публичным) wlan.
- Создайте точку доступа Wifi на устройстве Android
- Подключите компьютер к точке доступа
- На ПК просмотрите состояние сетевого подключения этого подключения к точке доступа, чтобы найти IPADDRESS вашего устройства.
Моя система показала IPADDRESS 192.168.43.1
2. Создать отладочное соединение
- Подключите ваше устройство к USB.
- Введите команду adb tcpip 5555 , чтобы открыть порт на устройстве для подключения adb.
- Создать беспроводное соединение для отладки adb connect IPADDRESS .
В моем случае команда выглядела как adb connect 192.168.43.1
Команда adb devices -l теперь должна отображать два устройства, если все в порядке. Например:
3. Сохранение отладочной связи
Сложная часть возникает при отключении USB-соединения. В моем случае оба соединения закрываются немедленно! Это может быть не для всех пользователей. Для меня это было причиной того, что я не смог использовать Android WiFi ADB плагин для Android studio . Я решил проблему, вручную переподключив Wi-Fi после отключения USB от
После этого adb devices -l показывает одно устройство, подключенное к Wi-Fi. Это устройство также отображается в Android Studio и может быть выбрано для отладки. Когда соединение нестабильно, вам может понадобиться время от времени повторять вышеуказанную команду, чтобы восстановить соединение.
Источник
Wifi debugging android studio
Android WiFi ADB — IntelliJ/Android Studio Plugin ![]()
IntelliJ and Android Studio plugin created to quickly connect your Android device over WiFi to install, run and debug your applications without a USB connected. Press one button and forget about your USB cable.
Android WiFI ADB plugin adds a button to your IntelliJ/Android Studio Toolbar to connect your device to your computer over WiFi.
To use this plugin the project opened in your IntelliJ/Android Studio has to be an Android project configured with the Android SDK.
Archived repository: Maintaining this project up to date for all the different Android devices without having access to the physical devices is not possible at all right now. Most of the bugs reported ar related to the adb installation and not to the plugin code so this repository will keep archived for now.
Connect all devices button:


Connect your device to your computer using a USB cable. Then press the button, and a notification will pop up saying that the phone has been connected. Disconnect your USB once the plugin shows your device is connected. Open the Android WiFi ADB tab at the right side to see all the devices and manage your connections. Your device will be connected over WiFi now. You can now deploy, run and debug your device using your WiFi connection. Remember that your device and your computer have to be in the same WiFi connection. Also, you have to first connect your device with a USB every time you open Android Studio, for setting up the connection over WiFi.
If you want to handle your devices connection individually, open the Android WiFi ADB dashboard you will find at the right of your IDE.
Download and install Android WiFi ADB directly from Intellij / Android Studio: Preferences/Settings->Plugins->Browse Repositories
Alternatively, you can download the plugin from the JetBrains plugin site and install it manually in: Preferences/Settings->Plugins->Install plugin from disk .
Build the project
If you need some information about how to build this project review IntelliJ Idea’s Gradle Plugin documentation.
Do you want to contribute?
Please, do it! If you have any improvement or you’ve found any bug, send a pull request with the code or open an issue 🙂
Источник


